Chocolate Chip Cookie Bars
Chocolate Chip Cookie Bars
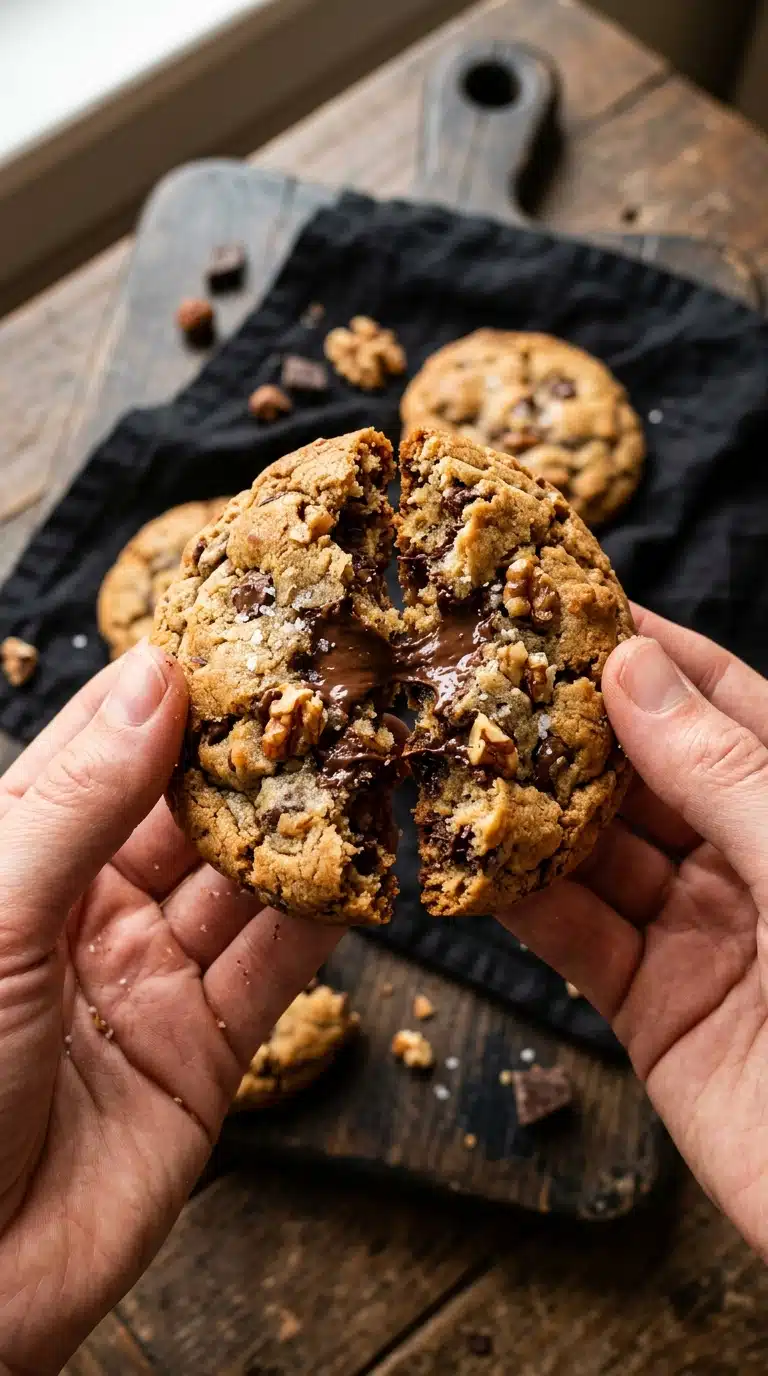
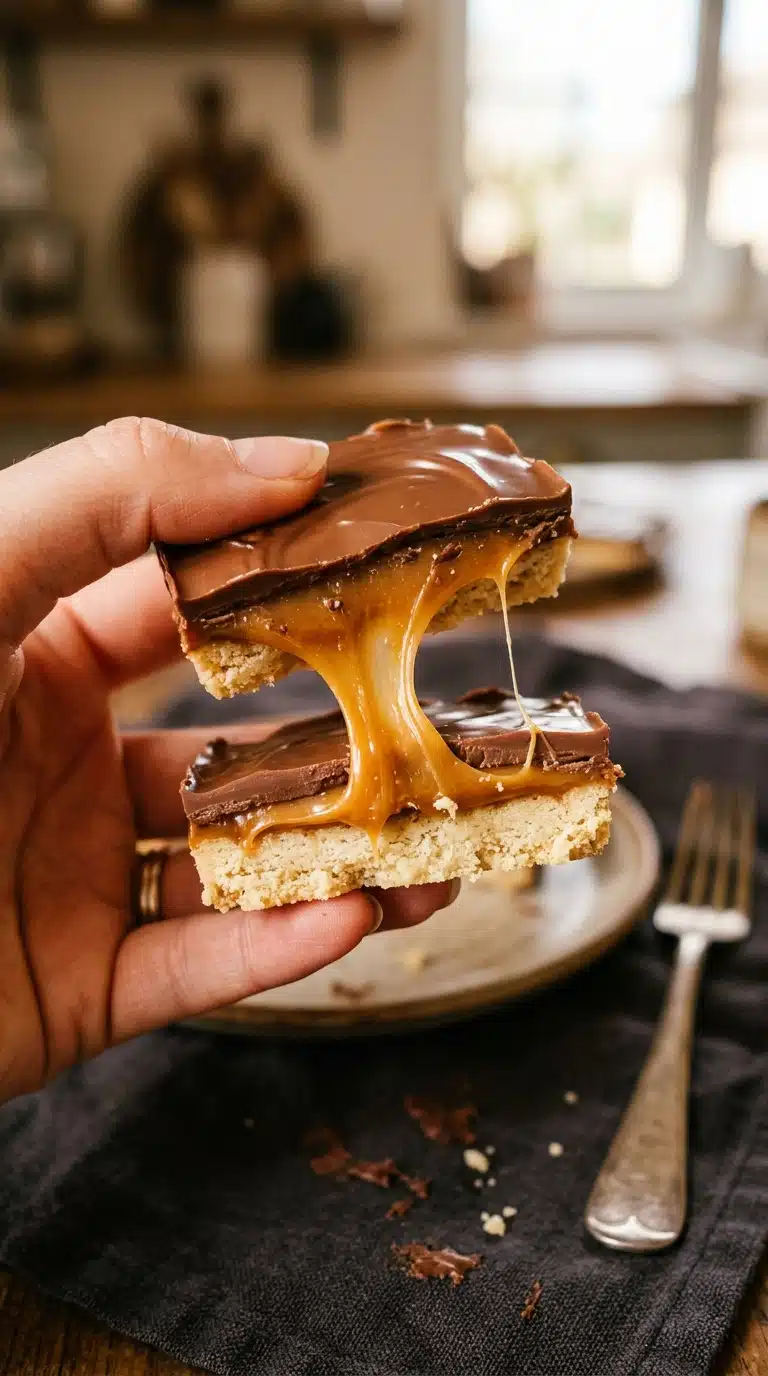
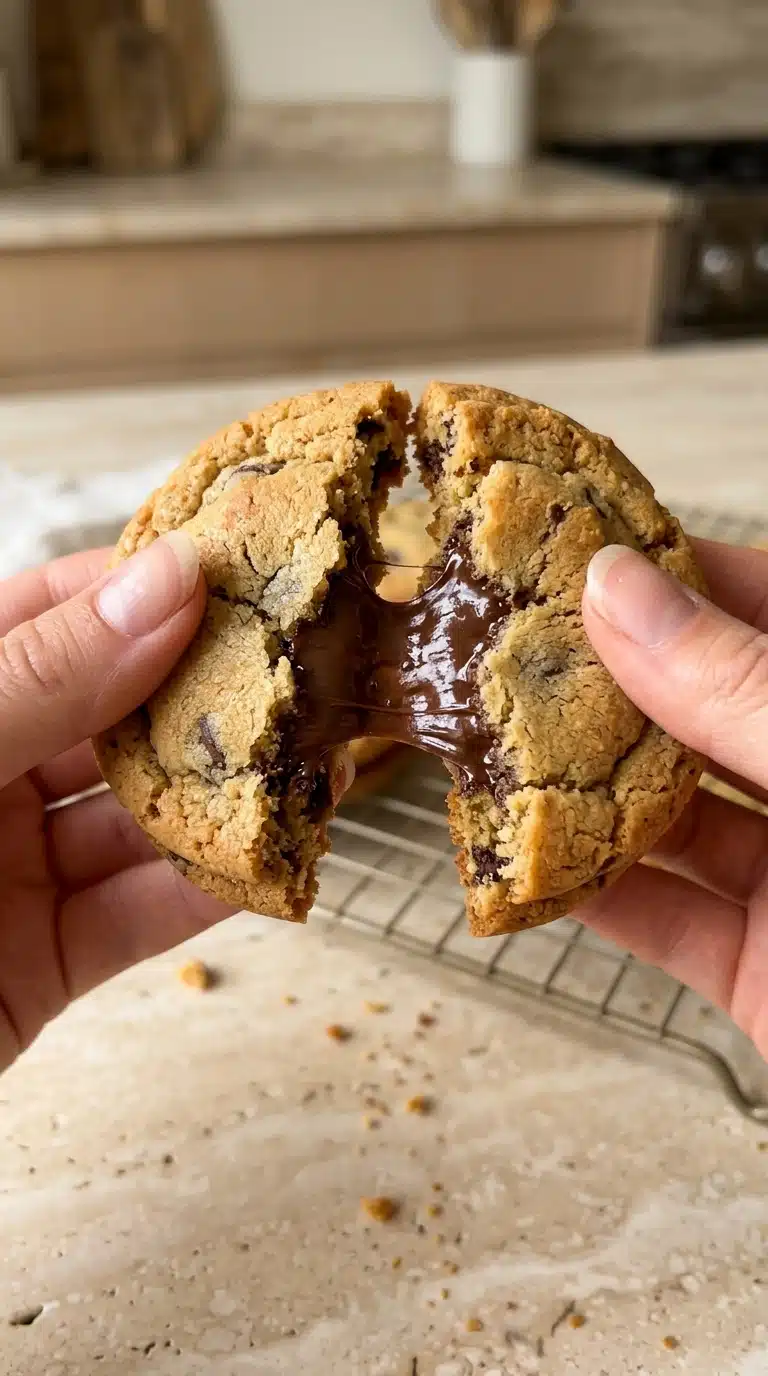
Chocolate Chip Cookie Bars transform the classic cookie experience into something even more decadent and shareable. Imagine all the gooey, buttery richness of your favorite chocolate chip cookie, but with a fudgy center and crispy edges that you can cut into perfect squares. These bars come together in one bowl without the fuss of scooping individual cookies, making them ideal for bake sales, potlucks, or simply satisfying a sudden sweet craving.
The Irresistible Appeal and Heritage of Chocolate Chip Cookie Bars
There’s something magical about the transformation of dough into thick, chewy bars. Unlike their round counterparts, these cookie bars offer a textural paradise with caramelized edges and a soft, pudding-like center. The concept evolved from the original Toll House cookie, invented by Ruth Wakefield in the 1930s, adapting the classic drop cookie into a more convenient bar format that guarantees uniform thickness and consistent baking. This evolution represents American home baking at its finest, prioritizing ease without sacrificing that nostalgic flavor we all crave.
Why This Recipe is a Guaranteed Success
Versatile: These bars serve beautifully as dessert, afternoon snacks, or lunchbox treats, adapting to any occasion with ease.
Budget-Friendly: Using simple pantry staples like flour, sugar, and butter keeps costs low while delivering bakery-quality results.
Quick and Easy: One bowl mixing and straightforward baking means minimal cleanup and maximum flavor.
Customizable: Swap chocolate types or add nuts to make them uniquely yours.
Crowd-Pleasing: The familiar comfort of warm chocolate and vanilla makes these irresistible to all ages.
Make-Ahead Friendly: Prepare the dough in advance and refrigerate until ready to bake.
Great for Leftovers: They stay moist for days, tasting even better on the second day.
Expert Advice and Essential Equipment
Success lies in the details when baking these treats. Always use room temperature eggs to ensure proper emulsification with the melted butter. Don’t overmix once the flour hits the bowl, gluten development creates tough bars instead of tender ones. For clean cuts, chill the bars slightly before slicing, though they slice beautifully at room temperature too.
20×20 cm Square Pan: This specific size creates the ideal thickness for chewy centers and crisp edges.
Parchment Paper: Essential for easy lifting and clean removal without sticking.
Silicone Spatula: Perfect for folding ingredients gently without overmixing.
Whisk: Needed for incorporating air into the wet ingredients for that characteristic shiny top.
Gathering Your Ingredients
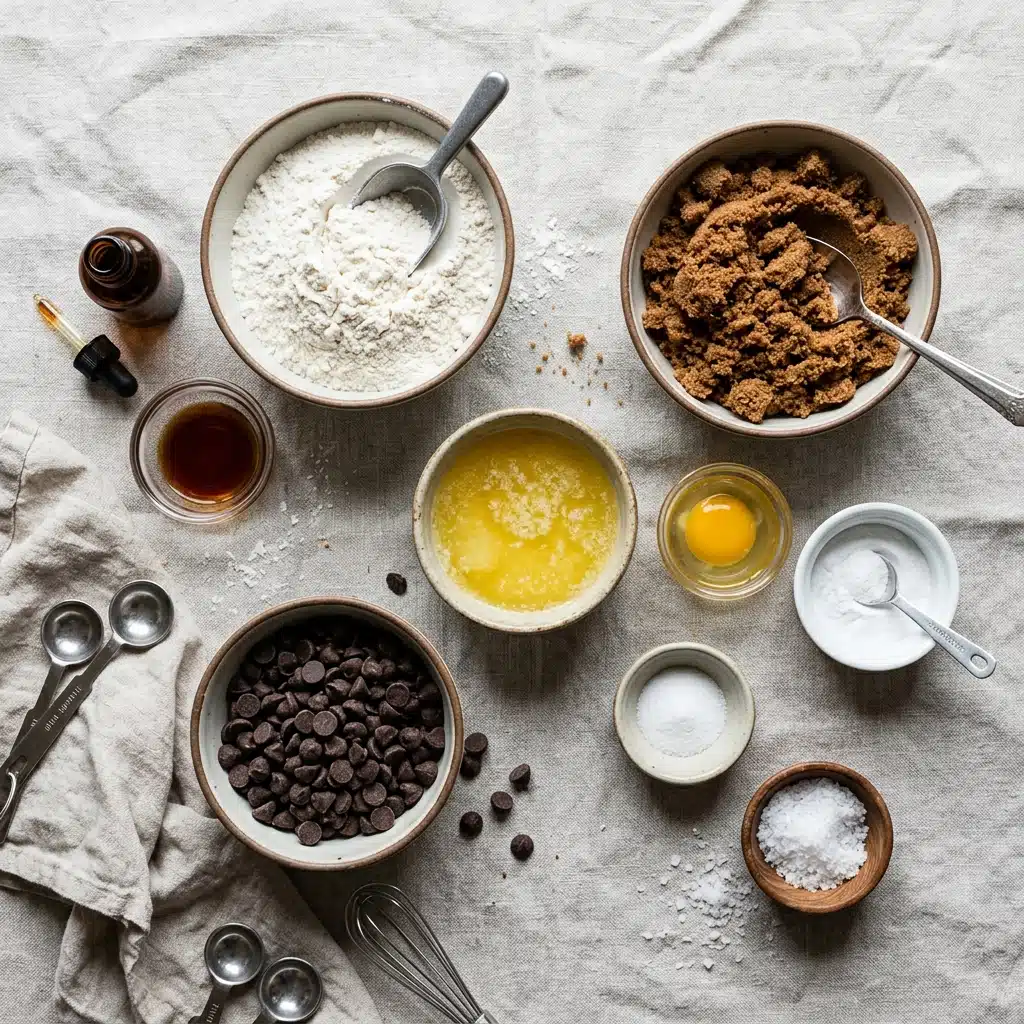
Quality matters in simple recipes. Use the best chocolate you can find and fresh baking soda for proper lift.
- Unsalted Butter: 115 grams (½ cup), melted and slightly cooled, provides the rich, buttery foundation and tender crumb.
- Dark Brown Sugar: 150 grams (¾ cup packed), adds moisture, depth, and that characteristic caramel undertone.
- Large Egg: 1 piece, room temperature, binds the ingredients and adds structure.
- Pure Vanilla Extract: 1 teaspoon, enhances the chocolate and adds aromatic warmth.
- All-Purpose Flour: 155 grams (1¼ cups), creates the structure and body of the bars.
- Baking Soda: ½ teaspoon, provides the gentle lift and helps create the perfect texture.
- Fine Salt: ¼ teaspoon, balances the sweetness and enhances all flavors.
- Semi-Sweet Chocolate Chips: 175 grams (1 cup plus extra for topping), delivers pockets of melty chocolate goodness.
- Flaky Sea Salt: For finishing, adds a sophisticated contrast to the sweetness.
Smart Substitutions and Key Ingredients
Dark Brown Sugar: Light brown sugar works in a pinch, though you’ll miss the deeper molasses notes.
Semi-Sweet Chocolate: Bittersweet or milk chocolate chips create different flavor profiles.
Unsalted Butter: Salted butter can work, reduce the added fine salt by half.
Dark Brown Sugar: This isn’t just sweetener, it’s a flavor powerhouse. The molasses content keeps the bars moist for days while contributing complex toffee-like notes that make these Chocolate Chip Cookie Bars truly special.
Semi-Sweet Chocolate Chips: These provide the perfect balance between sweet and bitter, melting into glossy pools that firm up slightly when cooled but remain soft on the palate.
The Step-by-Step Baking Process
Follow these precise steps for perfect results every time.
- Oven and Pan Preparation: Preheat your oven to 180°C (350°F). Line a 20×20 cm square pan with parchment paper, ensuring the paper extends over the sides to create handles for easy removal later.
- Wet Mixture: In a large mixing bowl, combine the melted butter and packed brown sugar, stirring until completely smooth and glossy. Add the room temperature egg and pure vanilla extract, then whisk vigorously for about a minute until the mixture becomes pale, thick, and shiny.
- Dry Ingredients Addition: Sprinkle the all-purpose flour, baking soda, and fine salt evenly over the wet mixture. Using a silicone spatula, fold gently with a sweeping motion, mixing just until you no longer see streaks of white flour, being careful not to overwork the dough.
- Chocolate Incorporation: Scatter the semi-sweet chocolate chips across the dough and fold them in with your spatula, ensuring even distribution throughout the thick batter so every bite contains melty chocolate goodness.
- Pan Preparation: Transfer the thick dough into your prepared pan, pressing it evenly into the corners with your spatula to create a level surface. Sprinkle additional chocolate chips generously over the top for that bakery-style appearance.
- Baking: Place the pan in the center of your preheated oven and bake for 20 to 22 minutes, watching for golden brown edges that look set while the center remains slightly puffed and tender to the touch.
- Cooling and Cutting: Immediately upon removing from the oven, sprinkle the surface with flaky sea salt if desired. Allow the bars to cool in the pan for exactly 20 minutes, then use the parchment overhang to lift the entire block onto a cutting board and slice into clean, regular squares.
Common Mistakes to Avoid
Even simple recipes have pitfalls. Watch for these common errors to ensure your Chocolate Chip Cookie Bars turn out perfectly.
- Overbaking: Remove the bars when the center still looks slightly underdone, it will continue cooking as it cools and sets into that perfect chewy texture.
- Using Cold Eggs: Cold eggs can seize the melted butter, creating a greasy separation rather than a smooth emulsion.
- Overmixing the Dough: Stirring too vigorously after adding flour develops gluten, resulting in tough, cakey bars instead of tender, fudgy ones.
- Skipping the Parchment: Without that paper overhang, you’ll struggle to remove the bars cleanly from the pan.
Nutrition Facts and Preparation Time
Servings: 16 bars / Calories per serving: Approximately 185 / Note: These are approximate values.
Prep Time: 10 minutes / Cook Time: 20-22 minutes / Total Time: 35 minutes (including cooling)
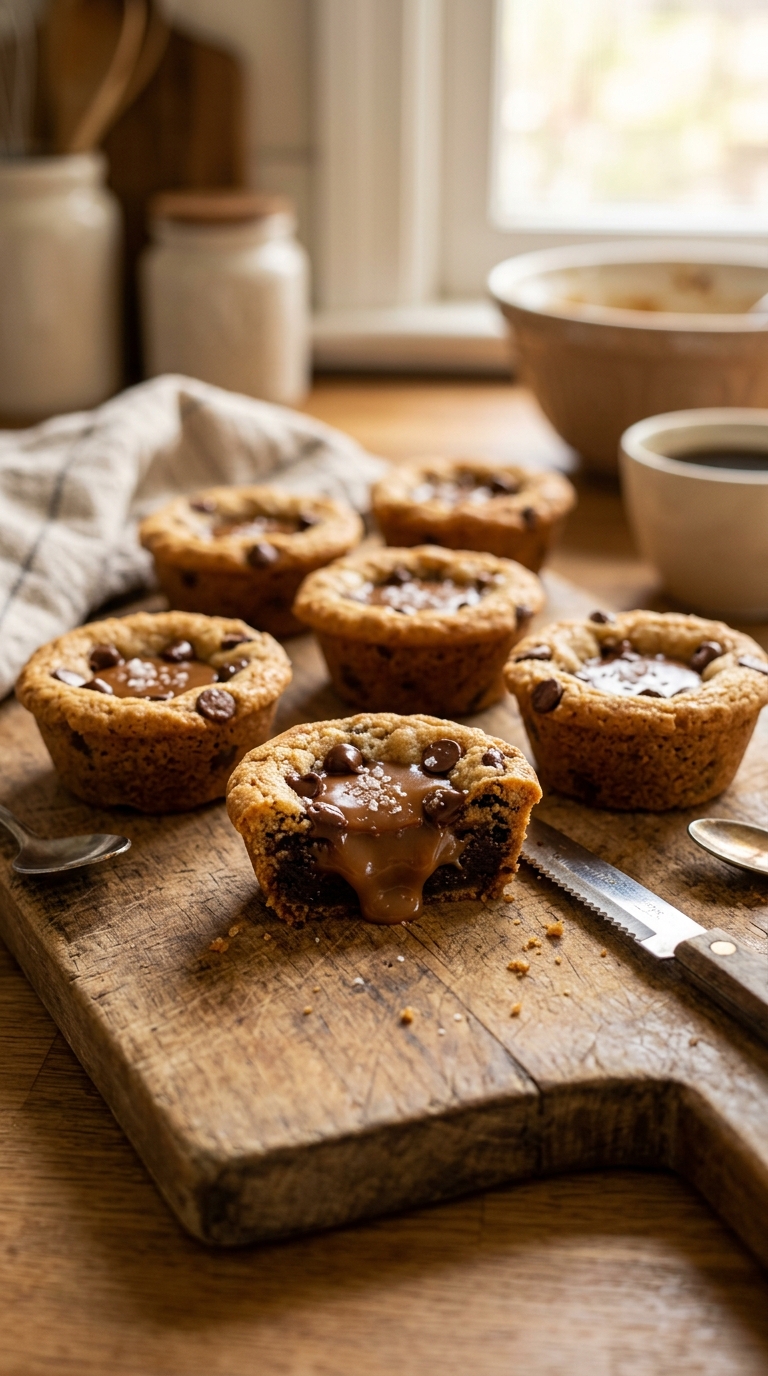
Try these delicious twists on the classic recipe. For peanut butter lovers, swirl 3 tablespoons of natural peanut butter into the batter before baking. Create a double chocolate version by replacing 30 grams of flour with cocoa powder. Add toasted chopped pecans or walnuts for a nutty crunch that complements the chocolate beautifully. For a salted caramel variation, drizzle homemade caramel sauce over the top immediately after baking, then finish with extra flaky salt.
FAQ’s
1. Can I use a different size pan?
A 20×20 cm pan creates the ideal thickness. Using a larger pan results in thin, crispy bars, while a smaller pan yields underbaked centers.
2. Why did my bars come out cakey?
Cakey texture usually means overmixing after adding flour or using too much flour due to packing. Spoon and level your flour rather than scooping directly.
3. Can I double this recipe?
Absolutely. Double all ingredients and bake in a 23×33 cm (9×13 inch) pan for approximately 25-30 minutes.
4. How do I store these Chocolate Chip Cookie Bars?
Keep them in an airtight container at room temperature for up to 5 days, or refrigerate for up to a week.
5. Can I freeze the dough?
Yes, wrap the unbaked dough tightly and freeze for up to 3 months. Thaw overnight in the refrigerator before baking.
6. Why use melted butter instead of softened?
Melted butter creates that dense, fudgy texture characteristic of great cookie bars, while creaming softened butter incorporates too much air.
7. Can I reduce the sugar?
You can reduce by 20% without affecting texture significantly, though the bars will be less moist and chewy.
8. Why did my chocolate chips sink?
Sinking usually indicates overmixing or oven temperature issues. Ensure your oven is fully preheated and fold chips in gently at the end.
9. Can I make these vegan?
Substitute the butter with coconut oil and use a flax egg (1 tablespoon ground flaxseed mixed with 3 tablespoons water), though texture will vary slightly.
10. Why add salt on top?
The flaky sea salt creates a flavor contrast that makes the chocolate taste richer and adds a sophisticated gourmet touch to the simple bars.
Conclusion
These Chocolate Chip Cookie Bars represent everything wonderful about home baking, simple ingredients transformed into something truly special through careful technique. Whether you’re baking for a celebration or simply treating yourself to something sweet, this recipe delivers consistent, crowd-pleasing results. Trust me, you’re going to love the way your kitchen smells when these are in the oven, and that first bite of warm, chocolate-studded goodness will have you returning to this recipe again and again. It’s worth every minute of preparation.
PrintChocolate Chip Cookie Bars
Chocolate Chip Cookie Bars transform the classic cookie experience into something even more decadent and shareable. Imagine all the gooey, buttery richness of your favorite chocolate chip cookie, but with a fudgy center and crispy edges that you can cut into perfect squares.
- Prep Time: 10 minutes
- Cook Time: 20-22 minutes
- Total Time: 35 minutes
- Yield: 16 bars
- Category: Dessert
- Method: Baking
- Cuisine: American
Ingredients
- 115 g de beurre non salé, fondu et légèrement refroidi
- 150 g de cassonade brune foncée (tassée)
- 1 gros œuf (à température ambiante)
- 1 cuillère à café d’extrait de vanille pure
- 155 g de farine de blé tout usage
- 1/2 cuillère à café de bicarbonate de soude
- 1/4 cuillère à café de sel fin
- 175 g de pépites de chocolat mi-sucré (plus un supplément pour le dessus)
- Fleur de sel pour la finition (facultatif)
Instructions
- Préparation du four et du moule : Préchauffez le four à 180°C. Tapissez un moule carré de 20×20 cm de papier sulfurisé en laissant dépasser les bords pour faciliter le démoulage.
- Mélange liquide : Dans un bol, mélangez le beurre fondu et la cassonade jusqu’à consistance lisse. Ajoutez l’œuf ainsi que l’extrait de vanille, puis fouettez vivement jusqu’à obtenir un appareil brillant.
- Ajout des ingrédients secs : Incorporez délicatement la farine, le bicarbonate de soude et le sel à l’aide d’une spatule en silicone, en mélangeant juste assez pour ne plus voir de traces de farine.
- Incorporation du chocolat : Ajoutez les pépites de chocolat et mélangez pour les répartir uniformément dans la pâte épaisse.
- Mise en moule : Déposez la pâte dans le moule préparé. Étalez et lissez la surface jusqu’aux coins à l’aide d’une spatule, puis parsemez quelques pépites de chocolat supplémentaires sur le dessus.
- Cuisson : Enfournez à 180°C pendant 20 à 22 minutes, jusqu’à ce que les bords soient dorés et pris, tout en gardant le centre légèrement tendre.
- Refroidissement et découpe : Dès la sortie du four, saupoudrez d’une pincée de fleur de sel. Laissez tiédir dans le moule pendant 20 minutes avant de soulever le papier sulfurisé pour découper en carrés réguliers.
Notes
- Always use room temperature eggs to ensure proper emulsification with the melted butter.
- Don’t overmix once the flour hits the bowl; gluten development creates tough bars instead of tender ones.
- For clean cuts, chill the bars slightly before slicing, though they slice beautifully at room temperature too.
- Remove the bars from the oven when the center still looks slightly underdone; it will continue cooking as it cools.
- Use parchment paper with overhang to ensure easy removal from the pan.
Nutrition
- Serving Size: 1 bar
- Calories: Approximately 185