Triple Chocolate Brookie Cups with Peanut Butter Center
Triple Chocolate Brookie Cups with Peanut Butter Center
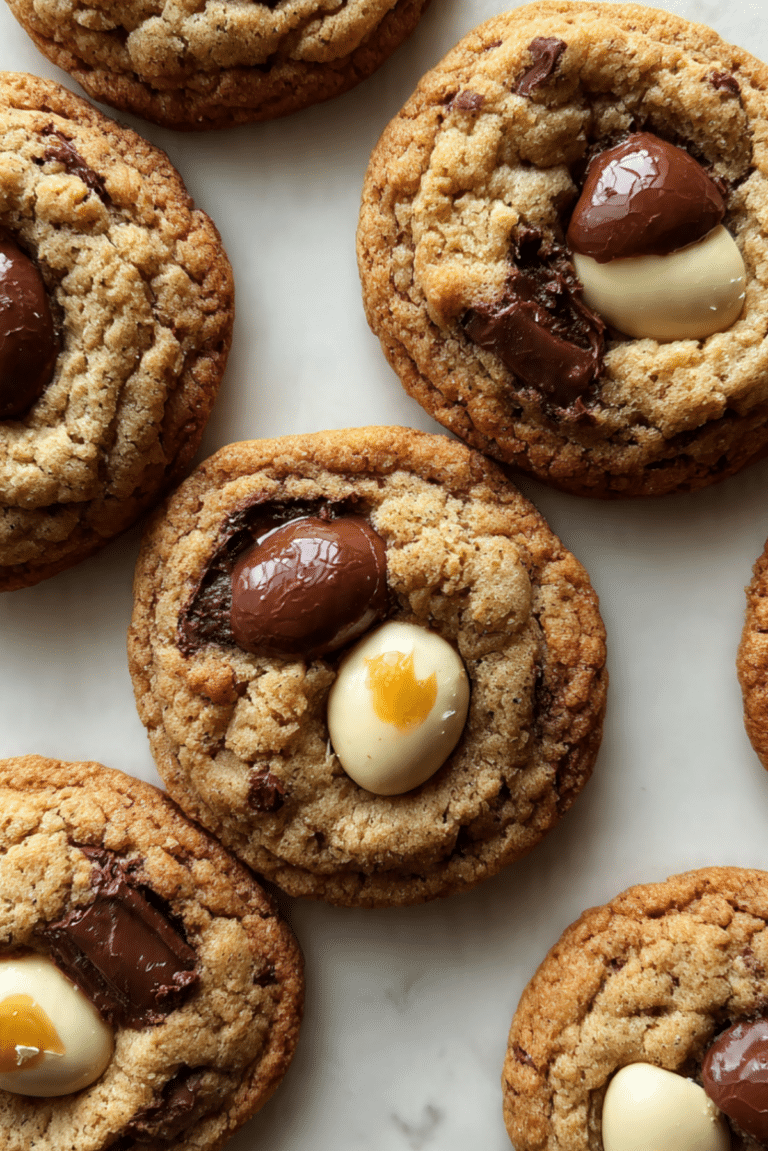
Triple Chocolate Brookie Cups with Peanut Butter Center are the ultimate mash-up for anyone who cannot choose between a brownie and a cookie. These little cups hide a molten peanut butter core inside two distinct chocolate layers. Every bite delivers fudgy density and chewy cookie texture. Trust me, you’re going to love this one-baked wonder.
Why Triple Chocolate Brookie Cups with Peanut Butter Center Are Pure Magic
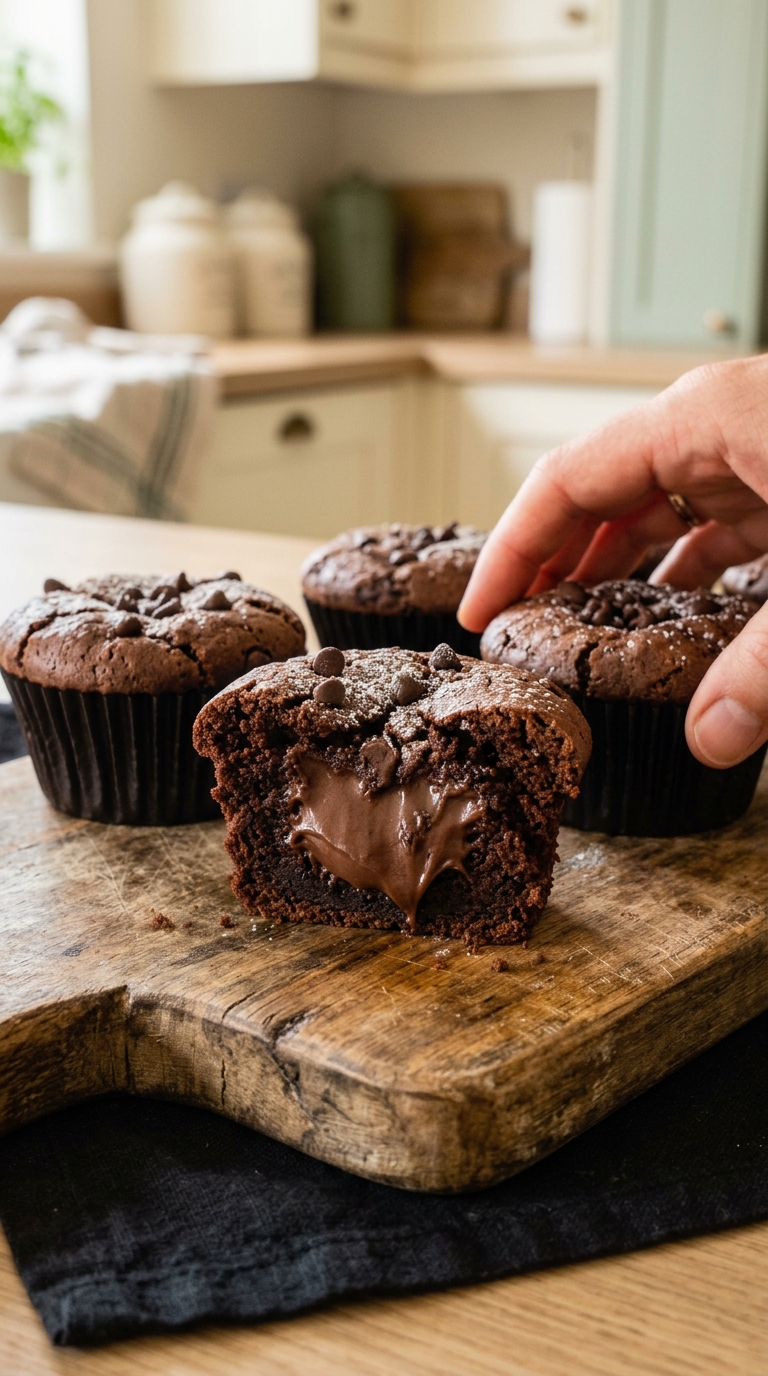
The aroma of cocoa and brown sugar fills your kitchen as these cups bake. Breaking through the cookie top reveals a hidden river of warm peanut butter. It contrasts beautifully with the dense brownie base below. This is the kind of dessert that makes you close your eyes and sigh.
The Sweet Origins Behind This Modern Mash-Up
Brookies appeared in American bakeries as a playful answer to the brownie versus cookie debate. Bakers simply stopped choosing and began layering both batters into one treat. Adding a peanut butter center nods to the classic candy aisle pairing. This recipe feels nostalgic and brand new all at once.
What Makes Triple Chocolate Brookie Cups with Peanut Butter Center So Reliable
Versatile: Serve them warm at a party or tuck one into a lunchbox. They work everywhere from bake sales to cozy nights in.
Budget-Friendly: The list relies on pantry staples like butter, sugar, flour, and cocoa. Nothing fancy is required to achieve bakery-level results.
Quick and Easy: Two batters and one filling come together without chilling. The process flows from bowl to oven in under twenty minutes.
Customizable: Adjust the chip ratios to match your craving. The framework welcomes tweaks without collapsing.
Crowd-Pleasing: Chocolate lovers and peanut butter fanatics unite over these cups. They disappear fast from any buffet table.
Make-Ahead Friendly: Bake a batch on Sunday and store them for weekday treats. The flavors deepen after a day in an airtight container.
Great for Leftovers: Rewarm a cup for ten seconds to restore the gooey center. They taste incredible on day two.
Insider Secrets for Flawless Brookie Cups
A few small habits separate good brookie cups from great ones. Pay attention to temperature and mixing technique. Read about the science of creaming butter and sugar for the best results.
Soften the cookie butter fully so it creams smoothly with brown sugar. Cold butter leads to a gritty texture.
Melt the brownie butter just until liquid, not sizzling hot. Overheated butter can cook the egg prematurely.
Use a light hand when folding flour into the brownie batter. Overmixing develops gluten and turns the base tough.
Seal the cookie dough completely around the peanut butter ball. Gaps allow the filling to bubble out and scorch.
Check for doneness by looking for matte, set tops rather than relying solely on time. Visual cues keep you in control.
The Gear You Need to Bake with Confidence
You do not need a professional kitchen to pull off these brookie cups. A few reliable tools keep the process smooth.
Muffin tin: A standard 12-cup tin shapes these into perfect individual portions. Grease it well so each cup releases cleanly.
Mixing bowls: Separate bowls for brownie batter, cookie dough, and peanut butter filling keep components organized.
Whisk and spatula: A sturdy whisk blends the brownie base, while a spatula folds in dry ingredients and chips.
Measuring cups and spoons: Precision matters when balancing two batters. Accurate measurements keep textures distinct.
The Ingredient Lineup That Makes the Magic Happen
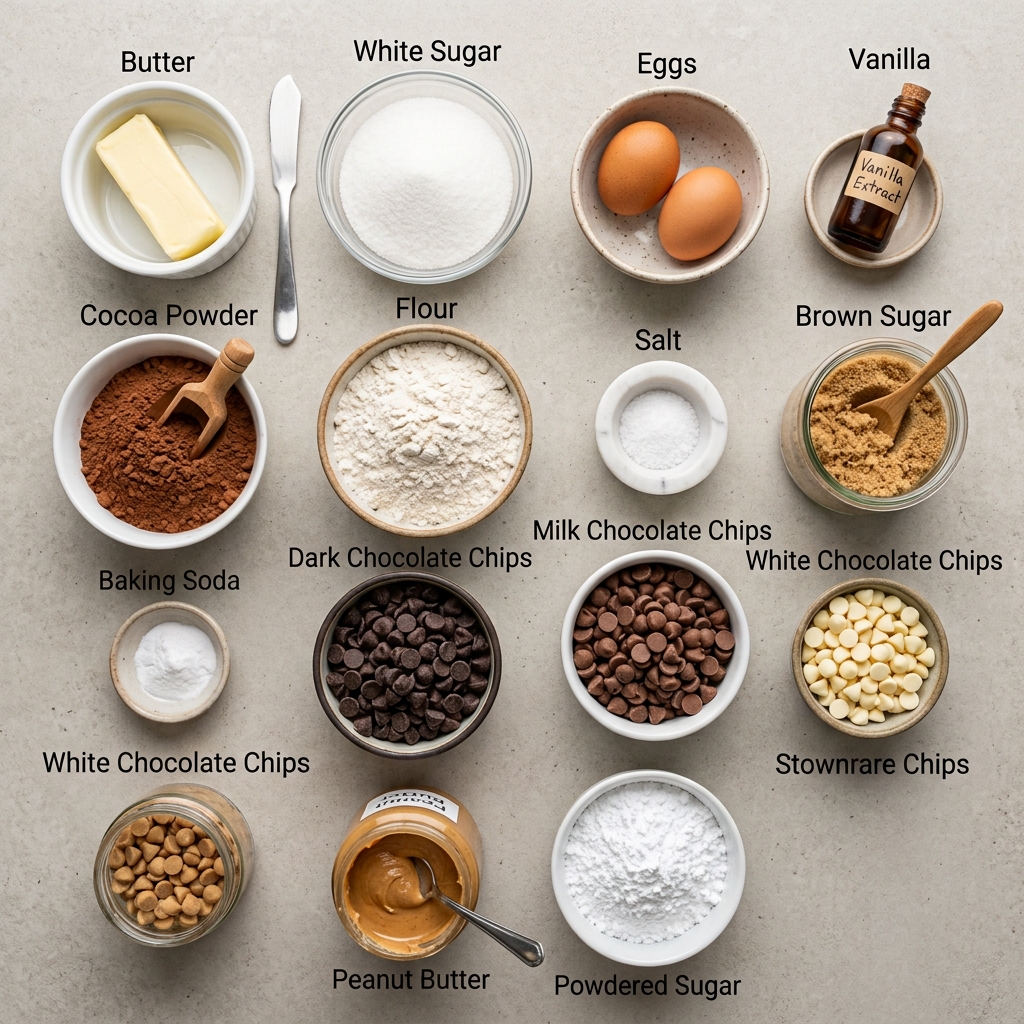
Every element earns its place. From the dual butters to the trio of chips, each builds texture and flavor. Learn how cocoa powder transforms chocolate desserts.
- Butter: ½ cup (115 g), melted — creates the fudgy brownie foundation.
- Sugar: ¾ cup (150 g) — sweetens the brownie and helps form a crackly top.
- Egg: 1 — binds the brownie without making it cakey.
- Vanilla: 1 tsp — deepens the chocolate aroma.
- Cocoa powder: ⅓ cup (35 g) — delivers intense chocolate flavor.
- Flour: ⅓ cup (45 g) — holds the brownie layer together.
- Salt: ¼ tsp — heightens sweetness and balances cocoa.
- Butter: ½ cup (115 g), softened — creams with sugar for the cookie layer.
- Brown sugar: ¾ cup (150 g) — adds moisture and caramel notes.
- Egg: 1 — binds and lifts the cookie dough.
- Vanilla: 1 tsp — unites both layers harmoniously.
- Flour: 1 cup (125 g) — gives the cookie structure.
- Cocoa powder: ¼ cup (25 g) — reinforces the chocolate presence.
- Baking soda: ½ tsp — leavens the cookie for a light chew.
- Salt: ½ tsp — sharpens the chocolate flavors.
- Dark chocolate chips: ⅓ cup — melts into bittersweet pockets.
- Milk chocolate chips: ⅓ cup — adds creamy sweetness.
- White chocolate chips: ⅓ cup — brings buttery vanilla contrast.
- Peanut butter: ⅓ cup (85 g) — forms the hidden molten center.
- Powdered sugar: 2 tbsp — stabilizes the peanut butter for shaping.
Smart Swaps and Star Ingredients
This recipe is forgiving if you need to adjust. Keep the ratios steady and the technique intact.
Butter: You may use the melted butter in the cookie layer and the softened butter in the brownie layer interchangeably. Melting both creates a denser overall bite.
Sugar: Swap white sugar into the cookie and brown sugar into the brownie. The brownie becomes chewier and the cookie spreads slightly more.
Chocolate chips: Dark, milk, and white chips are completely interchangeable. Keep the total at one cup and distribute them as you prefer.
Peanut butter: Add an extra tablespoon of powdered sugar if your peanut butter is very soft. This keeps the center firm during assembly.
Flour: The two flours are both all-purpose, so they can shift between layers if measured carefully.
Peanut butter: This creamy center is the hidden treasure in every bite. It stays molten while the outer layers bake.
Triple chocolate chips: The trio creates a complex flavor arc of bitter, sweet, and buttery vanilla. You taste every layer in one mouthful.
Step-by-Step: Bringing Triple Chocolate Brookie Cups with Peanut Butter Center to Life
Assembly moves quickly once everything is measured. Follow the order so each layer lands exactly where it belongs.
- Preheat oven to 350°F (175°C) and grease a 12-cup muffin tin. A thorough coating prevents the cups from clinging to the metal.
- Brownie: Whisk butter and sugar, add the egg and vanilla, then fold in cocoa, flour and salt. Whisking creates a glossy foundation before gently folding the dry ingredients.
- Press 1½ tbsp brownie batter into each cup. Spread the thick batter across the bottom and slightly up the sides.
- Center: Mix peanut butter with powdered sugar and roll into 12 small balls (about 1 tsp each). Press one into each brownie base. The powdered sugar firms the peanut butter so it holds its shape.
- Cookie: Cream butter and brown sugar, then add the egg and vanilla. Mix in flour, cocoa, baking soda and salt, then fold in all three chocolate chips. Creaming traps air pockets for a tender texture.
- Flatten a tbsp of cookie dough and wrap it over each peanut butter ball to seal it in. Pinch the edges into the brownie layer so nothing leaks.
- Bake 18–22 minutes until the tops look set. Keep a close eye during the final minutes so the edges do not overbake.
- Rest 10 minutes in the pan before removing so the centers stay gooey. This allows the structure to set without collapsing.
- Serve warm for maximum molten peanut butter. The first bite reveals warm peanut butter surrounded by brownie and cookie.
What to Avoid When Baking Brookie Cups
Even simple recipes have pitfalls. Watch out for these missteps so your cups come out flawless.
- Do not overmix the brownie batter. Vigorous stirring introduces air and gluten, which turns the base cakey. Fold just until the flour disappears.
- Do not use cold butter for the cookie layer. Chilled butter refuses to cream properly and leaves lumpy dough. Leave it on the counter until it yields to a gentle poke.
- Do not skip the resting period. Removing the cups immediately causes the centers to rupture. Ten minutes is the sweet spot for structure.
- Do not overbake. The tops should look set but still feel slightly soft. A dry cup loses its signature gooey center.
Nutrition Facts for Triple Chocolate Brookie Cups
These indulgent cups pack plenty of chocolate energy into a compact treat. Enjoy them as an occasional dessert.
Servings: 12
Calories per serving: approximately 320
Note: These are approximate values.
Timing Your Triple Chocolate Brookie Cups Bake
From mixing bowl to cooling rack, this recipe moves fast. You can satisfy a serious craving in well under an hour.
Prep Time: 20 minutes
Cook Time: 20 minutes
Total Time: 40 minutes
Variations to Try with Your Brookie Cups
You can tweak these cups without buying extra ingredients. Small shifts create surprisingly different results.
- Chip Swap Ratios: Adjust the ratio of dark, milk, and white chips. Use more dark for intensity or more white for sweetness.
- Peanut Butter Sweetness: Increase the powdered sugar to 3 tablespoons for a firmer core. The extra sugar creates a more structured center.
- Brownie-Forward Cups: Press extra brownie batter into each cup and reduce the cookie dough. The result is a denser, fudgier treat.
- Cookie-Forward Cups: Add more cookie dough and less brownie batter. The top becomes thicker and chewier.
- Salted Finish: Sprinkle a few extra grains of salt on top before baking. The crystals create a sweet-and-savory contrast.
FAQ’s
Can I make these ahead of time?
Yes, bake them a day ahead and store in an airtight container. Reheat for ten seconds to restore the molten center.
Do I need a stand mixer?
No, both batters come together with a whisk and a sturdy spoon. Hand mixing is quick and practical.
Can I freeze these brookie cups?
Yes, freeze in a single layer before transferring to a bag. Thaw at room temperature or warm gently.
Why did my peanut butter leak out?
The cookie dough did not seal completely around the ball. Pinch the edges firmly to close every gap next time.
How do I keep the peanut butter center from melting away?
Press the ball firmly into the brownie base and seal the cookie dough completely. The powdered sugar stabilizes the filling.
Can I bake these in a mini muffin tin?
The recipe is written for a standard 12-cup tin. A mini tin alters bake times, so test for doneness earlier.
Why is my brownie layer dry?
Overbaking or overmixing are the usual causes. Fold gently and pull the cups from the oven as soon as the tops look set.
Can I double the recipe?
Yes, double every ingredient and use two tins or bake in batches. Keep the assembly steps identical.
What if I do not have all three types of chocolate chips?
Use whatever combination you have, keeping the total at one cup. The cups still deliver incredible chocolate flavor.
How do I know when they are done?
Look for matte, set tops that feel slightly firm to a gentle touch. The centers can still feel soft as they rest.
Conclusion
Triple Chocolate Brookie Cups with Peanut Butter Center prove that you never have to choose between a brownie and a cookie. They bring together the best of both worlds in one neat package. With their hidden peanut butter heart and trio of chips, they turn any moment into something special. Bake a batch today and watch them disappear.
PrintTriple Chocolate Brookie Cups with Peanut Butter Center
The ultimate mash-up of brownie and cookie in a cup, hiding a molten peanut butter core inside two distinct chocolate layers for a fudgy, chewy bite.
- Prep Time: 20 minutes
- Cook Time: 20 minutes
- Total Time: 40 minutes
- Yield: 12 brookie cups
- Category: Dessert
- Method: Baking
- Cuisine: American
- Diet: Vegetarian
Ingredients
- Brownie layer
- ½ cup (115 g) butter, melted
- ¾ cup (150 g) sugar
- 1 egg
- 1 tsp vanilla
- ⅓ cup (35 g) cocoa powder
- ⅓ cup (45 g) flour
- ¼ tsp salt
- Double chocolate cookie layer
- ½ cup (115 g) butter, softened
- ¾ cup (150 g) brown sugar
- 1 egg
- 1 tsp vanilla
- 1 cup (125 g) flour
- ¼ cup (25 g) cocoa powder
- ½ tsp baking soda
- ½ tsp salt
- ⅓ cup each dark, milk and white chocolate chips
- Peanut butter center
- ⅓ cup (85 g) peanut butter
- 2 tbsp powdered sugar
Instructions
- Preheat oven to 350°F (175°C) and grease a 12-cup muffin tin.
- Brownie: Whisk butter and sugar, add the egg and vanilla, then fold in cocoa, flour and salt.
- Press 1½ tbsp brownie batter into each cup.
- Center: Mix peanut butter with powdered sugar and roll into 12 small balls (about 1 tsp each). Press one into each brownie base.
- Cookie: Cream butter and brown sugar, then add the egg and vanilla. Mix in flour, cocoa, baking soda and salt, then fold in all three chocolate chips.
- Flatten a tbsp of cookie dough and wrap it over each peanut butter ball to seal it in.
- Bake 18–22 minutes until the tops look set.
- Rest 10 minutes in the pan before removing so the centers stay gooey.
- Serve warm for maximum molten peanut butter.
Notes
- Soften the cookie butter fully so it creams smoothly; cold butter leads to gritty texture.
- Melt the brownie butter just until liquid, not sizzling hot, to avoid cooking the egg prematurely.
- Use a light hand when folding flour into the brownie batter; overmixing develops gluten and toughens the base.
- Seal the cookie dough completely around the peanut butter ball to prevent leaks.
- Check for doneness by looking for matte, set tops rather than relying solely on time.
- Do not overmix the brownie batter or overbake.
- Do not skip the 10-minute resting period or the centers may rupture.
Nutrition
- Serving Size: 1 brookie cup
- Calories: 320