Dark Chocolate & Strawberry Center Bars
Dark Chocolate & Strawberry Center Bars
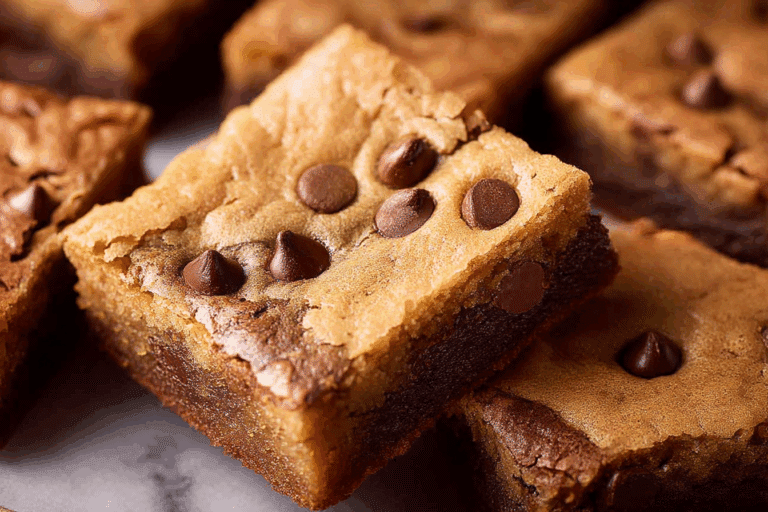
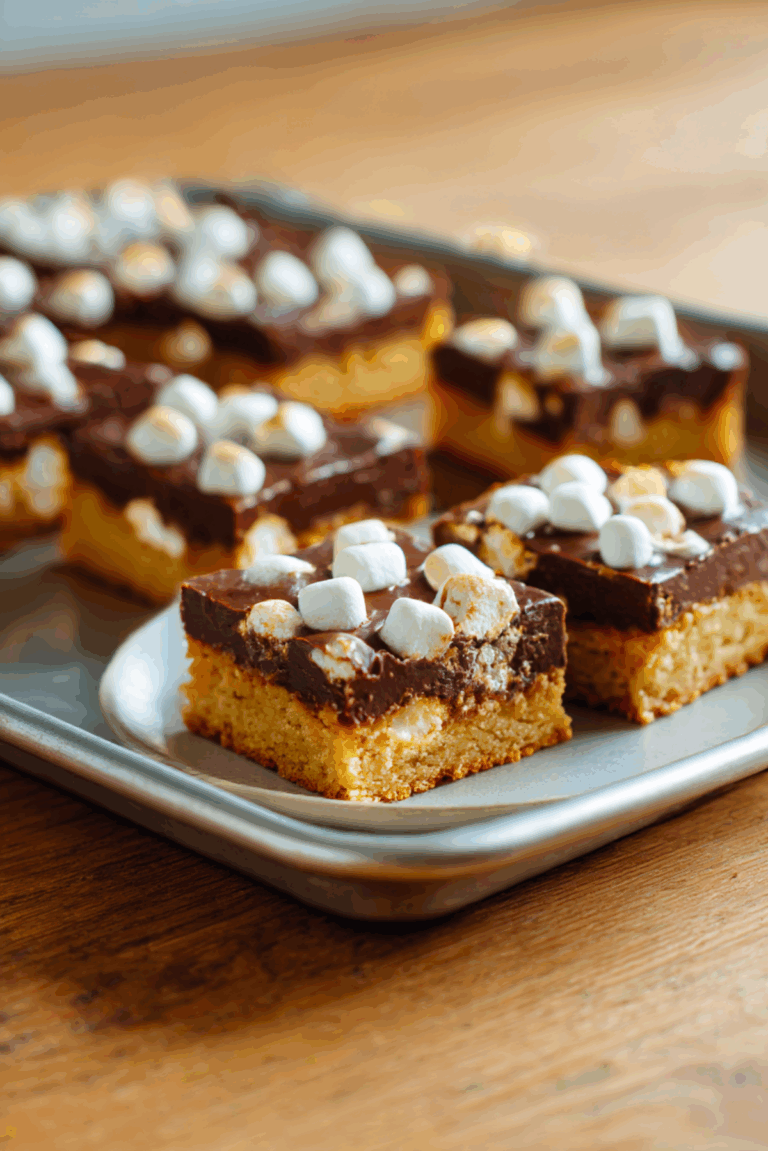
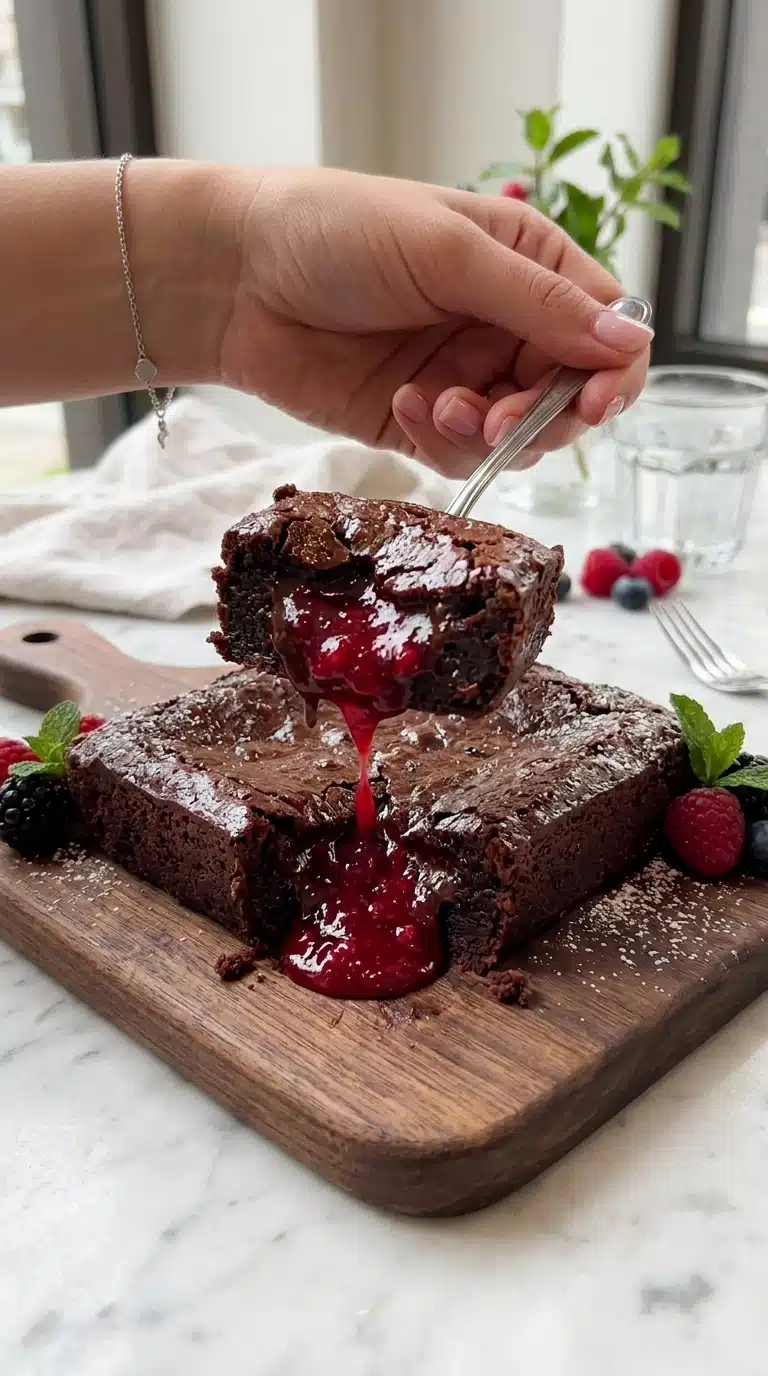
Dark Chocolate & Strawberry Center Bars represent the perfect marriage of rich cocoa depth and bright berry sweetness. These homemade treats capture the essence of chocolate-covered strawberries in a convenient, handheld form. Trust me, you’re going to love how the velvety fudge exterior gives way to a jammy fruit center. It’s worth every bite.
The Decadent Heritage and Appeal of Dark Chocolate & Strawberry Center Bars
The combination of chocolate and strawberries has delighted palates for centuries, evolving from simple dipped fruit to sophisticated confections like these bars. This recipe draws inspiration from classic European chocolate shops where fruit centers reign supreme. The contrast between bitter dark chocolate and sweet-tart berries creates a sensory experience that feels both indulgent and refreshing. Every bite tells a story of culinary tradition meeting modern convenience.
Why Dark Chocolate & Strawberry Center Bars Deserve a Spot in Your Kitchen
These bars offer everything you want in a homemade treat without the fuss of tempering chocolate or baking. They come together with minimal equipment and deliver maximum flavor impact.
Versatile: Serve them as afternoon snacks, elegant dinner party desserts, or packed lunch surprises.
Budget-Friendly: Making these at home costs a fraction of boutique chocolate shop prices.
Quick and Easy: No oven required, just a stovetop and freezer.
Customizable: Swap the berries or adjust the sweetness to match your preferences.
Crowd-Pleasing: The familiar flavor combination appeals to both children and sophisticated palates.
Make-Ahead Friendly: Prepare them days in advance and store until needed.
Great for Leftovers: The flavors actually improve after a day as the strawberry center melds with the chocolate.
Work quickly when assembling the layers to prevent the fudge from setting before you seal the filling. Use a hot knife for slicing to achieve those clean, professional edges. Chill the strawberry filling completely before adding the top layer to prevent bleeding. If your kitchen runs warm, place the assembled bars in the freezer rather than the refrigerator for faster setting.
Essential Equipment and Quality Ingredients
You do not need fancy equipment to create these confections, but a few key items make the process smoother. Gather everything before you begin to streamline your workflow.
Small heavy-bottomed saucepan: This prevents the strawberry filling from scorching during the simmering process.
Silicone spatula: Essential for scraping every bit of the glossy chocolate mixture from the bowl.
Small loaf pan or silicone mold: Provides the perfect shape for uniform bars.
Parchment paper: Creates easy lift-out and prevents sticking without extra grease.
Sharp chef’s knife: A warm blade cuts through the chilled chocolate without cracking it.
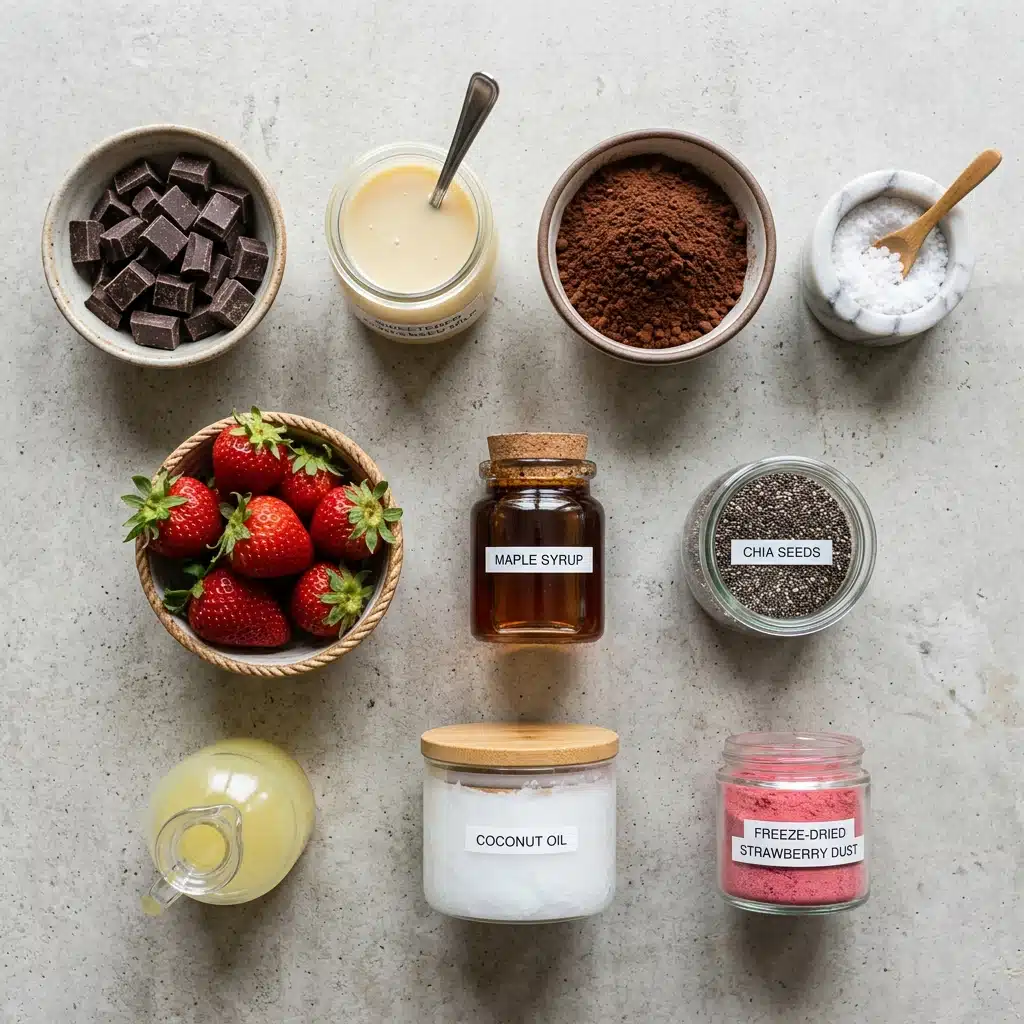
Now let us gather the components that make these bars special. Quality matters here, so choose the best chocolate you can afford.
- 200 g dark chocolate (chopped or chips): Forms the rich base and top layers with intense cocoa flavor.
- 100 g sweetened condensed milk: Adds sweetness and creates that fudgy, dense texture.
- 40 g unsweetened Dutch-process cocoa powder: Deepens the chocolate color and adds complexity.
- 1 pinch sea salt: Enhances the sweetness and balances the bitterness of the dark chocolate.
- 150 g fresh strawberries (diced): Provides the bright, jammy center that cuts through the richness.
- 1 tbsp maple syrup or honey: Sweetens the fruit filling naturally.
- 1 tsp chia seeds or cornstarch: Acts as a thickener to prevent the center from oozing.
- 1 tsp fresh lemon juice: Adds acidity to brighten the strawberry flavor.
- 150 g dark chocolate (for coating/drizzling): Creates the crisp outer shell.
- 1 tsp coconut oil: Gives the coating chocolate a beautiful sheen and snap.
- 1 tbsp freeze-dried strawberry dust: Provides color contrast and intense berry flavor for garnish.
Smart Substitutions and Ingredient Spotlights
Sometimes you need to adapt based on what is in your pantry. Here are reliable swaps that maintain the integrity of the recipe.
Chia seeds: Use cornstarch mixed with a teaspoon of water to create a slurry if you prefer a smoother filling texture.
Maple syrup: Honey works beautifully, or try agave nectar for a vegan option.
Fresh strawberries: Frozen berries work in a pinch, though you may need to cook them slightly longer to evaporate excess moisture.
Let us highlight the stars of this confection.
Dark chocolate: Choose chocolate with at least 70% cacao content for the best flavor and snap. The quality of your chocolate directly determines the final taste of your Dark Chocolate & Strawberry Center Bars. Learn more about dark chocolate varieties.
Fresh strawberries: Look for berries that are fragrant and deeply red. They provide natural pectin that helps the center set without artificial additives.
Crafting Your Dark Chocolate & Strawberry Center Bars Step by Step
Follow these steps precisely to achieve that perfect layered effect. Patience during the chilling phase ensures clean slices later.
Make the Strawberry Filling: Simmer diced strawberries, sweetener, and lemon juice in a small pan over low heat for 5–7 minutes until jammy. Stir in chia seeds (or cornstarch slurry), crush slightly with a fork, and let cool completely to thicken. Use a heavy-bottomed pan to prevent scorching the delicate fruit sugars. The mixture should coat the back of a spoon when properly thickened.
Prepare the Fudge: Melt the 200 g dark chocolate, then stir in sweetened condensed milk, cocoa powder, and sea salt until a dense, glossy dough forms. Work quickly while the chocolate is warm to ensure the condensed milk incorporates smoothly without seizing.
Assemble the Layers: Line a small loaf pan or silicone bar mold with parchment paper. Press half of the chocolate fudge firmly into the base. Spread the thickened strawberry compote down the center, leaving a slight border. Gently press and smooth the remaining fudge over the top to seal the filling. Wetting your fingertips slightly prevents the sticky fudge from clinging to your hands as you press it into place.
Chill: Freeze for 1 hour (or refrigerate for 3–4 hours) until fully set and firm to the touch. The freezer method creates a firmer texture that makes slicing much cleaner and easier.
Slice & Enrobe: Cut into rectangular bars using a warm, sharp chef’s knife. Melt 150 g dark chocolate with coconut oil. Dip or coat the chilled bars to create a crisp outer shell, then finish with thin chocolate drizzles and crushed freeze-dried strawberries. Tempering is not necessary here, but keeping the coating chocolate warm ensures a smooth, glossy finish on every bar. Read more about melting chocolate techniques.
Set & Serve: Allow the chocolate shell to harden for 5 minutes, slice open to reveal the molten fruit center, and enjoy. These bars taste best at room temperature, so let them sit for a few minutes after removing from the refrigerator.
Common Pitfalls and How to Sidestep Them
Even simple recipes have potential stumbling blocks. Here is how to troubleshoot before you begin.
- Skipping the cooling step: If you add warm strawberry filling to the fudge, the layers will bleed together. Always cool completely.
- Rushing the chill time: Attempting to slice before the bars are fully set results in crumbling and misshapen pieces.
- Using wet strawberries: Excess moisture prevents the filling from thickening properly. Pat your diced berries dry before cooking.
Nutrition Facts and Preparation Timeline
Understanding the nutritional profile helps you enjoy these treats mindfully.
Servings: 12 bars / Calories per serving: Approximately 180 / Note: These are approximate values.
Prep Time: 25 minutes / Cook Time: 10 minutes / Total Time: 1 hour 35 minutes
Creative Variations and Your Questions Answered
Experiment with different berry centers or add texture to the coating.
Berry Swap: Use raspberries or blackberries for a tangier center.
Nutty Crunch: Press chopped pistachios into the wet chocolate coating.
Coffee Boost: Add espresso powder to the fudge base to amplify the chocolate intensity.
PrintDark Chocolate & Strawberry Center Bars
Rich dark chocolate fudge bars with a jammy strawberry center, capturing the essence of chocolate-covered strawberries in a convenient, handheld form.
- Prep Time: 25 minutes
- Cook Time: 10 minutes
- Total Time: 1 hour 35 minutes
- Yield: 12 bars
- Category: Dessert
- Method: No-Bake
- Cuisine: European
- Diet: Vegetarian
Ingredients
- Fudge Base & Top:
- 200 g dark chocolate (chopped or chips)
- 100 g sweetened condensed milk
- 40 g unsweetened Dutch-process cocoa powder
- 1 pinch sea salt
- Strawberry Center:
- 150 g fresh strawberries (diced)
- 1 tbsp maple syrup or honey
- 1 tsp chia seeds or cornstarch (to thicken)
- 1 tsp fresh lemon juice
- Chocolate Shell & Garnish:
- 150 g dark chocolate (for coating/drizzling)
- 1 tsp coconut oil
- 1 tbsp freeze-dried strawberry dust
Instructions
- Make the Strawberry Filling: Simmer diced strawberries, sweetener, and lemon juice in a small pan over low heat for 5–7 minutes until jammy. Stir in chia seeds (or cornstarch slurry), crush slightly with a fork, and let cool completely to thicken.
- Prepare the Fudge: Melt the 200 g dark chocolate, then stir in sweetened condensed milk, cocoa powder, and sea salt until a dense, glossy dough forms.
- Assemble the Layers: Line a small loaf pan or silicone bar mold with parchment paper. Press half of the chocolate fudge firmly into the base. Spread the thickened strawberry compote down the center, leaving a slight border. Gently press and smooth the remaining fudge over the top to seal the filling.
- Chill: Freeze for 1 hour (or refrigerate for 3–4 hours) until fully set and firm to the touch.
- Slice & Enrobe: Cut into rectangular bars using a warm, sharp chef’s knife. Melt 150 g dark chocolate with coconut oil. Dip or coat the chilled bars to create a crisp outer shell, then finish with thin chocolate drizzles and crushed freeze-dried strawberries.
- Set & Serve: Allow the chocolate shell to harden for 5 minutes, slice open to reveal the molten fruit center, and enjoy.
Notes
- Work quickly when assembling the layers to prevent the fudge from setting before you seal the filling.
- Use a hot knife for slicing to achieve clean, professional edges.
- Chill the strawberry filling completely before adding the top layer to prevent bleeding.
- If your kitchen runs warm, place the assembled bars in the freezer rather than the refrigerator for faster setting.
- The flavors improve after a day as the strawberry center melds with the chocolate.
- Always cool the strawberry filling completely; warm filling causes layers to bleed together.
- Do not rush chill time; slicing before fully set results in crumbling and misshapen pieces.
- Pat diced berries dry before cooking to prevent excess moisture.
Nutrition
- Serving Size: 1 bar
- Calories: Approximately 180