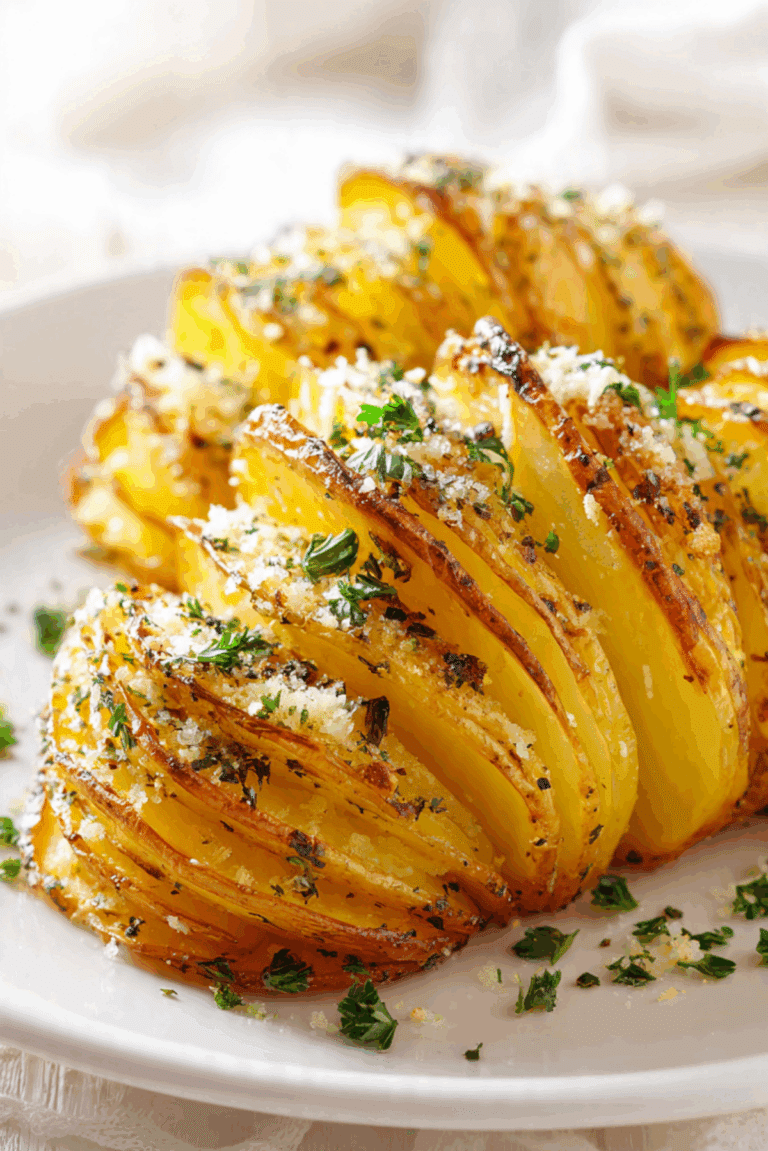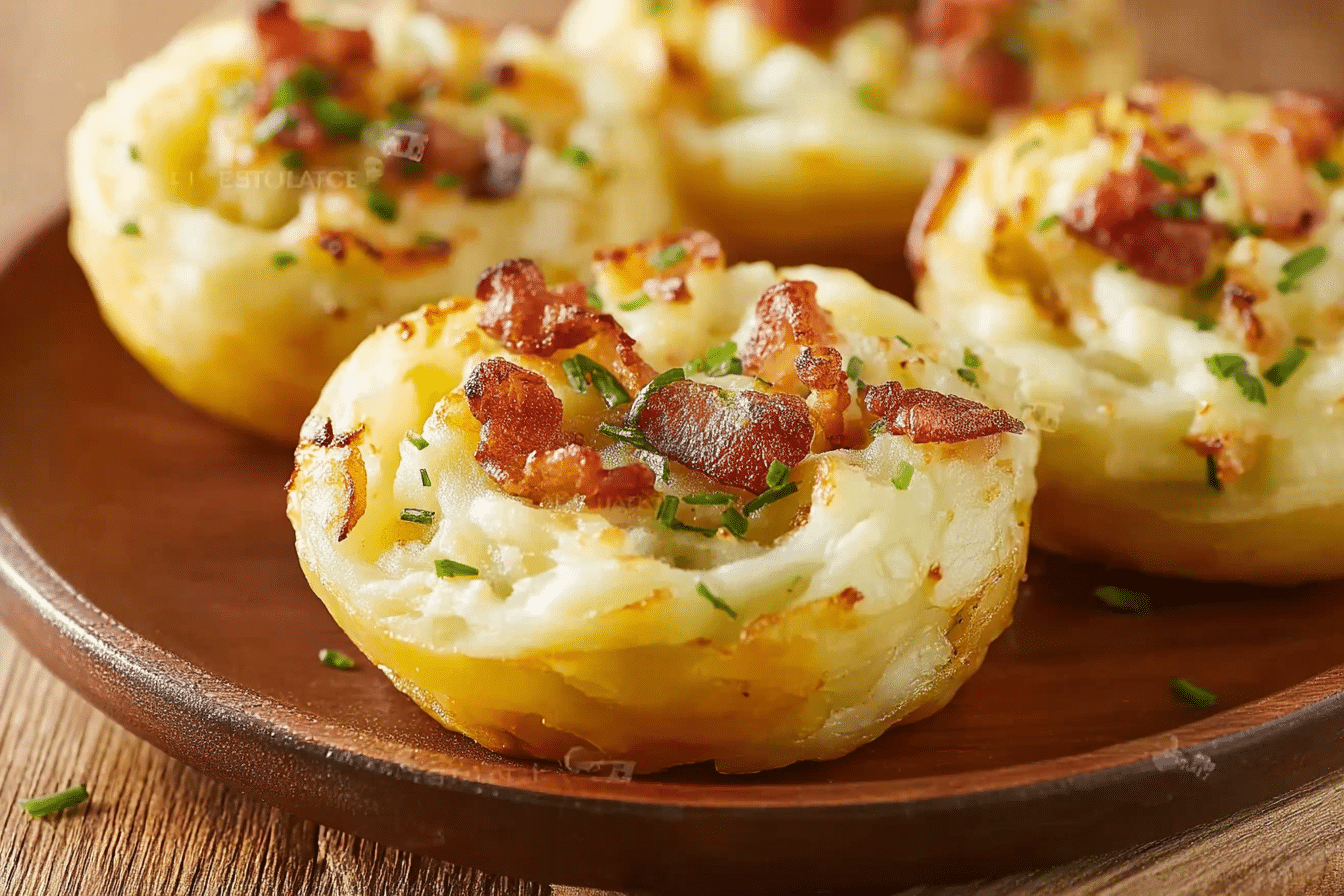
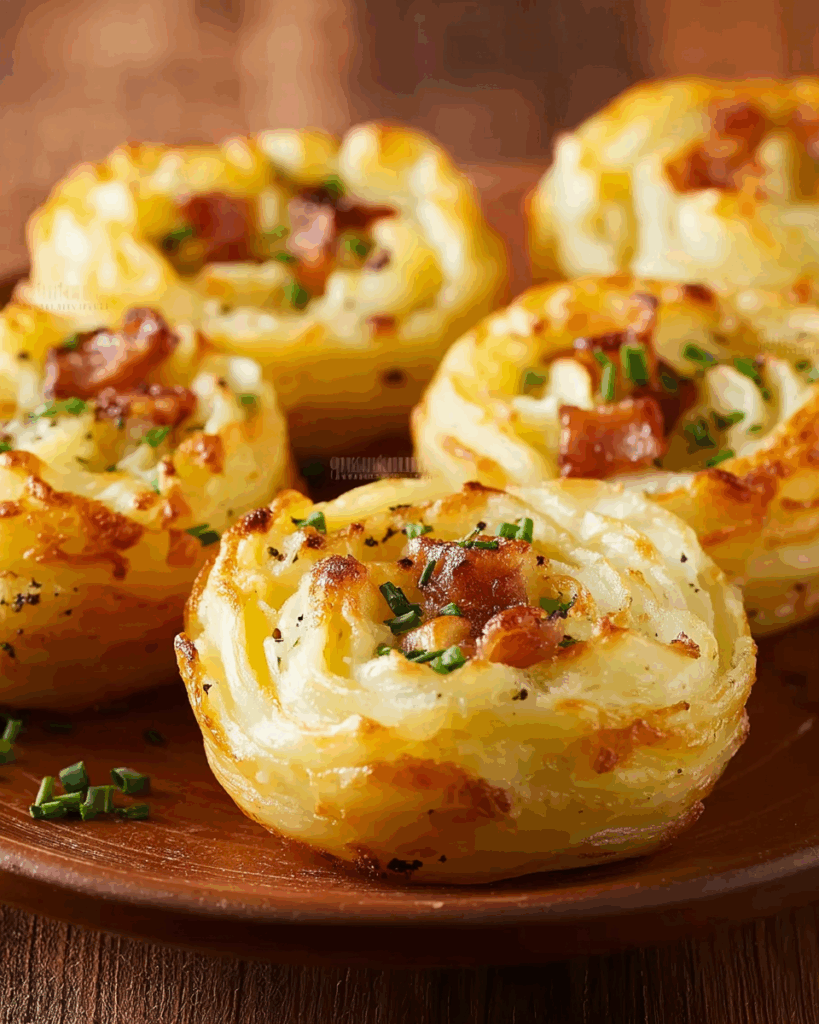
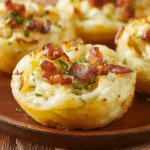
Stuffed Mashed Potato Nests
If you’re craving something cozy, creative, and guaranteed to disappear fast, let me introduce you to these adorable and totally crave-worthy Stuffed Mashed Potato Nests. They’re the perfect blend of buttery mashed potatoes, cheesy goodness, and savory fillings—all baked into cute little muffin-sized nests. The outside is golden and crispy, while the inside stays creamy and full of flavor.
Whether you’re serving them as a party appetizer, a fun family dinner, or a make-ahead lunch, these potato nests are a guaranteed hit. Let’s just say, this is mashed potatoes—but way more exciting.
Why You’ll Love Stuffed Mashed Potato Nests
This recipe isn’t just about the ingredients—it’s about creating moments. It’s that smell of garlic butter in the kitchen, the joy of shaping the nests by hand, and the ooey-gooey cheese pull when you bite in. These little guys are comforting, customizable, and downright addictive. Trust me, you’re going to love them.
Chef’s Pro Tips for Perfect Results
Want to nail this dish on your very first try? Here are some insider secrets…
- Use cold mashed potatoes: They hold shape better and crisp up beautifully.
- Spray or grease your muffin pan well: These can stick easily if you skip this step.
- Pre-bake the nests: This ensures they stay sturdy when filled.
Ingredients
1. For the Potato Nests
1. 3 cups cold mashed potatoes
2. 1 egg
3. ½ cup shredded cheddar or mozzarella cheese
4. 2 tablespoons melted butter
5. Salt and pepper to taste
2. For the Filling
1. 1 cup cooked ground beef or sausage
2. ½ cup sautéed onions or bell peppers (optional)
3. ½ cup shredded cheese
4. 1 teaspoon garlic powder
5. Chopped parsley or green onions for garnish
Instructions
Let’s dive into the steps to create this flavorful masterpiece…
1. Preheat oven to 400°F (200°C). Grease a 12-cup muffin tin or use silicone liners.
2. In a bowl, mix mashed potatoes, egg, shredded cheese, butter, salt, and pepper.
3. Scoop 2–3 tablespoons into each muffin cup. Press into a nest shape with a well in the center.
4. Bake for 15–20 minutes or until edges are lightly golden.
5. In a separate bowl, mix the ground meat, sautéed veggies, shredded cheese, and garlic powder.
6. Spoon filling into baked nests and bake for another 8–10 minutes until the cheese melts.
7. Cool slightly, garnish with parsley or green onions, and serve warm.
Texture & Flavor Secrets
The beauty of this recipe lies in its texture—crispy golden edges, creamy mashed potato centers, and warm savory filling that’s perfectly cheesy. Each bite has that comforting hug of flavor, with a little crunch and a lot of yum.
How to Serve Stuffed Mashed Potato Nests
This dish pairs wonderfully with:
- A crisp green salad
- Gravy or sour cream for dipping
- A side of roasted vegetables for a full meal
Creative Leftover Transformations
Don’t let leftovers go to waste! You can…
- Chop and mix them into a breakfast hash
- Flatten and pan-fry for crispy potato cakes
- Reheat in the air fryer for a crispy snack
Additional Tips
Here are some extra tips…
- For a vegetarian version, use spinach and mushroom filling.
- You can make these ahead and reheat in the oven.
- Try topping them with bacon crumbles or a sunny-side-up egg!
Make It a Showstopper (Presentation Ideas)
Want to wow your guests?
- Garnish each nest with a tiny herb sprig or edible flower.
- Serve on a large wooden board with ramekins of sauces.
- Use mini ramekins instead of muffin tins for a rustic, individual presentation.
FAQ’s
1. Can I use instant mashed potatoes?
Yes, just make them thick and chill them first.
2. Can I freeze these?
Definitely! Let them cool, freeze on a tray, then store in bags.
3. What cheese is best?
Cheddar, mozzarella, gouda, or a mix of your favorites.
4. Can I add veggies to the filling?
Of course—corn, spinach, or mushrooms work great.
5. Do I have to pre-bake the nests?
Yes, it helps them stay sturdy and crispy.
6. Can I prep everything in advance?
Yes! Fill and chill the nests the night before, then bake.
7. Are these kid-friendly?
Very! Kids love the cheesy center and fun shape.
8. What meat alternatives can I use?
Shredded chicken, turkey, or even lentils for a vegetarian twist.
9. How many servings does this make?
About 10–12 nests, depending on portion size.
10. Can I use a mini muffin tin?
Yes—just reduce the baking time a bit.
Conclusion
Stuffed Mashed Potato Nests are cozy, flavorful, and just plain fun. They look fancy, but they’re surprisingly easy to make and endlessly customizable. Whether you’re feeding a crowd or just making dinner extra special, this recipe is one you’ll come back to again and again.
Cherry & Peach Pasta Salad with Feta
This salad is basically sunshine in a bowl. Fresh cherries, juicy peaches, tender pasta, creamy feta… all tossed in a light vinaigrette that pulls it all together. It’s fruity, salty, tangy, and refreshing—everything you want in a summer side dish or light main. Whether you’re hosting a picnic, brunch, or just need a break from boring pasta salads, this one’s a total vibe.
It’s the perfect combo of sweet and savory, and trust me—your guests won’t stop asking for the recipe.
Why You’ll Love Cherry & Peach Pasta Salad with Feta
This salad isn’t just a pretty face—it’s a flavor party. You get the sweet burst of cherries, the juicy bite of peaches, that salty creaminess from feta, and a zing from the vinaigrette. It’s fresh, balanced, and full of texture. You’ll love it because it’s:
- Unique and colorful
- Super easy to make
- Perfect for warm weather
- Totally picnic and potluck approved
Chef’s Pro Tips for Perfect Results
Want to nail this dish on your very first try? Here are some insider secrets…
- Use ripe but firm fruit: Overripe peaches will get mushy in the mix.
- Toss gently: You don’t want to break up the fruit or pasta.
- Chill before serving: Give it 30 minutes in the fridge for max flavor.
Ingredients
1. 8 oz bowtie or rotini pasta
2. 1 cup pitted cherries, halved
3. 1–2 ripe peaches, sliced
4. ½ cup crumbled feta cheese
5. ¼ cup red onion, thinly sliced
6. 1 tablespoon chopped mint or basil (optional)
For the Dressing:
1. 3 tablespoons olive oil
2. 1 tablespoon white balsamic vinegar or lemon juice
3. 1 teaspoon honey or maple syrup
4. Salt and pepper to taste
Instructions
Let’s dive into the steps to create this flavorful masterpiece…
1. Cook the pasta according to package directions. Drain and let cool.
2. In a small bowl, whisk together olive oil, vinegar, honey, salt, and pepper.
3. In a large bowl, toss the cooled pasta with cherries, peaches, feta, red onion, and herbs.
4. Drizzle with the dressing and gently toss to combine.
5. Chill for 30 minutes before serving for best flavor.
Texture & Flavor Secrets
Here’s where this salad shines—every bite is a mix of juicy fruit, al dente pasta, creamy cheese, and zingy vinaigrette. That combo of sweet cherries and salty feta? Chef’s kiss. And the herbs add just the right amount of freshness.
How to Serve Cherry & Peach Pasta Salad with Feta
This dish pairs wonderfully with:
- Grilled chicken or fish
- A crisp glass of rosé
- Crusty bread and olive tapenade on the side
Creative Leftover Transformations
Don’t let leftovers go to waste! You can…
- Add arugula or spinach for a fruity salad bowl
- Top with grilled shrimp for a full meal
- Blend into a cold pasta soup with yogurt dressing
Additional Tips
Here are some extra tips…
- Swap in nectarines or plums if peaches aren’t in season.
- Goat cheese can replace feta for a tangier twist.
- Use whole wheat or gluten-free pasta if needed.
Make It a Showstopper (Presentation Ideas)
Want to wow your guests?
- Serve in a white or glass bowl to highlight the color.
- Garnish with whole mint leaves and extra feta on top.
- Line the serving tray with arugula for a green border.
FAQ’s
1. Can I use frozen fruit?
Fresh is best, but thawed and well-drained fruit works too.
2. Can I make this vegan?
Yes—just skip the feta or use plant-based cheese.
3. What’s the best pasta to use?
Bowtie, rotini, or fusilli—anything that holds dressing well.
4. How long does it keep?
Up to 2 days in the fridge. Best eaten the same day for freshness.
5. Can I add protein?
Totally—grilled chicken, shrimp, or chickpeas work great.
6. Is it kid-friendly?
If they like fruit, yes! You can leave out the onions if needed.
7. What herbs go best?
Mint and basil both pair beautifully with fruit and feta.
8. Can I serve it warm?
It’s best cold or room temperature, but warm isn’t bad either.
9. Is it gluten-free?
Use gluten-free pasta to make it GF-friendly.
10. Can I double the recipe?
Yes, it scales up beautifully for parties!
Conclusion
Cherry & Peach Pasta Salad with Feta is your ticket to pasta salad stardom. It’s fresh, fruity, creamy, and has just enough savory edge to keep you coming back for more. It’s perfect for summer, but let’s be honest—you’ll want to make it year-round.
PrintStuffed Mashed Potato Nests
These Stuffed Mashed Potato Nests are a fun and savory way to serve mashed potatoes. Fluffy potato nests are baked until golden, then filled with cheesy vegetables or meat for a crowd-pleasing appetizer or side dish.
- Prep Time: 15 minutes
- Cook Time: 25 minutes
- Total Time: 40 minutes
- Yield: 12 nests
- Category: Appetizer
- Method: Baking
- Cuisine: American
- Diet: Gluten Free
Ingredients
- 3 cups mashed potatoes (preferably made from russet potatoes)
- 1/4 cup grated Parmesan cheese
- 1 large egg
- 1/2 teaspoon salt
- 1/4 teaspoon black pepper
- 1 cup shredded cheddar cheese
- 1/2 cup cooked and crumbled bacon (or sautéed ground beef)
- 1/2 cup steamed broccoli florets (or mixed vegetables)
- 2 tablespoons chopped chives (optional, for garnish)
- Nonstick spray or oil, for greasing the muffin tin
Instructions
- Preheat oven to 400°F (200°C). Grease a 12-cup muffin tin with nonstick spray or oil.
- In a mixing bowl, combine mashed potatoes, Parmesan, egg, salt, and pepper. Mix until smooth and creamy.
- Spoon the mixture evenly into the muffin tin cups. Use the back of a spoon to press down and form a well in the center of each.
- Bake for 15–20 minutes, until the edges are golden and slightly crispy.
- Remove from oven and fill each nest with cheddar cheese, bacon or veggies (or both).
- Return to oven and bake for another 5–7 minutes, until the cheese is melted.
- Let cool slightly. Garnish with chopped chives and serve warm.
Notes
- Use leftover mashed potatoes to make this dish even easier.
- Get creative with fillings — try mushrooms, ham, or caramelized onions.
- Make mini versions in a mini muffin tin for party bites.
Nutrition
- Serving Size: 1 nest
- Calories: 150
- Sugar: 1g
- Sodium: 180mg
- Fat: 8g
- Saturated Fat: 4g
- Unsaturated Fat: 3g
- Trans Fat: 0g
- Carbohydrates: 13g
- Fiber: 1g
- Protein: 6g
- Cholesterol: 30mg