Sourdough Biscuits
There is something truly magical about the aroma of freshly baked sourdough biscuits wafting through the kitchen on a quiet morning. These biscuits are the ultimate comfort food, boasting a golden, crispy exterior that gives way to incredibly tender, tangy layers inside. If you have been looking for the perfect way to use your sourdough discard, this one is a total game changer. Trust me, you are going to love this recipe because it combines that classic buttery goodness with the unique depth of flavor only sourdough can provide. Let me tell you, it is worth every bite when you pull that tray out of the oven and see those high, flaky peaks.
The Ultimate Morning Comfort
These biscuits are not just a side dish, they are the star of the show. Whether you are slathering them in honey or using them to soak up a savory gravy, the texture is consistently light and airy. The sourdough starter adds a subtle tang that balances the richness of the butter perfectly, making them far more interesting than your standard baking powder version. It is a beautiful marriage of traditional farmhouse baking and modern sourdough techniques that results in a flaky masterpiece every single time.
A Heritage of Flavor and Flakiness
The history of biscuits dates back centuries as a staple of quick bread baking, but the addition of sourdough brings in a tradition of fermentation that goes back even further. In many regional cultures, sourdough was the primary leaven before commercial yeast was widely available. This recipe pays homage to those roots by utilizing the natural acidity of the starter to create a tender crumb and a complex flavor profile. It is a little piece of culinary history right on your breakfast plate, reminding us how simple ingredients can be transformed into something extraordinary.
Why This Recipe Works Every Time
You will find that this approach to sourdough biscuits is incredibly reliable and rewarding. Here is why this recipe earns a permanent spot in your kitchen rotation.
Versatile: These beauties work just as well for a fancy brunch as they do for a quick weeknight dinner side.
Budget Friendly: Utilizing sourdough discard means you are making the most of your ingredients without any waste.
Quick and Easy: Despite the sophisticated flavor, the actual hands on time is minimal and very straightforward.
Customizable: You can easily fold in herbs or cheese if you want to take the savory notes even further.
Crowd Pleasing: I have never met a person who could turn down a warm, buttery sourdough biscuit.
Make Ahead Friendly: You can prep the dough and keep it chilled until you are ready to bake for maximum freshness.
Great for Leftovers: They reheat beautifully, maintaining that delightful crunch on the outside.
Master the Art of the Rise
To get those sky high layers, you want to make sure your butter is ice cold. When the cold butter hits the hot oven, it creates steam which pushes the dough up and creates those distinct flakes. Another secret is to avoid overworking the dough, just mix it until it barely comes together to keep the gluten relaxed and the texture soft.
Essential Kitchen Tools
Large Mixing Bowl: You need plenty of space to toss the flour and butter together without making a mess.
Pastry Cutter: This helps you incorporate the cold butter into the flour while keeping the chunks small and distinct.
Biscuit Cutter: A sharp metal cutter ensures you get a clean edge which allows the biscuits to rise straight up.
Baking Sheet: A sturdy pan lined with parchment paper will ensure even browning and easy cleanup.
Pastry Brush: Perfect for applying that final coat of melted butter for a professional finish.
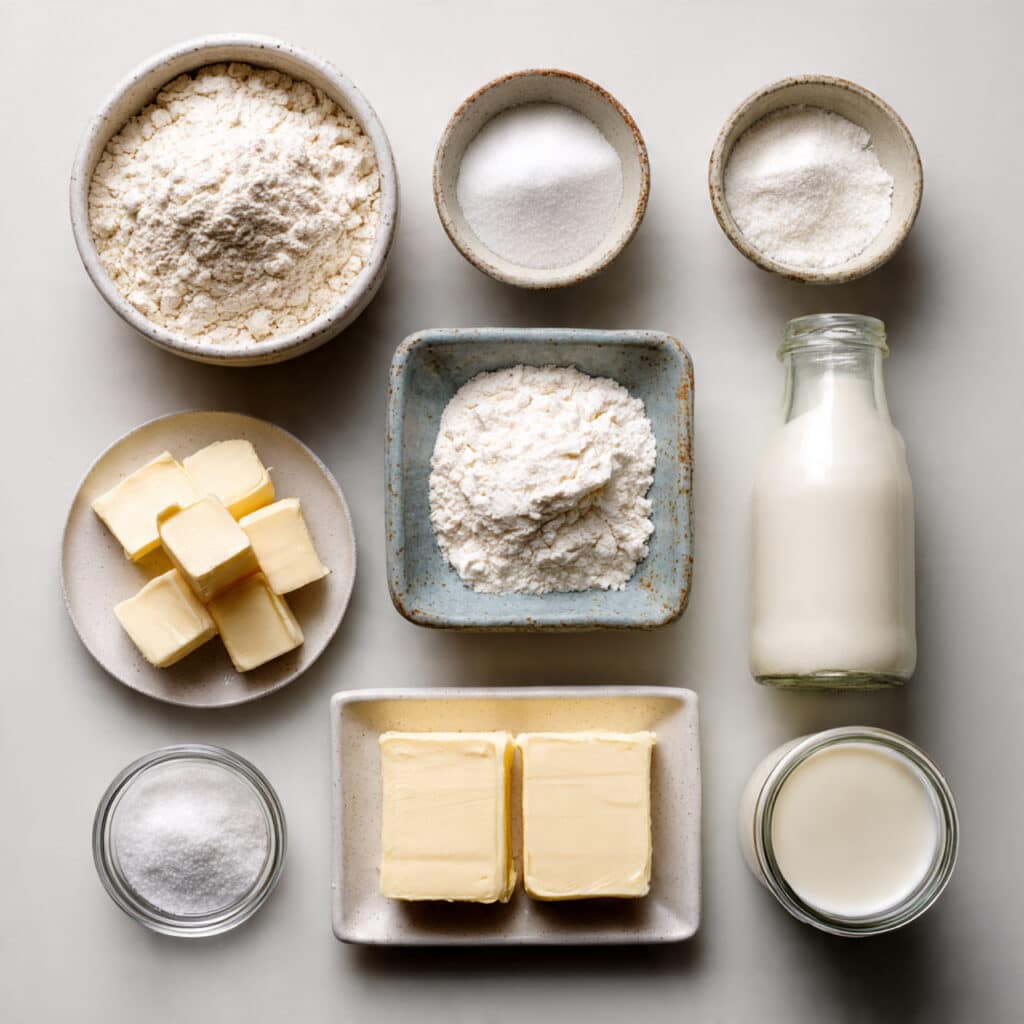
Ingredients You Will Need For Sourdough Biscuits
The harmony of these ingredients is what creates the perfect bite.
- All Purpose Flour: 2.5 cups which provides the structural base for our flaky layers.
- Baking Powder: 1 tablespoon to ensure a reliable and dramatic rise in the oven.
- Sea Salt: 1 teaspoon to enhance the buttery notes and balance the sourdough tang.
- Sugar: 1 tablespoon which helps with browning and adds a tiny hint of sweetness.
- Unsalted Butter: 0.5 cups of cold, cubed butter that creates the signature flakiness.
- Sourdough Discard: 1 cup which provides the moisture and that incredible fermented flavor.
- Milk: 0.25 cups to help bind the dough together and keep it tender.
Smart Ingredient Substitutions
All Purpose Flour: You can use pastry flour for an even softer texture.
Unsalted Butter: Cold coconut oil can work, though the flavor will change slightly.
Milk: Buttermilk is a fantastic alternative if you want even more tang.
Sugar: Honey or maple syrup can be used for a more natural sweetness.
Ingredient Spotlight
Sourdough Discard: This is the secret weapon of the recipe. It provides a complex, acidic foundation that reacts with the baking powder to create a light texture while offering a flavor depth that plain milk or water simply cannot match.
Cold Unsalted Butter: By using unsalted butter, you have total control over the seasoning. Its role is purely functional, creating tiny pockets of steam that result in the iconic “pull apart” layers we all crave.
Step By Step Journey to Flaky Perfection
Let’s get into the kitchen and bring these sourdough biscuits to life.
- Preheat Your Equipment: Set your oven to 425 degrees Fahrenheit and line your baking sheet with parchment paper so it is ready for the cold dough.
- Combine Ingredients: In your large bowl, whisk together the flour, baking powder, salt, and sugar until perfectly blended.
- Prepare Your Cooking Vessel: Use your pastry cutter to work the cold butter into the flour mixture until it looks like coarse crumbs with some pea sized chunks of butter remaining.
- Assemble the Dish: Gently fold in the sourdough discard and milk, stirring until a shaggy dough forms, then turn it onto a floured surface.
- Cook to Perfection: Fold the dough over itself a few times to create layers, pat it down to one inch thickness, and cut into circles before placing them on the pan.
- Finishing Touches: Bake for 15 to 18 minutes until the tops are a beautiful golden brown and the biscuits have doubled in height.
- Serve and Enjoy: Brush the tops with a little extra melted butter while they are still steaming hot and serve immediately.
Texture and Flavor Development
The first thing you will notice is the crunch of the golden crust, which is followed immediately by the pillow-soft interior. The sourdough tang develops as the biscuit cools slightly, offering a sophisticated aftertaste that lingers beautifully. The layers should be easy to peel apart, revealing a moist crumb that is rich with butter.
Helpful Cooking Tips
- Keep everything cold, including your bowl and flour, if the kitchen is particularly warm.
- Do not twist the biscuit cutter when pressing down, as this seals the edges and prevents a high rise.
- Place the biscuits close together on the baking sheet so they help each other rise upward.
What to Watch Out For
- Overmixing the dough: This will lead to tough, bread-like biscuits instead of flaky ones.
- Warm butter: If the butter melts before it hits the oven, you will lose those distinct layers.
- Old baking powder: Make sure your leavening agent is fresh so you get the lift you deserve.
Nutrition Facts
Servings: 12
Calories per serving: 185
Note: These are approximate values.
Time Estimates
Prep Time: 15 minutes
Cook Time: 18 minutes
Total Time: 33 minutes
Storage and Reheating Guide
These biscuits are best fresh, but you can store them in an airtight container for up to two days. To reheat, place them in a 350 degree oven for a few minutes to restore the crispiness. You can also freeze the unbaked dough rounds and bake them straight from the freezer, adding just a couple of minutes to the cook time.
How to Serve Your Biscuits
These are perfect served alongside a hearty stew or as the base for a breakfast sandwich with a fried egg. For a sweet treat, serve them warm with a dollop of strawberry jam and a bit of clotted cream.
Creative Leftover Ideas
If you have extras, turn them into biscuit croutons for a salad or use them as a topping for a pot pie. You can even cube them up and use them in a savory bread pudding.
Final Pro Tips
For an extra shiny top, you can do an egg wash instead of butter before baking. Also, try sprinkling a little flaky sea salt on top right after they come out of the oven for a professional touch.
Make It a Showstopper
To make these look like they came from a high-end bakery, stack them neatly on a wooden serving board lined with a linen napkin. Place a small bowl of whipped honey butter right in the center for a beautiful presentation.
Variations to Try
- Cheesy Garlic: Add shredded cheddar and a pinch of garlic powder to the flour.
- Herbed Sourdough: Fold in fresh chives and thyme for a savory aroma.
- Sweet Cinnamon: Add a teaspoon of cinnamon to the dough and top with cinnamon sugar.
FAQ’s
Q1: Can I use active starter instead of discard?
A1: Yes, active starter works perfectly fine, though it may provide a slightly milder tang than older discard.
Q2: Why did my biscuits not rise?
A2: It is usually either because the baking powder is expired or the dough was handled too much, which developed the gluten.
Q3: How do I get more layers?
A3: Use the “letter fold” technique, folding the dough into thirds and patting it down several times before cutting.
Q4: Can I make these dairy free?
A4: You can use a cold vegan butter substitute and any plant based milk, though the flavor will be less rich.
Q5: Do I have to use a biscuit cutter?
A5: No, you can cut them into squares with a sharp knife to avoid having any dough scraps.
Q6: Can I leave the dough in the fridge overnight?
A6: Yes, you can prep the dough and cut the rounds, then leave them covered in the fridge to bake the next morning.
Q7: Why is my dough so sticky?
A7: Sourdough hydration varies, so if it is too sticky to handle, just add a tablespoon of flour at a time until it is workable.
Q8: Should I wash the tops with milk?
A8: You can, as milk helps with browning, but melted butter provides the best flavor and a softer crust.
Q9: What size cutter should I use?
A9: A 2.5 inch cutter is standard and will yield about 12 medium sized biscuits.
Q10: Can I use whole wheat flour?
A10: You can replace up to half of the all purpose flour with whole wheat, but the biscuits will be denser.
Conclusion
These sourdough biscuits are a testament to how simple pantry staples and a little bit of patience can create something truly extraordinary. There is a sense of pride that comes with using your starter discard to create such a beautiful, flaky result. I encourage you to give this recipe a try this weekend and see just how much life it brings to your breakfast table. Happy baking!
PrintSourdough Biscuits

These sourdough biscuits are the ultimate comfort food, boasting a golden, crispy exterior that gives way to incredibly tender, tangy layers inside. By utilizing sourdough discard, this recipe creates a beautiful marriage of traditional farmhouse baking and modern techniques for a flaky masterpiece every single time.
Ingredients
- All Purpose Flour: 2.5 cups
- Baking Powder: 1 tablespoon
- Sea Salt: 1 teaspoon
- Sugar: 1 tablespoon
- Unsalted Butter: 0.5 cups (cold and cubed)
- Sourdough Discard: 1 cup
- Milk: 0.25 cups
Instructions
- Preheat your oven to 425 degrees Fahrenheit and line a baking sheet with parchment paper.
- In a large mixing bowl, whisk together the all purpose flour, baking powder, sea salt, and sugar until perfectly blended.
- Use a pastry cutter to work the cold, cubed unsalted butter into the flour mixture until it looks like coarse crumbs with some pea sized chunks of butter remaining.
- Gently fold in the sourdough discard and milk, stirring until a shaggy dough forms.
- Turn the dough onto a floured surface and fold it over itself a few times to create layers.
- Pat the dough down to one inch thickness and use a biscuit cutter to cut into circles.
- Place the rounds on the prepared baking sheet and bake for 15 to 18 minutes until the tops are a beautiful golden brown.
- Brush the tops with extra melted butter while steaming hot and serve immediately.
Notes
- Keep it Cold: Ensure your butter and even your mixing bowl stay cold to achieve maximum flakiness.
- No Twisting: When cutting the dough, press straight down without twisting to allow the edges to rise properly.
- Crowded Pan: Placing the biscuits close together on the sheet helps them rise upward rather than spreading outward.