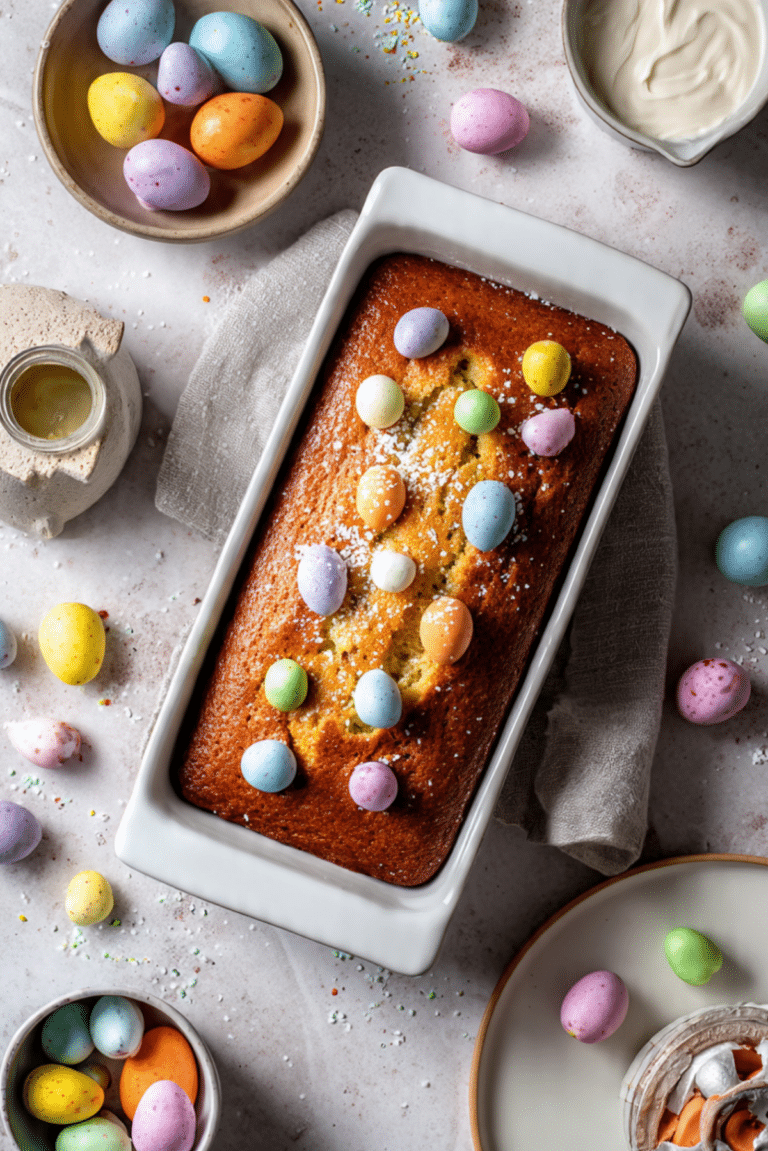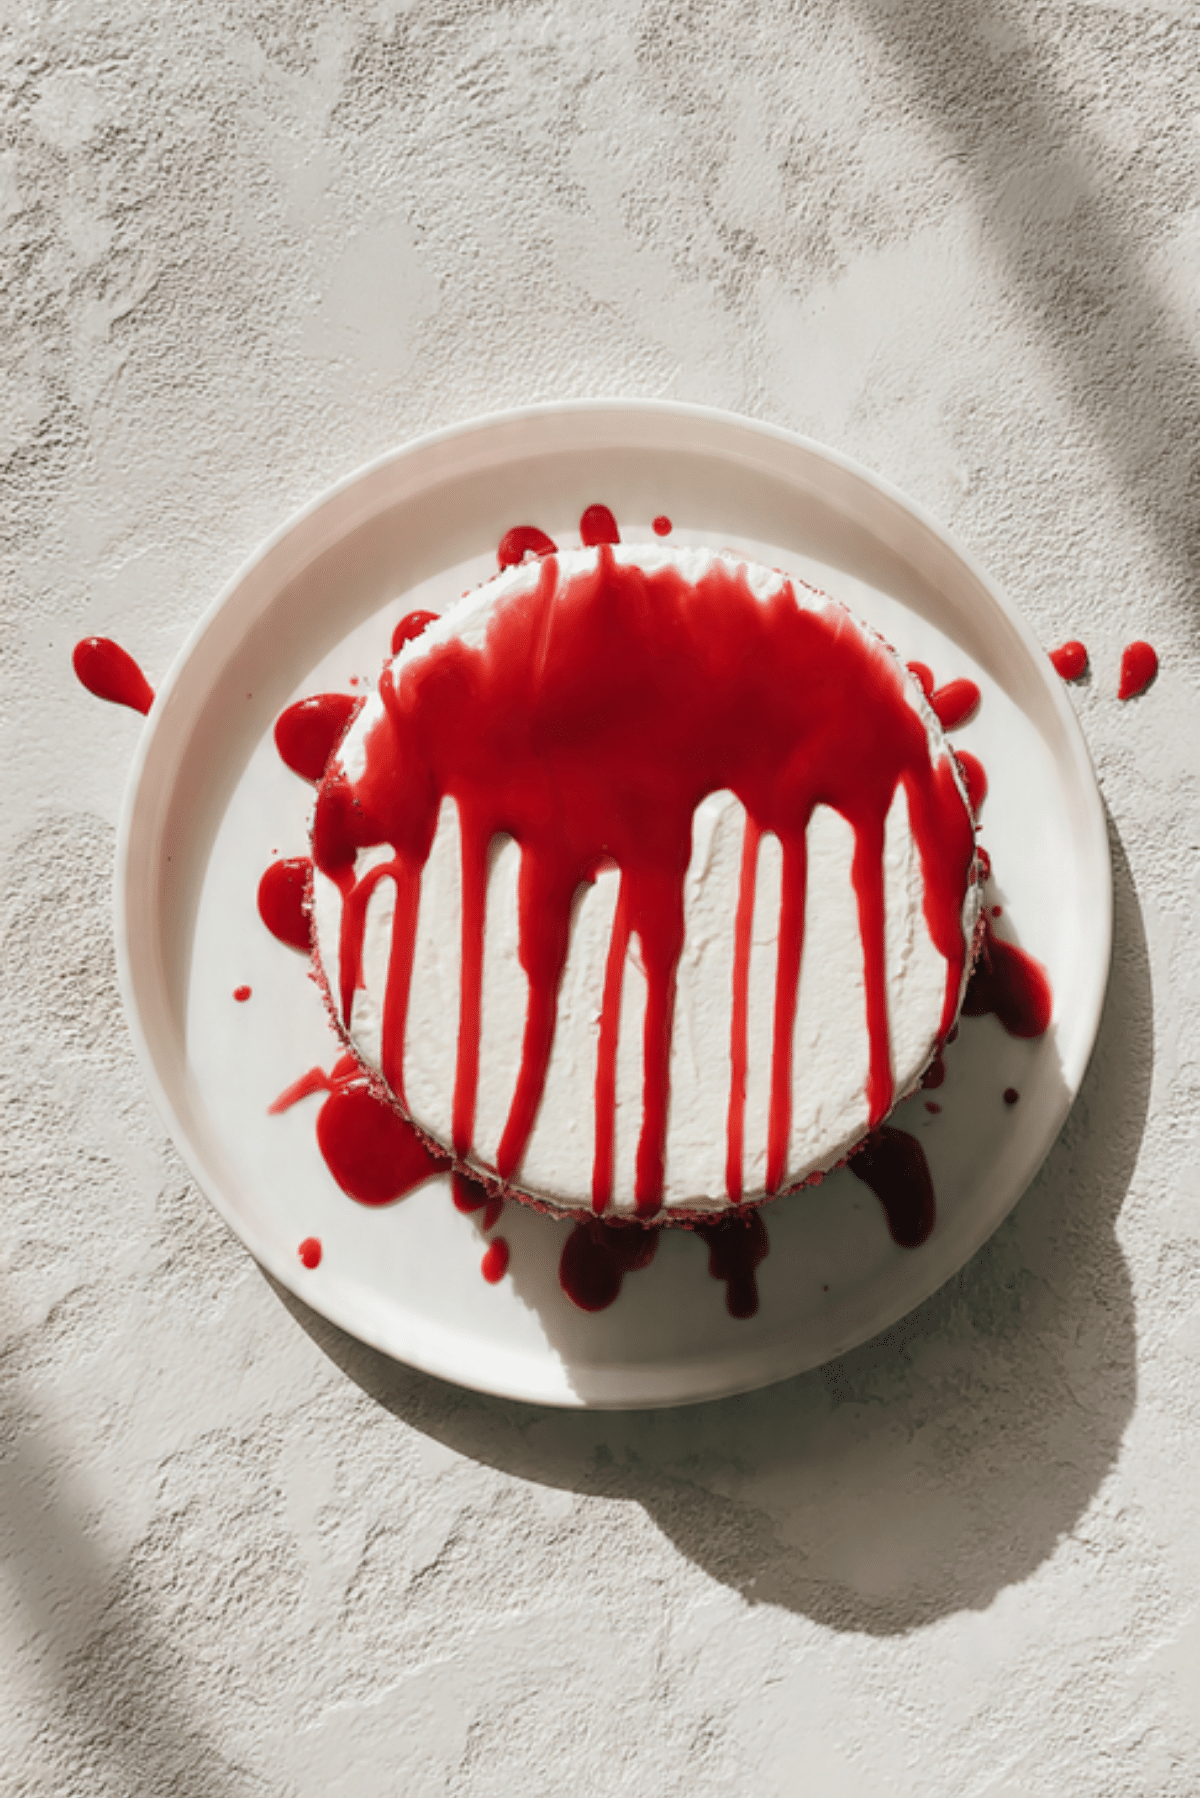
Red Velvet Drip Cake
There is something undeniably sophisticated about a vibrant red cake peeking through layers of snowy white frosting, especially when finished with a dramatic chocolate drip. This Red Velvet Drip Cake is a showstopper that balances the subtle tang of buttermilk with a hint of cocoa and a rich cream cheese filling. It is a dessert that demands attention on any table, inviting your guests to admire the striking color contrast before diving into the velvety crumb. Trust me, you’re going to love this, and let me tell you, it’s worth every bite for that perfect combination of sweetness and tang.
A Crimson Classic Reimagined for Modern Celebrations
Red velvet has a storied past, often associated with luxury and southern hospitality, though its roots trace back to the era of velvet cakes in the Victorian age. The signature mahogany hue originally came from a chemical reaction between natural cocoa powder and acidic buttermilk, though today we enhance that brilliance to create a more festive look. This version takes the traditional layer cake and elevates it with a modern drip technique, making it feel both nostalgic and contemporary at the same time. It is the perfect marriage of old school flavor and new school presentation.
Why This Velvety Masterpiece Is a Total Game-Changer
When you want a cake that tastes as good as it looks, this recipe delivers on every front without requiring professional bakery skills. This one’s a total game-changer for anyone looking to impress at their next big event.
Versatile: This cake fits perfectly at a birthday party, a romantic dinner, or a holiday gathering thanks to its elegant appearance.
Budget-Friendly: Most of the ingredients, like flour, sugar, and cocoa, are likely already sitting in your pantry.
Quick and Easy: While the assembly looks complex, the actual baking of the layers is quite straightforward and stress-free.
Customizable: You can change the color of the drip or add different toppings like fresh berries or gold leaf to match any theme.
Crowd-Pleasing: Almost everyone enjoys the mild chocolate flavor and the iconic tang of cream cheese frosting.
Make-Ahead Friendly: The cake layers can be baked a day in advance, which actually makes them easier to stack and frost.
Great for Leftovers: Because of the oil and buttermilk, this cake stays incredibly moist even a few days after it has been sliced.
Secrets for a Smooth and Stunning Drip
The key to a successful drip cake is temperature control, both for the cake and the chocolate ganache. You want your cake to be very cold, preferably chilled in the fridge for at least an hour after the final coat of frosting is applied. This helps the chocolate set quickly as it moves down the side, preventing it from running all the way to the bottom. For the ganache itself, it should be warm to the touch but not hot, with a consistency similar to heavy cream. If it is too thick, it will look clumpy, and if it is too thin, it will look transparent.
Essential Tools for Your Decorating Journey
Having these tools ready will help you achieve that professional, clean finish that makes a drip cake so impressive.
- 6 inch Round Cake Pans: Using smaller pans creates a taller, more dramatic profile for the drips to fall down.
- Turntable: This is essential for getting smooth sides on your frosting as you rotate the cake.
- Offset Spatula: The best tool for spreading frosting evenly between layers and on the top.
- Squeeze Bottle: Using a bottle gives you much more control over the drip than using a spoon.
- Cake Scraper: A flat edge helps you achieve those perfectly vertical, smooth sides.
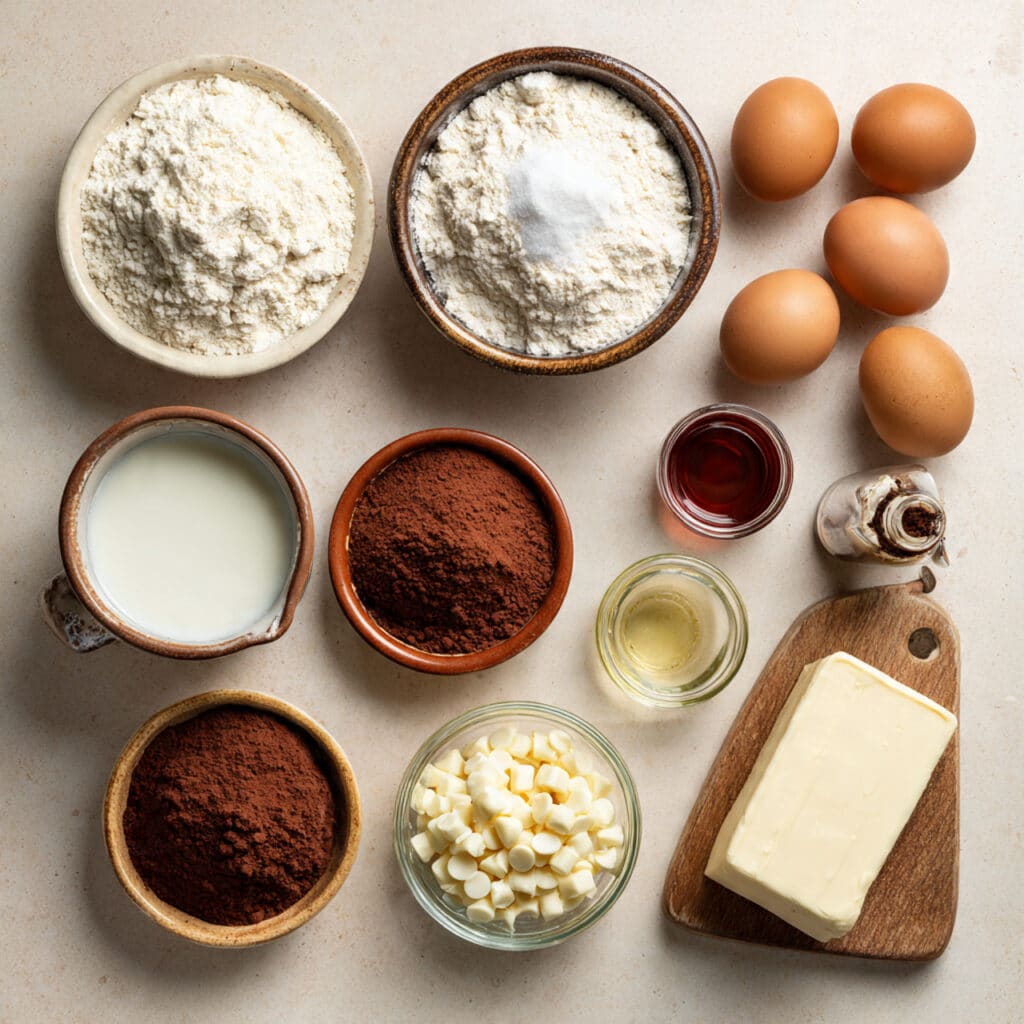
Ingredients You Will Need for This Elegant Creation
A great red velvet cake relies on the perfect balance of acidity and moisture to create its signature texture.
- All Purpose Flour: 320 grams Provides the necessary structure to support the height of the cake.
- Granulated Sugar: 300 grams Sweetens the batter and helps create a soft, tender crumb.
- Cocoa Powder: 15 grams Just enough to give a hint of chocolate without overpowering the red color.
- Buttermilk: 240 milliliters The acid here reacts with the leavening agents to make the cake light and fluffy.
- Vegetable Oil: 180 milliliters Ensures the cake remains moist and soft even when refrigerated.
- Large Eggs: 2 units Provide structure and richness to the batter.
- Red Food Coloring: 2 tablespoons Gives the cake its iconic, vibrant crimson hue.
- Vanilla Extract: 2 teaspoons Enhances all the other flavors in the cake and frosting.
- Cream Cheese: 450 grams The base for the classic frosting that everyone expects with red velvet.
- White Chocolate Chips: 100 grams Melted with a bit of cream to create the beautiful white drip.
Simple Swaps for Your Pantry
If you are missing an ingredient, you can easily pivot without losing the essence of this beautiful dessert.
Buttermilk: You can make your own by adding a tablespoon of lemon juice or white vinegar to a cup of regular milk and letting it sit.
Vegetable Oil: Melted coconut oil or a neutral flavored oil like canola will work perfectly.
White Chocolate Drip: You can use dark chocolate or even a simple powdered sugar glaze if you prefer.
A Closer Look at Our Key Ingredients
Understanding these two components will help you appreciate why they are so vital to the success of your cake.
Buttermilk: This is the magic ingredient that gives red velvet its slight tang and incredibly tender, “velvety” texture.
Red Food Coloring: While optional for flavor, it is what provides the visual wow factor that makes this cake a true classic.
Step by Step Guide to Baking Bliss
Follow these steps carefully to build a cake that is as sturdy as it is beautiful.
- Preheat Your Equipment: Get your oven to 350 degrees F and grease your pans thoroughly, lining the bottoms with parchment circles.
- Combine Ingredients: Whisk your dry ingredients together in one bowl, then mix the oil, sugar, eggs, buttermilk, and coloring in another until smooth.
- Prepare Your Cooking Vessel: Slowly fold the dry ingredients into the wet ones, being careful not to overmix, which could make the cake tough.
- Assemble the Dish: Divide the batter evenly between your pans and tap them on the counter to release any large air bubbles.
- Cook to Perfection: Bake for about 30 to 35 minutes until a tester comes out clean, then let them cool completely before frosting.
- Finishing Touches: Stack your layers with cream cheese frosting in between, apply a crumb coat, chill, and then apply the final smooth layer.
- Serve and Enjoy: Carefully apply the white chocolate drip around the edges of the chilled cake and let it set before slicing.
Exploring the Deep Flavors and Textures
The first thing you will notice is the incredible softness of the cake, which almost melts in your mouth. The cream cheese frosting provides a thick, velvety contrast that is both sweet and salty. When you get to the drip, the white chocolate adds a final snap of sweetness that ties the whole experience together. The colors alone make the eating experience feel special, as the bright red interior is revealed against the white exterior.
Expert Cooking Tips and Tricks
- Freeze your cake layers for thirty minutes before frosting to minimize crumbs.
- Use a warm scraper to get the smoothest possible finish on your cream cheese frosting.
- Test your drip consistency on the back of a cold glass before moving to the actual cake.
Common Mistakes and How to Avoid Them
- Warm Cake: Never frost a warm cake, or the cream cheese will melt and slide right off.
- Overheating Chocolate: Melt your white chocolate in short bursts to avoid seizing or burning it.
- Skipping the Crumb Coat: This thin initial layer of frosting is vital for locking in red crumbs so they don’t ruin your white finish.
Nutrition Facts and Servings
Servings: 14
Calories per serving: 520
Note: These are approximate values.
Preparation and Baking Times
Prep Time: 45 minutes
Cook Time: 35 minutes
Total Time: 80 minutes
Storage and Make Ahead Advice
Because of the cream cheese frosting, this cake must be stored in the refrigerator. It will stay fresh for up to four days if kept in an airtight container or a cake carrier. You can also freeze the entire cake for up to a month, though the drip may lose some of its shine once thawed. To serve, let it sit at room temperature for about thirty minutes so the frosting softens slightly.
Creative Serving and Pairing Ideas
This cake is quite rich, so it pairs beautifully with a simple cup of black coffee or a glass of cold milk. For a special occasion, serve it alongside fresh raspberries or strawberries to lean into the red theme. If you want to go over the top, a small glass of sparkling cider makes a wonderful non alcoholic accompaniment.
Transforming Your Leftovers
If you find yourself with extra cake, you can crumble the leftovers and mix them with a little frosting to make red velvet cake pops. You can also layer cubes of the cake in jars with extra frosting and fruit for a quick and easy trifle that looks amazing.
Additional Advice for Success
Always use gel food coloring rather than liquid if possible, as it provides a much more intense color without thinning out the batter. Also, make sure your cream cheese is completely at room temperature before beating it to ensure there are no lumps in your frosting.
How to Make It a Showstopper
To take the visual appeal to the next level, top the cake with a crown of fresh red roses or piped frosting swirls. You can also sprinkle some of the cake crumbs on top of the drip for a beautiful textured look. A gold cake topper can add that final touch of elegance for a wedding or anniversary.
Creative Variations to Try
- Blue Velvet: Simply swap the red coloring for royal blue for a stunning and unexpected look.
- Chocolate Drip: Use dark chocolate ganache instead of white for a more dramatic, high contrast finish.
- Berry Filled: Add a layer of raspberry jam between the cake layers for an extra burst of tartness.
- Nutty Crunch: Press chopped pecans into the bottom half of the cake frosting for added texture.
FAQ’s
- Why is my red velvet cake brown?
This usually happens if you use too much cocoa powder or not enough food coloring to overcome the natural brown of the cocoa. - Can I use butter instead of oil?
Yes, but the cake will be slightly firmer and may dry out faster in the refrigerator. - How do I get the drip to stop halfway?
Make sure the cake is very cold and your ganache is not too hot when you apply it. - Is buttermilk necessary?
Yes, it is the key to the flavor and the chemical reaction that makes the cake tender. - Can I make this as cupcakes?
Absolutely, just reduce the baking time to about 18 to 20 minutes. - Why is my cream cheese frosting runny?
This usually happens if the cream cheese was too soft or if you overbeat it after adding the sugar. - What can I use instead of red food dye?
Beet powder can work, though the color will be more of a deep earthy red than a bright crimson. - Can I use a different frosting?
While cream cheese is traditional, a white chocolate buttercream also works beautifully. - How do I cut clean slices?
Use a sharp knife dipped in hot water and wiped dry between every single cut. - Do I need to sift the flour?
Sifting the flour and cocoa powder together ensures there are no lumps in your velvety batter.
Conclusion
Creating a Red Velvet Drip Cake is an incredibly rewarding process that results in a dessert that is as much a piece of art as it is a treat. From the first whisk of the crimson batter to the final pour of the chocolate drip, every step brings you closer to a masterpiece. I hope you enjoy every moment of the process and every delicious bite of the result. This one’s a total game-changer for your baking portfolio, and I can’t wait for you to see the look on everyone’s faces when you bring it out.
PrintRed Velvet Drip Cake
A stunning and vibrant red velvet layer cake featuring a tender buttermilk crumb, rich cream cheese frosting, and an elegant white chocolate drip.
Ingredients
- 320g All Purpose Flour
- 300g Granulated Sugar
- 15g Cocoa Powder
- 240ml Buttermilk
- 180ml Vegetable Oil
- 2 Large Eggs
- 2 tbsp Red Food Coloring
- 2 tsp Vanilla Extract
- 450g Cream Cheese
- 100g White Chocolate Chips
Instructions
- Preheat oven to 350°F (175°C) and grease two 6-inch round cake pans.
- Whisk flour, sugar, and cocoa powder in a large bowl.
- In a separate bowl, mix buttermilk, oil, eggs, food coloring, and vanilla.
- Gently combine wet and dry ingredients until smooth.
- Divide batter into pans and bake for 30-35 minutes.
- Cool layers completely, then frost with a mixture of cream cheese and powdered sugar.
- Chill the frosted cake for 1 hour.
- Melt white chocolate with a splash of cream and carefully drip over the edges of the cold cake.
Notes
- Ensure the cake is very cold before applying the drip to help it set quickly.
- Use gel food coloring for the most vibrant red color.
- Do not overmix the batter to keep the texture soft and velvety.