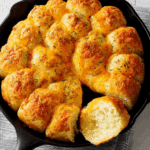
Pull-Apart Herb Bread
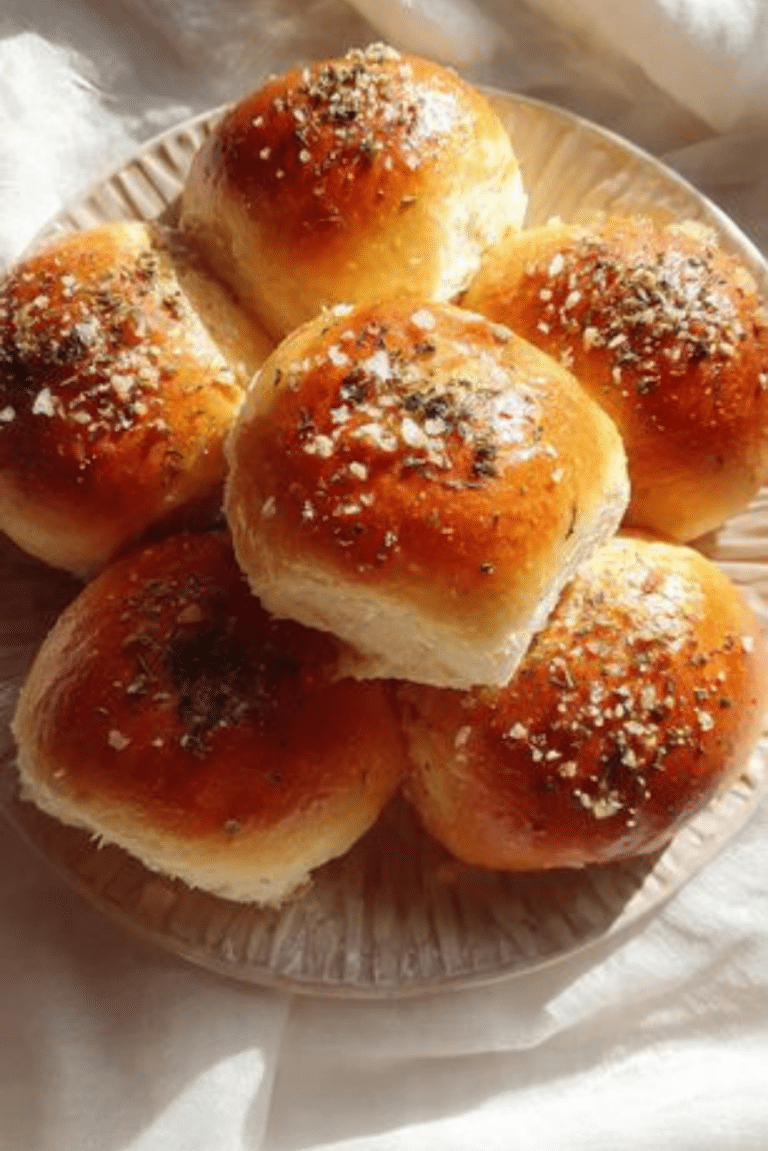
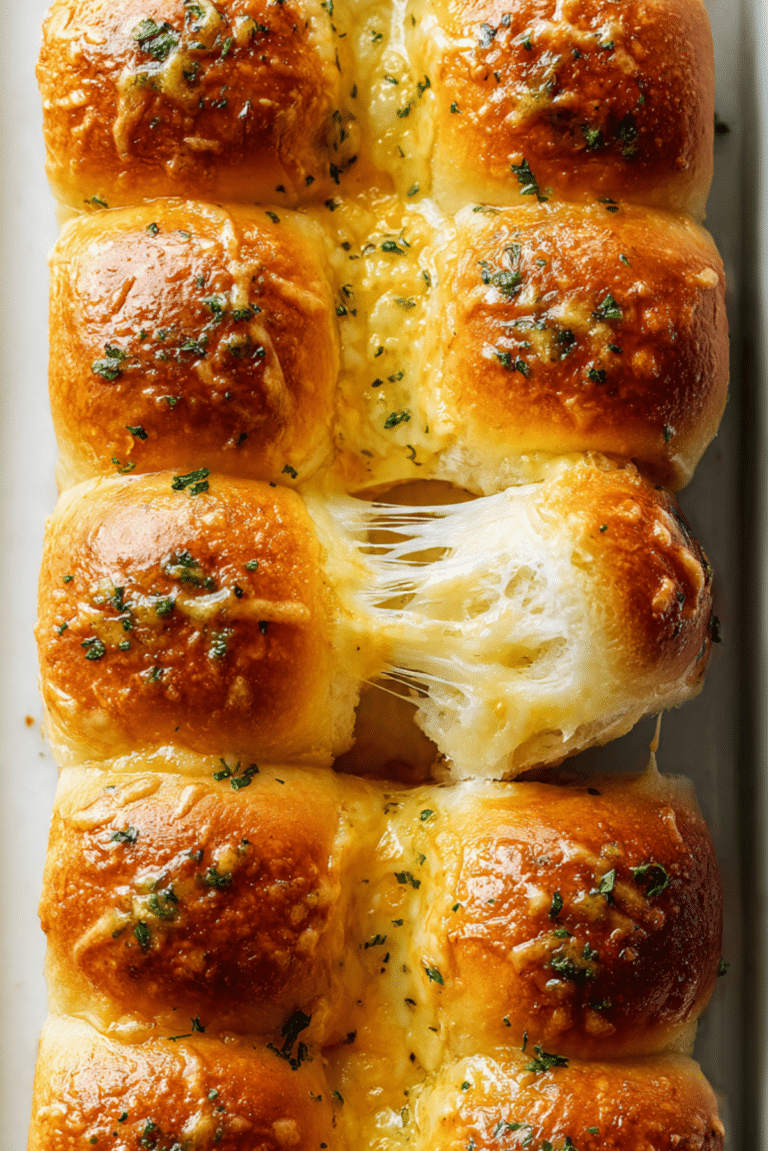
There’s something irresistible about pulling apart a warm, cheesy, herb-infused bread with your fingers. This Pull-Apart Herb Bread is golden on the outside, pillowy on the inside, and packed with melted cheese, fragrant spices, and buttery goodness in every layer. It’s one of those dishes that disappears fast at the dinner table, with people tearing off just one more piece—over and over again. And let me tell you, it’s worth every crumb.
Behind the Recipe
This recipe came about during a cozy family dinner when we wanted something more exciting than a standard dinner roll. A can of biscuit dough, some cheese, and pantry herbs were all we had, so we stacked the dough pieces, seasoned them generously, and baked it all in a skillet. What came out was a bubbling, cheesy, layered masterpiece that no one could resist.
Recipe Origin or Trivia
Pull-apart breads, sometimes called monkey breads or tear-and-share breads, have roots in European baking but became popular in American kitchens thanks to their communal nature and easy prep. Traditionally sweet, the savory version like this one has taken on a life of its own, becoming a potluck favorite and a comforting side dish for everything from pasta to soups.
Why You’ll Love Pull-Apart Herb Bread
This bread is more than just a side—it’s the highlight of the table.
Versatile: Perfect with pasta, soups, or served on its own.
Budget-Friendly: Uses simple ingredients you probably already have.
Quick and Easy: Minimal prep with biscuit dough as the base.
Customizable: Switch up the cheeses or herbs to your taste.
Crowd-Pleasing: Kids and adults go wild for the cheesy, buttery layers.
Make-Ahead Friendly: Prep the dough in advance and bake when ready.
Great for Leftovers: Reheats beautifully the next day.
Chef’s Pro Tips for Perfect Results
A few tricks will take this pull-apart bread from good to unforgettable.
- Use a cast iron skillet: It distributes heat evenly and gives you that crispy bottom.
- Cut biscuit dough into smaller pieces: More edges mean more crispy cheese and flavor.
- Brush with butter between layers: Ensures a rich, golden finish.
- Add cheese between layers: Don’t just sprinkle on top—load it throughout.
- Let it cool slightly before serving: Helps it hold together better when pulling apart.
Kitchen Tools You’ll Need
You won’t need much, and you probably have all of this on hand.
Cast iron skillet or baking dish: Ideal for even baking and a crispy crust.
Sharp knife or kitchen scissors: To cut biscuit dough into smaller sections.
Mixing bowl: For combining herbs, cheese, and melted butter.
Pastry brush: To evenly distribute butter and seasoning.
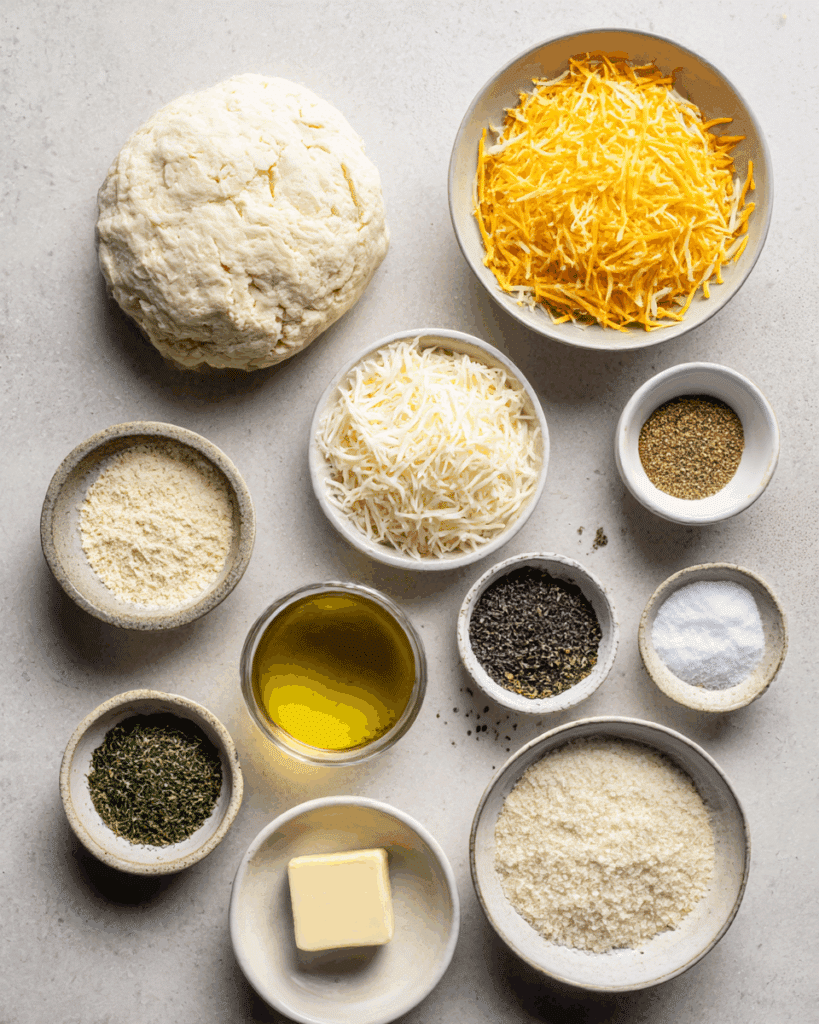
Ingredients in Pull-Apart Herb Bread
Every ingredient adds flavor, texture, or structure to make this bread shine.
- Refrigerated biscuit dough: 1 can (16.3 oz). The shortcut base that makes this recipe so easy.
- Shredded cheddar cheese: 1 and 1/2 cups. Melts into every crevice for cheesy perfection.
- Garlic powder: 1 teaspoon. Brings warmth and depth to the bread.
- Dried oregano: 1/2 teaspoon. Adds a classic Italian herb flavor.
- Dried basil: 1/2 teaspoon. Balances the richness with sweet herbal notes.
- Dried parsley: 1 teaspoon. Adds color and a mild, earthy taste.
- Melted butter: 4 tablespoons. Coats every layer and adds richness.
- Salt: 1/4 teaspoon. Enhances all the flavors.
- Black pepper: 1/4 teaspoon. Adds a touch of heat and complexity.
Ingredient Substitutions
Need to switch things up? No problem.
Refrigerated biscuit dough: Pizza dough or crescent roll dough.
Cheddar cheese: Mozzarella, Monterey Jack, or a cheese blend.
Garlic powder: Fresh minced garlic sautéed in butter.
Dried herbs: Use Italian seasoning if you’re short on individual ones.
Melted butter: Olive oil or garlic-infused oil.
Ingredient Spotlight
Cheddar Cheese: Melts perfectly and adds that signature savory richness.
Garlic Powder: A pantry MVP that adds bold, comforting flavor to every bite.
Instructions for Making Pull-Apart Herb Bread
Making this show-stopping bread is surprisingly simple and incredibly rewarding.
- Preheat Your Equipment:
Preheat your oven to 350°F (175°C). Grease a cast iron skillet or baking dish. - Combine Ingredients:
In a bowl, mix the shredded cheese, garlic powder, dried herbs, salt, and pepper. Set aside. - Prepare Your Cooking Vessel:
Melt the butter and brush the inside of your skillet to prevent sticking. - Assemble the Dish:
Cut each biscuit into quarters. Layer the dough pieces in the skillet, sprinkling the cheese-herb mixture between each layer and brushing with melted butter as you go. - Cook to Perfection:
Bake for 25–30 minutes or until golden brown and the cheese is bubbly. - Finishing Touches:
Let rest for 5 minutes, then brush with remaining butter and sprinkle with more herbs. - Serve and Enjoy:
Serve warm. Let everyone pull apart their own piece—no knife required!
Texture & Flavor Secrets
The outside of this bread is golden and crisp while the inside stays soft and fluffy. The cheese melts into every nook, while the herbs infuse the bread with depth. That buttery crust? It’s what keeps everyone reaching for more.
Cooking Tips & Tricks
Maximize flavor and texture with these helpful tips:
- Grate your cheese fresh for best melt and flavor.
- Add a pinch of red pepper flakes for a little heat.
- For a garlic-forward version, sauté minced garlic in butter first.
- Don’t overbake—it should be golden but not dry.
What to Avoid
Even a simple recipe has its pitfalls—here’s how to avoid them.
- Don’t skip greasing the skillet: Cheese will stick otherwise.
- Avoid overpacking the dough: Leave space for the pieces to rise.
- Don’t underbake: You want the center cooked through.
- Don’t serve too hot: Let it cool slightly to hold shape better.
Nutrition Facts
Servings: 8
Calories per serving: 270
Note: These are approximate values.
Preparation Time
Prep Time: 10 minutes
Cook Time: 30 minutes
Total Time: 40 minutes
Make-Ahead and Storage Tips
This bread is best fresh out of the oven but still amazing the next day. To make ahead, assemble and refrigerate covered up to 6 hours before baking. Store leftovers wrapped in foil at room temperature for 1 day or in the fridge for 3 days. Reheat in a 300°F oven for 10 minutes to bring back that crisp texture.
How to Serve Pull-Apart Herb Bread
Serve this bread as a savory side for pasta, soup, or roasted meats. It also works as a party snack with marinara or ranch for dipping. Present it straight from the skillet for a rustic, cozy vibe.
Creative Leftover Transformations
Turn extras into something new and exciting:
- Cheesy Croutons: Cube and toast for salads or soups.
- Savory Bread Pudding: Mix with eggs and cheese, bake till set.
- Breakfast Base: Use as a base for an egg and veggie skillet.
- Stuffed Sandwich: Slice in half and fill with deli meats or roasted veggies.
Additional Tips
Want more herbs? Toss in fresh chopped rosemary or thyme. Make it extra cheesy with a second cheese layer inside. Or go full garlic-lover with a roasted garlic butter glaze.
Make It a Showstopper
Bake and serve it in a cast iron skillet for maximum impact. Garnish with a sprinkle of chopped fresh parsley or an extra dusting of cheese. For events, shape into a wreath or bake in a ring mold.
Variations to Try
- Cheddar Jalapeño: Add sliced jalapeños for a spicy twist.
- Italian Herb Blend: Mix in sun-dried tomatoes and parmesan.
- Garlic-Parmesan: Use garlic butter and top with grated parmesan.
- Pesto Swirl: Spread a thin layer of pesto between layers.
- Vegan Version: Use plant-based biscuit dough, butter, and cheese.
FAQ’s
Q1: Can I use homemade dough?
A1: Absolutely—any soft bread dough works well.
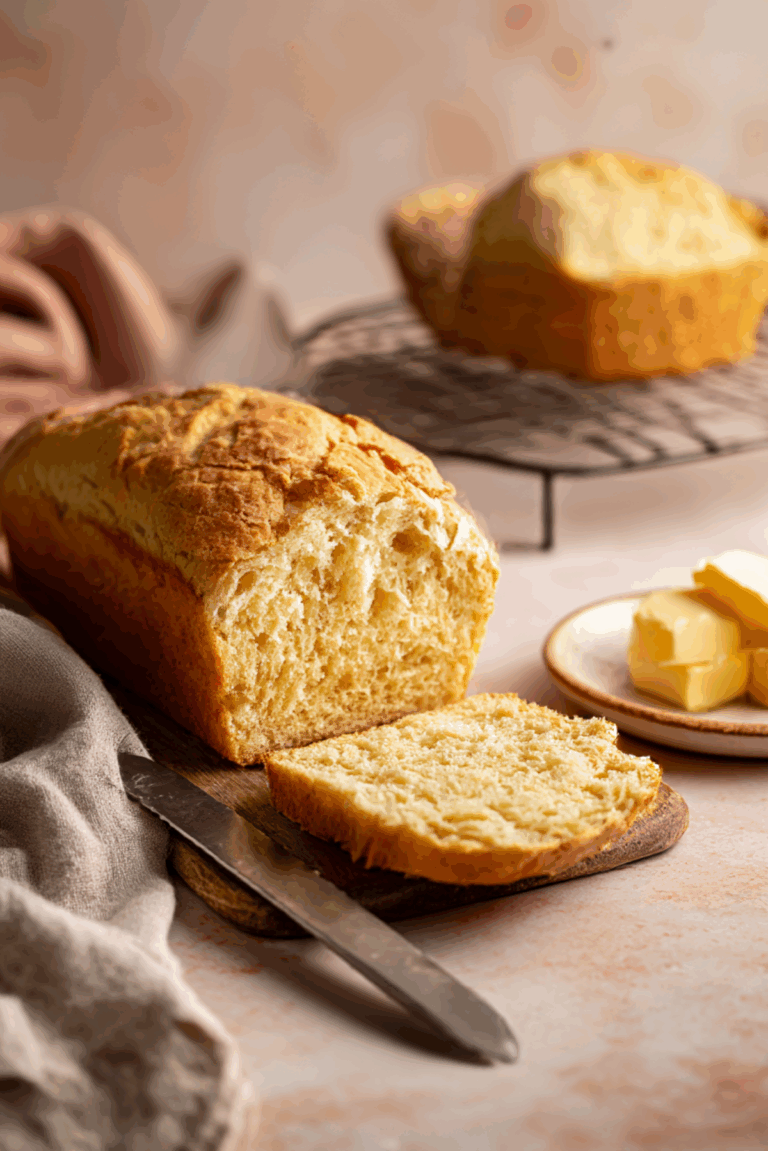
Q2: Can I make it in a loaf pan?
A2: Yes, but it may take slightly longer to bake evenly.
Q3: How do I reheat leftovers?
A3: Wrap in foil and warm in a 300°F oven for 10 minutes.
Q4: Can I freeze it?
A4: Yes, wrap tightly and freeze. Reheat in the oven for best texture.
Q5: What cheese works best?
A5: Cheddar, mozzarella, Monterey Jack, or a blend.
Q6: Can I make it spicy?
A6: Add crushed red pepper flakes or chopped jalapeños.
Q7: How long does it stay fresh?
A7: Best the day of, but good for up to 3 days refrigerated.
Q8: Can I prep it ahead of time?
A8: Yes, assemble and chill covered until ready to bake.
Q9: Can I use crescent dough?
A9: Yes, just cut and layer as you would with biscuit dough.
Q10: Is it kid-friendly?
A10: Definitely—kids love the cheesy pull-apart fun!
Conclusion
Pull-Apart Herb Bread is the kind of dish that turns a regular dinner into something memorable. It’s rich, savory, and full of flavor, with that tear-and-share quality that brings everyone to the table. Whether you’re serving it at a holiday meal or as a cozy side for soup, it’s a warm, cheesy win every time.
PrintPull-Apart Herb Bread
This Pull-Apart Herb Bread is soft, cheesy, and perfectly seasoned with dried herbs and garlic. Baked golden in a skillet, it’s the ultimate crowd-pleasing side or snack.
Ingredients
- 1 can (16.3 oz) refrigerated biscuit dough
- 1 and 1/2 cups shredded cheddar cheese
- 1 teaspoon garlic powder
- 1/2 teaspoon dried oregano
- 1/2 teaspoon dried basil
- 1 teaspoon dried parsley
- 4 tablespoons melted butter
- 1/4 teaspoon salt
- 1/4 teaspoon black pepper
Instructions
- Preheat oven to 350°F (175°C) and grease a cast iron skillet or baking dish.
- In a bowl, mix cheddar cheese, garlic powder, oregano, basil, parsley, salt, and pepper.
- Melt butter and brush the skillet lightly.
- Cut biscuit dough into quarters and layer in the skillet, sprinkling the cheese mixture and brushing with butter between layers.
- Bake for 25–30 minutes or until golden brown and the cheese is bubbly.
- Let rest for 5 minutes, brush with remaining butter, and garnish with herbs.
- Serve warm and enjoy!
Notes
- Use a cast iron skillet for even baking and a crisp base.
- Don’t overfill the pan—leave space for rising.
- Add red pepper flakes for heat if desired.
- Freshly shredded cheese melts better than pre-shredded.