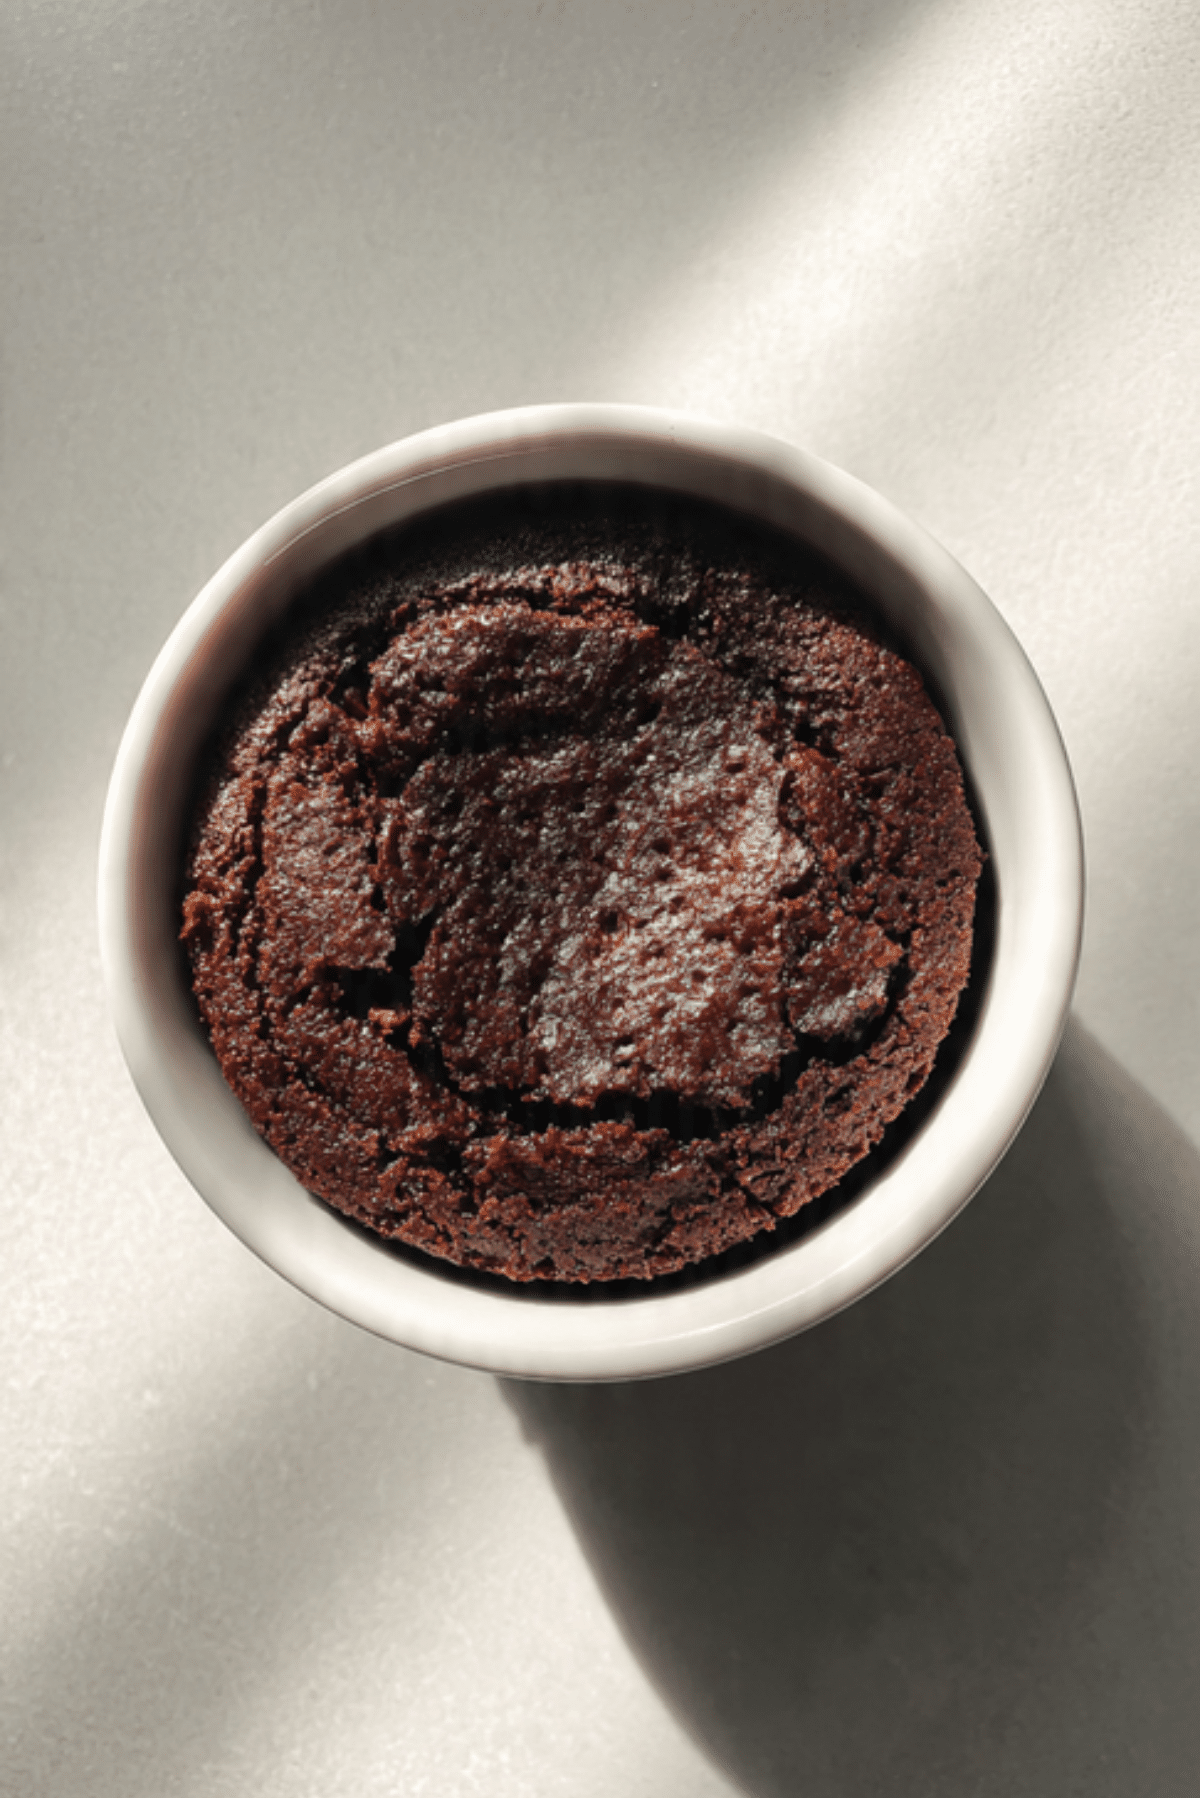
Microwave Brownies
There is something almost magical about the moment you realize a rich, fudgy brownie is only about sixty seconds away. We have all been there, sitting on the couch late at night with a sudden craving for something chocolatey but zero desire to preheat an oven or wait forty minutes for a timer to ding. This microwave brownie recipe is the ultimate solution for those moments when you need a personal treat that actually tastes like it came from a high end bakery.
The Ultimate Quick Fix for Chocolate Lovers
When you take that first warm bite, you will notice how the edges stay slightly chewy while the center remains incredibly soft and gooey. It is the kind of dessert that feels like a warm hug in a mug, and because it is made in such a small batch, you do not have to worry about a whole tray of leftovers calling your name from the kitchen counter. Trust me, you’re going to love this because it delivers maximum satisfaction with almost zero effort.
A Brief History of the Instant Dessert Revolution
While traditional brownies have been a staple in American kitchens since the late nineteenth century, the microwave version gained massive popularity during the early two thousands. As our lives became faster, the demand for single serve treats grew, leading to the birth of the mug cake and the microwave brownie. Originally seen as a quick hack for college students, it has evolved into a legitimate technique used by home cooks who appreciate the science of rapid steam cooking to achieve that perfect molten texture.
Why This Recipe is Your New Best Friend
If you are looking for a dessert that fits into a busy lifestyle without compromising on quality, this is the one for you. Let me tell you, it’s worth every bite, and here is exactly why it works so well for everyone.
Versatile: You can enjoy this plain, top it with a scoop of vanilla ice cream, or even stir in some chopped nuts for extra crunch.
Budget-Friendly: Most of the items needed are basic pantry staples that you likely already have sitting in your cupboard right now.
Quick and Easy: From start to finish, the entire process takes less than five minutes, making it the fastest gourmet dessert in your repertoire.
Customizable: You can easily swap out the chocolate chips for peanut butter drops or add a pinch of sea salt to change the flavor profile.
Crowd-Pleasing: Even though it is a small batch, you can quickly whip up several individual portions so everyone gets their own warm brownie.
Make-Ahead Friendly: You can mix the dry ingredients in a small jar beforehand and just add the wet ingredients when the craving hits.
Great for Leftovers: If you happen to have a bite left, it stays surprisingly soft even after it cools down to room temperature.
Insider Secrets for the Fudgiest Results
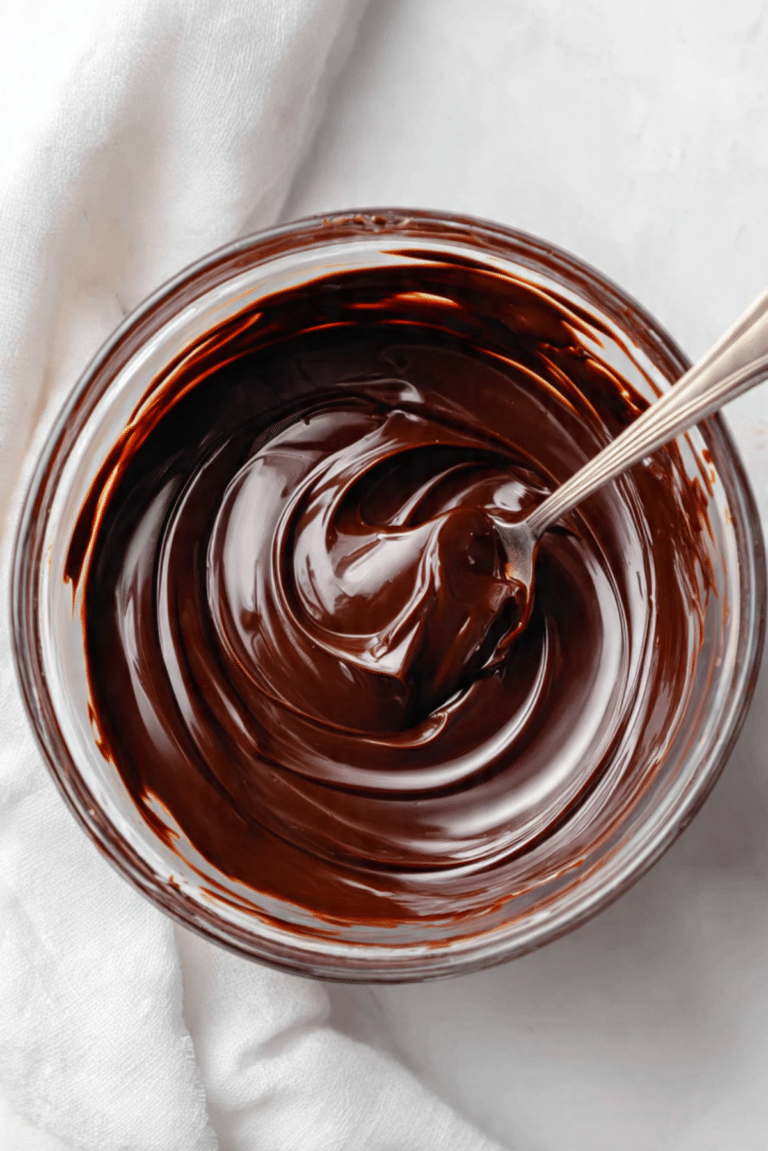
The secret to a great microwave brownie is all in the timing because every microwave has a different power level. You want to stop the cooking while the center still looks slightly underdone because the residual heat will finish the job without making it tough. Another pro tip is to use a high quality cocoa powder, which provides a deeper and more complex chocolate flavor than the cheaper alternatives.
Essential Tools for Microwave Baking
Having the right equipment makes the process even smoother, so make sure you have these simple items ready on your counter.
Microwave Safe Mug or Bowl: A standard ceramic mug or a small glass ramekin works perfectly to ensure even heat distribution.
Small Whisk or Fork: You need this to thoroughly combine the ingredients and remove any stubborn lumps of flour or cocoa.
Measuring Spoons: Accuracy is key in small batch baking, so using proper spoons ensures the ratio of liquid to dry stays perfect.
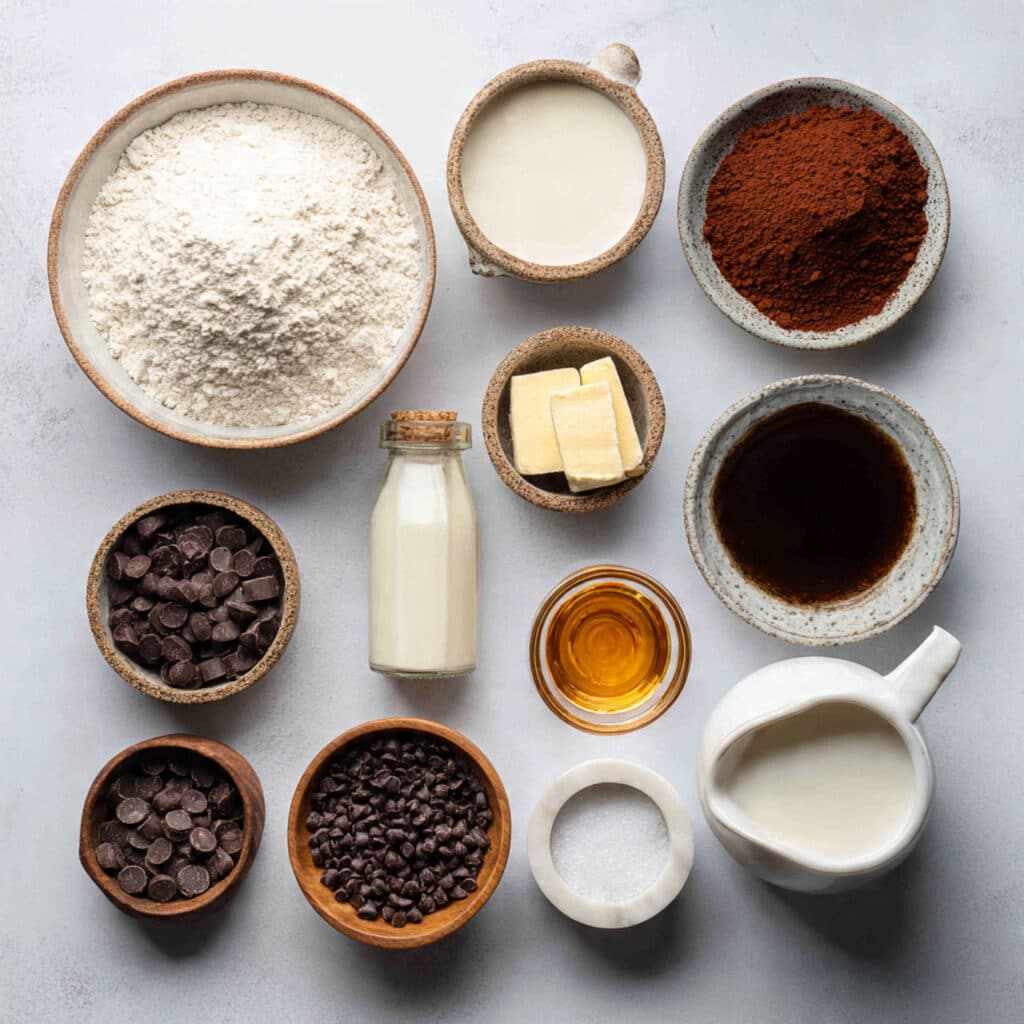
Everything You Need for Your Chocolate Fix
The harmony of these ingredients creates a texture that is surprisingly close to a traditional oven baked brownie. Each component plays a vital role in building that deep chocolate profile we all crave.
- All Purpose Flour: 4 tablespoons, this provides the essential structure that holds the brownie together.
- Unsweetened Cocoa Powder: 2 tablespoons, the source of that intense chocolate flavor and dark color.
- Granulated Sugar: 2 tablespoons, which balances the bitterness of the cocoa and helps create a soft crumb.
- Melted Butter: 2 tablespoons, this adds the necessary fat for a rich and indulgent mouthfeel.
- Milk: 2 tablespoons, the hydrating element that turns the dry powder into a smooth batter.
- Chocolate Chips: 1 tablespoon, these create little pockets of molten chocolate throughout the brownie.
- Vanilla Extract: 1/4 teaspoon, a small amount that enhances the aroma and depth of the chocolate.
- Pinch of Salt: 1/8 teaspoon, which is crucial for brightening the flavors and cutting through the sweetness.
Smart Ingredient Substitutions
If you find yourself missing an ingredient or have specific dietary needs, these swaps work beautifully without ruining the dessert.
Melted Butter: Coconut oil or a neutral vegetable oil.
Milk: Any plant based milk like almond or oat milk.
Granulated Sugar: Coconut sugar or light brown sugar for a more caramel like flavor.
All Purpose Flour: A gluten free 1 to 1 baking blend.
Spotlighting the Star Ingredients
Unsweetened Cocoa Powder: This is the heart of the recipe, providing the antioxidant rich base that defines the entire flavor experience.
Chocolate Chips: These act as the finishing touch, ensuring that every spoonful has a bit of melted texture that makes it feel truly gourmet.
Stepping Into the Kitchen
Let us get started on making your new favorite snack, and remember to follow the order to get that perfect consistency every single time.
- Preheat Your Equipment: Make sure your microwave is clear and your mug is clean and dry before you start mixing.
- Combine Ingredients: Whisk the flour, cocoa, sugar, and salt together in the mug first to ensure there are no dry pockets at the bottom.
- Prepare Your Cooking Vessel: Add the melted butter, milk, and vanilla, then stir until the batter is glossy and thick.
- Assemble the Dish: Fold in most of the chocolate chips, saving a few to sprinkle on the very top for a beautiful presentation.
- Cook to Perfection: Microwave on high for about 60 to 75 seconds, keeping a close eye on it so it does not overflow.
- Finishing Touches: Let the brownie sit for one full minute after the timer goes off to allow the structure to set properly.
- Serve and Enjoy: Grab a spoon and dive in while it is still warm and the chocolate chips are perfectly melted.
Texture and Flavor Development
The magic of this brownie lies in the contrast between the springy cake like edges and the dense, fudgy center. As it cools for that essential sixty seconds, the sugars crystallize slightly, creating a delicate crust on top that shatters perfectly when your spoon breaks through to the warm interior.
Cooking Tips and Tricks
- Use a wider mug rather than a tall skinny one to help the batter cook more evenly throughout.
- If you like a molten center, reduce the cook time by 10 seconds and eat it immediately.
- Always use room temperature milk if possible to prevent the melted butter from seizing up.
Common Pitfalls to Avoid
- Overcooking: This is the most common mistake which leads to a rubbery texture, so always start with less time.
- Skipping the Salt: Without that tiny pinch, the chocolate can taste flat and overly sweet.
- Packing the Flour: Lightly spoon your flour into the measuring spoon to avoid a dry and dense brownie.
Nutrition Facts
Servings: 1
Calories per serving: 320
Note: These are approximate values.
Timing Your Treat
Prep Time: 2 minutes
Cook Time: 1 minute
Total Time: 3 minutes
Storage and Make Ahead Advice
Since this is designed for immediate consumption, it is best enjoyed fresh. However, if you cannot finish it, you can cover the mug with plastic wrap and keep it at room temperature for a few hours. To reheat, just pop it back in the microwave for ten seconds to soften the chocolate again.
Creative Serving Suggestions
For a truly decadent experience, drizzle some salted caramel sauce over the top or serve it with a handful of fresh raspberries to balance the richness. A dollop of whipped cream also adds a light and airy contrast to the dense brownie.
Giving Your Leftovers New Life
If you have leftovers, you can crumble the brownie over a bowl of Greek yogurt or use it as a base for a mini trifle with layers of pudding and fruit.
Final Touches for Flavor
A tiny dusting of powdered sugar right before serving makes it look like it came from a professional kitchen, and a few cracks of black pepper can actually bring out the fruitiness of the cocoa.
Making it a Visual Masterpiece
Serve your brownie in a brightly colored ceramic mug to make the dark chocolate pop, and always ensure there is a little bit of the melted chocolate chip visible on the surface for maximum visual appeal.
Variations to Try
- Peanut Butter Swirl: Drop a teaspoon of peanut butter into the center before cooking.
- Double Chocolate: Add a teaspoon of chocolate hazelnut spread for an extra layer of decadence.
- Nutty Brownie: Stir in a tablespoon of crushed walnuts or pecans for a classic crunch.
FAQ’s
- Can I make this without a microwave?
This specific recipe is balanced for rapid cooking, but you could bake it in a small oven safe dish at 350 degrees for about 12 minutes. - Why did my brownie turn out hard?
It was likely overcooked or too much flour was used, so try reducing the time next time. - Can I use water instead of milk?
Yes, but the brownie will be slightly less rich and creamy in flavor. - Is it safe to eat if the center is gooey?
Yes, since there are no eggs in this recipe, a gooey center is perfectly safe and actually desired. - Can I use honey instead of sugar?
Honey will change the texture and make it more like a muffin, so granulated sweeteners are preferred. - How do I know when it is done?
The top should look set but still have a slight shine in the middle. - Can I double the recipe in one mug?
It is better to make two separate mugs to ensure the heat reaches the center of both brownies evenly. - What kind of chocolate chips are best?
Semi sweet or dark chocolate chips provide the best balance against the sugar in the batter. - My brownie overflowed, what happened?
Your mug might have been too small, so try using a larger container next time to allow for rising. - Can I add protein powder?
You can replace one tablespoon of flour with protein powder, but you may need an extra splash of milk.
Conclusion
There is no reason to deny yourself a delicious treat when it is this simple to prepare. Whether it is a rainy afternoon or a late night craving, this microwave brownie is a reliable way to bring a little bit of joy into your day. Give it a try, experiment with your favorite toppings, and enjoy the instant satisfaction of a warm, homemade dessert.
PrintMicrowave Brownies
A rich, fudgy, and incredibly quick single-serve chocolate brownie made in the microwave in just minutes.
Ingredients
- 4 tablespoons All Purpose Flour
- 2 tablespoons Unsweetened Cocoa Powder
- 2 tablespoons Granulated Sugar
- 2 tablespoons Melted Butter
- 2 tablespoons Milk
- 1 tablespoon Chocolate Chips
- 1/4 teaspoon Vanilla Extract
- 1/8 teaspoon Salt
Instructions
- In a microwave-safe mug or small bowl, whisk together the flour, cocoa powder, sugar, and salt until no lumps remain.
- Stir in the melted butter, milk, and vanilla extract until the batter is smooth and glossy.
- Fold in most of the chocolate chips, reserving a few for the top.
- Microwave on high for 60 to 75 seconds. The center should still look slightly moist.
- Let the brownie rest for 1 minute before eating to allow the texture to set.
Notes
- Microwave power varies, so start with 60 seconds and add time in 5-second increments if needed.
- Do not overcook or the brownie will become rubbery.
- Use a wide mug for more even cooking.