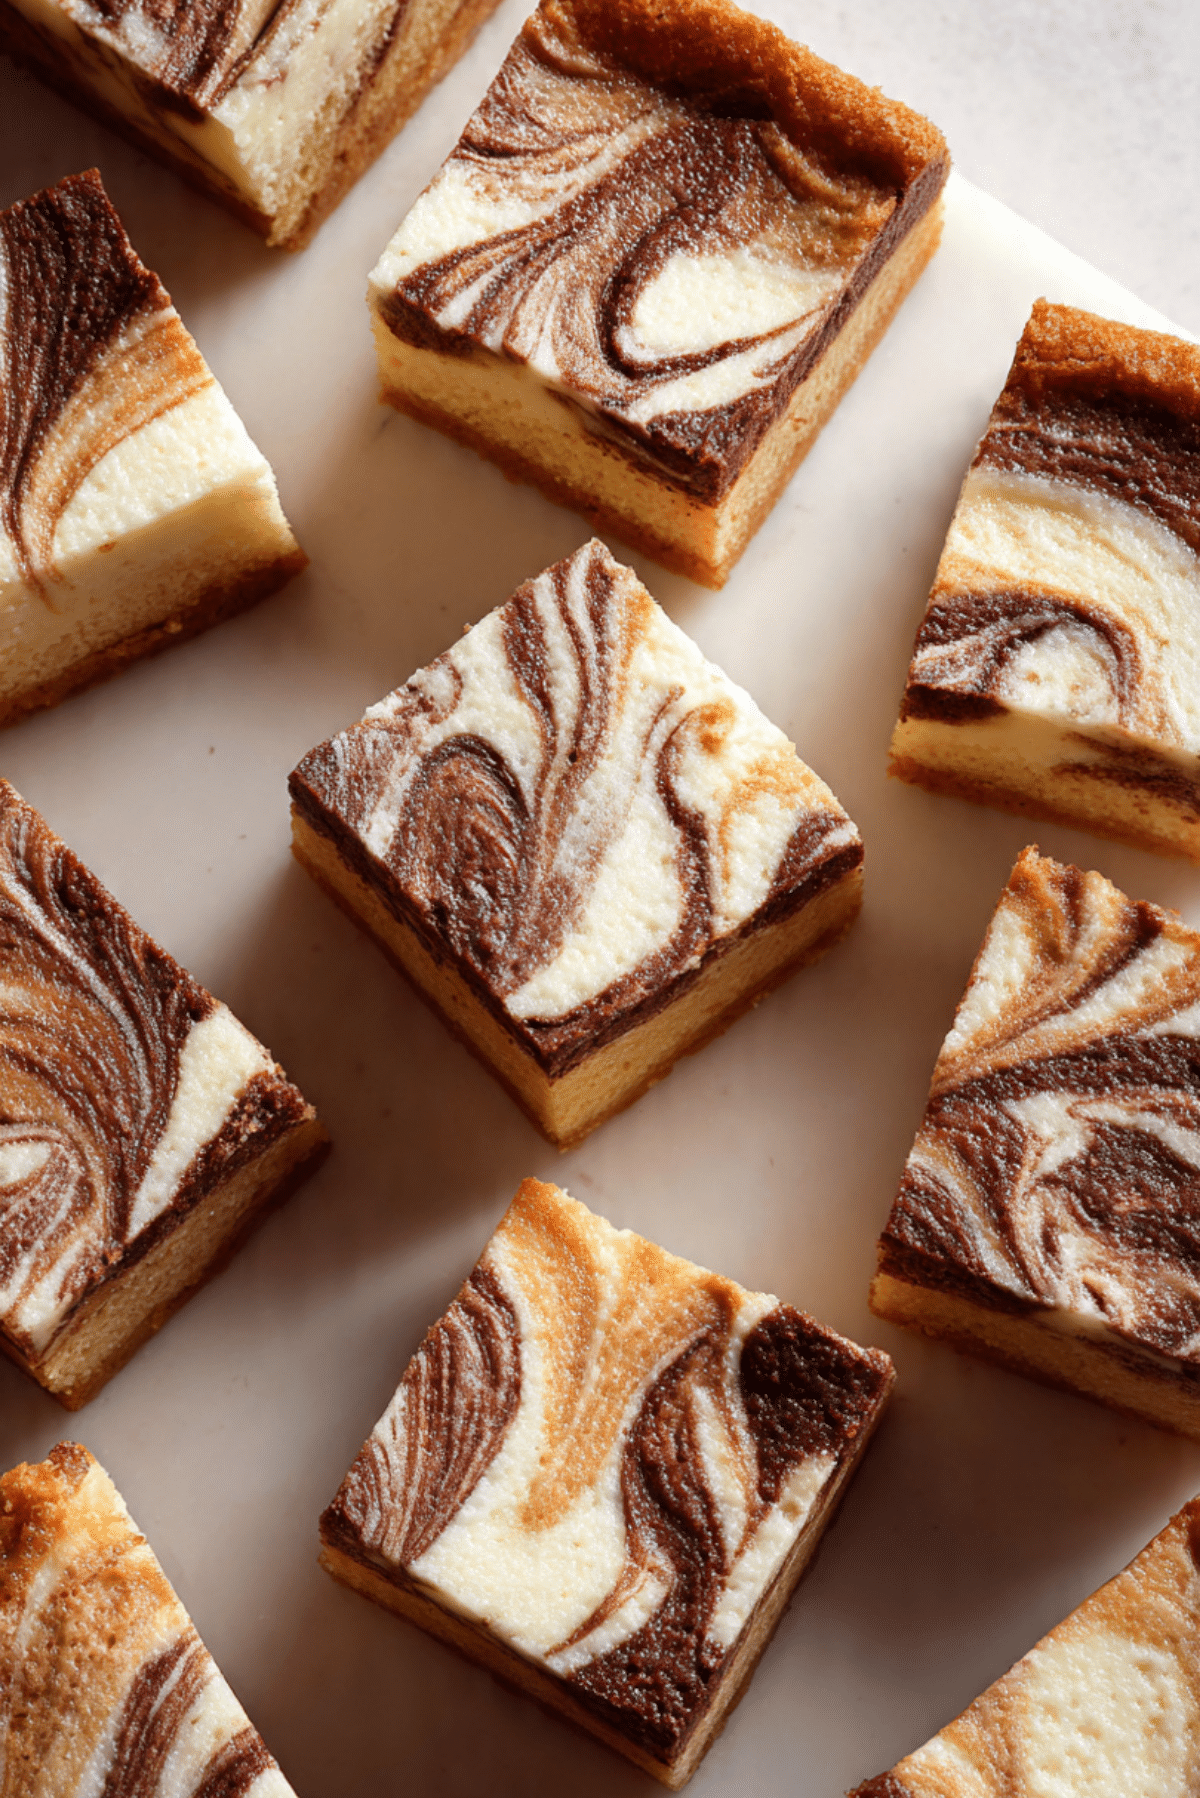
Marble Traybake
There is something instantly joyful about a marble traybake sitting on the kitchen counter, cut into neat squares and ready to share. This one brings together soft vanilla sponge and rich chocolate batter, swirled together into a beautifully marbled bake that feels both nostalgic and irresistible. It is the kind of cake that disappears fast, and trust me, you’re going to love this from the very first bite.
Behind the Recipe
This marble traybake comes from those simple baking days where one cake needed to please everyone. Chocolate lovers get their fix, vanilla fans feel seen, and no one has to choose. I wanted a recipe that felt familiar and comforting, something you could bake for a school event, a casual gathering, or just because the craving hits.
Recipe Origin or Trivia
Marble cakes have been around for generations, with roots in European baking where light and dark batters were gently swirled together. Traybakes became popular later as a practical way to bake for a crowd. Combining the two gave us the marble traybake, a perfect balance of visual charm and everyday ease.
Why You’ll Love Marble Traybake
Once you bake this, it quickly becomes a go to favorite.
Versatile: Perfect for lunchboxes, bake sales, or casual desserts.
Budget-Friendly: Uses basic pantry ingredients without fuss.
Quick and Easy: One batter, one tin, simple steps.
Customizable: Easy to adjust the chocolate intensity.
Crowd-Pleasing: Chocolate and vanilla together never fail.
Make-Ahead Friendly: Bakes well in advance and keeps moist.
Great for Leftovers: Still soft and delicious the next day.
Chef’s Pro Tips for Perfect Results
For the best marble effect, do not over swirl the batters, a few gentle turns are enough. Make sure both batters are similar in thickness so they bake evenly. And line the tin well so lifting and slicing stay neat and stress free.
Kitchen Tools You’ll Need
Having everything ready makes baking relaxed and enjoyable.
Mixing bowls: One for the main batter and one for chocolate.
Electric mixer or whisk: Helps achieve a light sponge.
Spatula: Ideal for gentle folding and swirling.
Traybake tin: A rectangular tin for even baking.
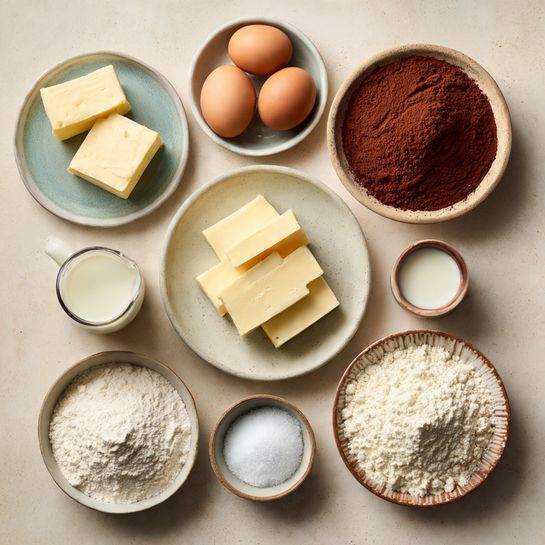
Ingredients in Marble Traybake
These ingredients work together to create a soft, balanced sponge.
Unsalted butter: 200 g, softened, adds richness and moisture.
Caster sugar: 200 g, sweetens and aerates the batter.
Eggs: 4 large, at room temperature, give structure.
All purpose flour: 220 g, creates a tender crumb.
Baking powder: 2 teaspoons, helps the cake rise evenly.
Milk: 120 ml, keeps the sponge soft.
Vanilla extract: 2 teaspoons, adds warmth and aroma.
Cocoa powder: 30 g, mixed into part of the batter for chocolate flavor.
Powdered sugar: 200 g, used for the marbled frosting.
Unsalted butter: 120 g, softened, forms the frosting base.
Milk: 2 tablespoons, loosens the frosting.
Ingredient Substitutions
This traybake adapts easily to what you have on hand.
Milk: Any dairy or plant based milk works.
Cocoa powder: Dark cocoa gives a deeper chocolate note.
Caster sugar: Fine granulated sugar can be used instead.
Ingredient Spotlight
Cocoa powder: Brings richness and contrast to the vanilla sponge.
Vanilla extract: Adds depth and rounds out sweetness.
Instructions for Making Marble Traybake
Now let’s dive into the baking, step by step.
- Preheat Your Equipment: Preheat the oven to 180°C and line a rectangular traybake tin.
- Combine Ingredients: Cream the softened butter and caster sugar until pale and fluffy.
- Prepare Your Cooking Vessel: Beat in the eggs one at a time, mixing well after each.
- Assemble the Dish: Fold in the flour and baking powder, then stir in the milk and vanilla extract.
- Cook to Perfection: Divide the batter evenly between two bowls and mix cocoa powder into one portion.
- Finishing Touches: Spoon both batters alternately into the tin and gently swirl with a knife.
- Serve and Enjoy: Bake for 30 to 35 minutes until golden, then cool before frosting and slicing.
Texture & Flavor Secrets
The vanilla sponge stays light and soft, while the chocolate swirls add richness without overpowering. The marbled frosting on top brings everything together, adding a creamy finish that makes each square feel complete.
Cooking Tips & Tricks
A few simple tips help nail the result.
- Use room temperature ingredients.
- Swirl gently for a clear marble effect.
- Cool completely before frosting.
What to Avoid
Keep these common mistakes in mind.
- Avoid overmixing the batter.
- Do not over swirl the batters.
- Avoid frosting while the cake is warm.
Nutrition Facts
Servings: 16
Calories per serving: 290
Note: These are approximate values.
Preparation Time
Prep Time: 20 minutes
Cook Time: 35 minutes
Total Time: 55 minutes
Make-Ahead and Storage Tips
This traybake can be made a day ahead and stored covered at room temperature. It keeps well for up to three days. You can also freeze unfrosted slices and thaw when needed.
How to Serve Marble Traybake
Serve cut into neat squares on a platter. It pairs perfectly with tea, coffee, or a cold glass of milk.
Creative Leftover Transformations
Leftover squares can be crumbled and layered with cream for a quick dessert. They also make a great base for cake pops.
Additional Tips
For clean cuts, use a sharp knife wiped clean between slices.
Make It a Showstopper
Pipe or swirl the frosting in two tones to echo the marble effect inside the cake.
Variations to Try
Add orange zest to the vanilla batter. Use chocolate chips for extra texture. Add a thin chocolate drizzle on top.
FAQ’s
Q1: Can I bake this in a different tin size?
Yes, but adjust baking time accordingly.
Q2: How do I get a clear marble effect?
Do not over swirl the batters.
Q3: Can I skip the frosting?
Yes, it is delicious plain too.
Q4: Can I make it dairy free?
Yes, use plant based butter and milk.
Q5: How do I know it is baked?
A skewer should come out clean.
Q6: Can kids help make this?
Absolutely, swirling is fun and easy.
Q7: Does it freeze well?
Yes, especially without frosting.
Q8: Can I add nuts?
Yes, fold chopped nuts into the batter.
Q9: Is this suitable for parties?
Yes, it serves a crowd easily.
Q10: How long does it stay fresh?
Up to three days when stored properly.
Conclusion
This marble traybake is simple, nostalgic, and endlessly comforting. With its soft sponge, chocolate swirls, and creamy topping, it is the kind of bake that never goes out of style. Let me tell you, it is worth every bite and perfect for sharing, or keeping all to yourself if the mood strikes.
PrintMarble Traybake

A classic marble traybake with soft vanilla and chocolate sponge swirled together, finished with a smooth two tone frosting that makes every square rich, moist, and comforting.
Ingredients
- 200 g unsalted butter, softened
- 200 g caster sugar
- 4 large eggs
- 220 g all purpose flour
- 2 teaspoons baking powder
- 120 ml milk
- 2 teaspoons vanilla extract
- 30 g cocoa powder
- 200 g powdered sugar
- 120 g unsalted butter, softened (for frosting)
- 2 tablespoons milk (for frosting)
Instructions
- Preheat the oven to 180°C and line a rectangular traybake tin.
- Cream the softened butter and caster sugar together until pale and fluffy.
- Add the eggs one at a time, mixing well after each addition.
- Fold in the flour and baking powder until just combined.
- Stir in the milk and vanilla extract to create a smooth batter.
- Divide the batter evenly between two bowls.
- Mix the cocoa powder into one bowl to create the chocolate batter.
- Spoon the vanilla and chocolate batters alternately into the prepared tin.
- Gently swirl with a knife to create a marbled effect.
- Bake for 30 to 35 minutes until golden and a skewer inserted comes out clean.
- Allow the cake to cool completely.
- Beat the softened butter with powdered sugar and milk until smooth.
- Divide the frosting in two, leaving one plain and mixing cocoa into the other if desired.
- Swirl the two frostings over the cooled traybake and slice into squares.
Notes
- Do not over swirl the batter to keep the marble effect clear.
- Let the cake cool fully before frosting.
- Store covered to keep the sponge moist.