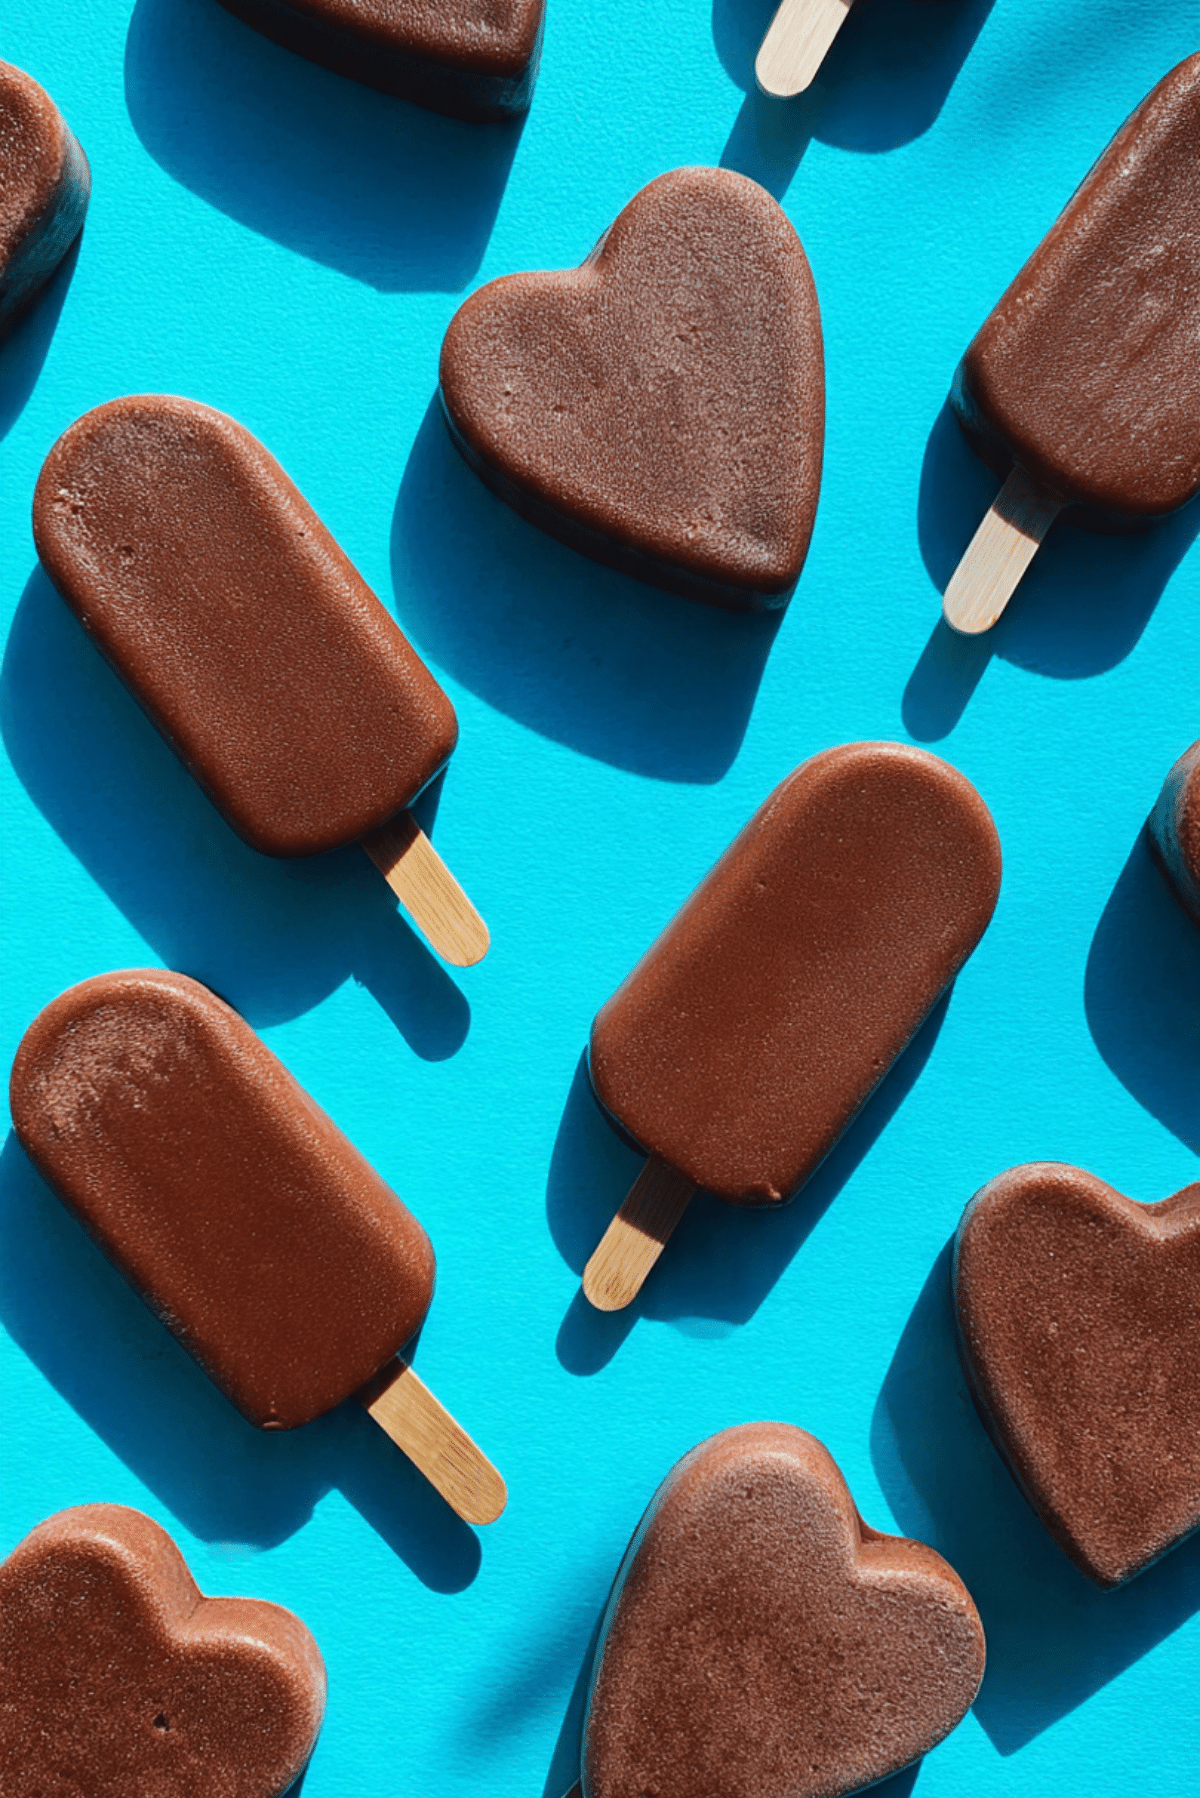
Frozen Fudge Pops
Cool, creamy, and deeply chocolatey, Frozen Fudge Pops are the treat your summer didn’t know it was missing. These dreamy popsicles deliver the rich flavor of a fudgy brownie in ice-cold form. Whether you’re craving a nostalgic throwback or need a quick freezer dessert, this no-bake delight has you covered.
Behind the Recipe
This recipe was born from pure summer desperation. It was one of those sticky, sweltering afternoons when baking felt impossible, but chocolate was non-negotiable. After a bit of trial and error, I landed on the ultimate combination — rich, silky fudge pops that melt in your mouth without ever needing an oven.
Recipe Origin or Trivia
Frozen fudge pops have been a favorite in American households for decades, originally sold in the 1940s as a dairy-based treat called “Fudgsicles.” Today, the homemade version is even better — creamier, richer, and endlessly customizable. This version dials up the chocolate flavor and keeps things smooth and satisfying with real cocoa and milk.
Why You’ll Love Frozen Fudge Pops
These aren’t your average store-bought pops. They’re smoother, richer, and made with love.
Versatile: Easily adjust the sweetness or add mix-ins like peanut butter or chocolate chips.
Budget-Friendly: Uses pantry staples and makes a big batch.
Quick and Easy: Just blend, pour, and freeze. No cooking or baking required.
Customizable: Swap the dairy, adjust flavors, or mold into fun shapes.
Crowd-Pleasing: Perfect for parties, picnics, or post-dinner treats.
Make-Ahead Friendly: Store in the freezer for instant dessert anytime.
Great for Leftovers: They hold well in the freezer and are just as good weeks later.
Chef’s Pro Tips for Perfect Results
A few simple tricks make these pops ultra-smooth and chocolatey:
- Use whole milk for the creamiest texture.
- Don’t skip the cornstarch — it helps thicken and adds richness.
- Blend the mixture well to avoid lumps and create a silky base.
- Pour into molds slowly to avoid bubbles.
- Let them freeze fully (about 6 hours) for best texture and easy release.
Kitchen Tools You’ll Need
All you need to make these fudge pops is a handful of tools:
Blender or Whisk: To mix everything into a smooth batter.
Small Saucepan: For gently heating the ingredients.
Popsicle Molds: Choose any shape you like — classic, hearts, or novelty.
Wooden Sticks: For that classic popsicle feel.
Freezer: Your most important tool here!
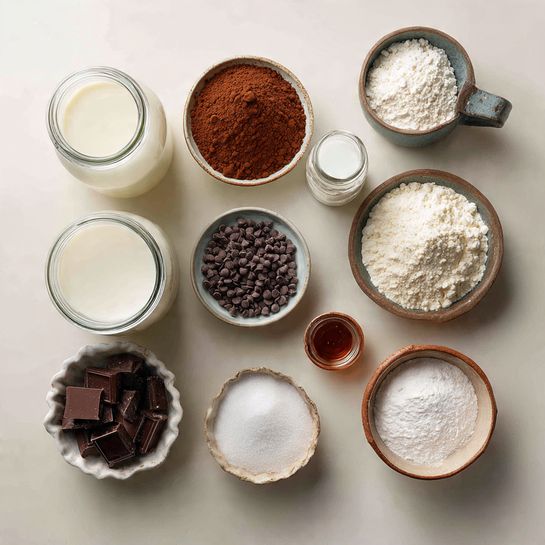
Ingredients in Frozen Fudge Pops
Just a few ingredients deliver huge chocolate flavor:
- Whole Milk: 2 cups. The creamy base of the pop.
- Heavy Cream: 1/2 cup. Adds richness and smooth texture.
- Unsweetened Cocoa Powder: 1/3 cup. Deep chocolate flavor.
- Cornstarch: 1 tablespoon. Thickens the mixture slightly for a fudgy feel.
- Semi-Sweet Chocolate Chips: 1/2 cup. Melted in for extra chocolate intensity.
- Granulated Sugar: 1/2 cup. Sweetens the mixture just right.
- Vanilla Extract: 1 teaspoon. Balances and enhances the chocolate flavor.
- Salt: A pinch. Boosts all the other flavors.
Ingredient Substitutions
No need to run to the store — here’s how to adjust with what you have:
Whole Milk: Use 2% or plant-based milk like oat or almond.
Heavy Cream: Coconut cream works for a dairy-free version.
Semi-Sweet Chocolate Chips: Use chopped chocolate or dark chocolate bars.
Cornstarch: Arrowroot powder is a good substitute.
Granulated Sugar: Maple syrup or honey can be used, though the texture may vary.
Ingredient Spotlight
Cocoa Powder: The heart of the fudge pop. Choose a high-quality unsweetened cocoa for bold chocolate flavor.
Cornstarch: A secret weapon that adds just enough body to make the pops rich and creamy, not icy.
Instructions for Making Frozen Fudge Pops
These come together quickly and disappear even faster. Let’s dive into the steps:
- Preheat Your Equipment:
No oven here! But get your popsicle molds and sticks ready on a clean counter or tray. - Combine Ingredients:
In a small saucepan, whisk milk, cream, sugar, cocoa powder, cornstarch, and salt over medium heat. - Prepare Your Cooking Vessel:
Cook and stir until the mixture is smooth and slightly thickened, about 5–7 minutes. Remove from heat. - Assemble the Dish:
Add the chocolate chips and stir until melted and fully incorporated. Stir in vanilla extract. - Cook to Perfection:
Let the mixture cool slightly, then carefully pour into popsicle molds. - Finishing Touches:
Insert sticks and place in freezer. Freeze for at least 6 hours, or overnight. - Serve and Enjoy:
To release, run the molds under warm water for a few seconds. Enjoy straight from the freezer.
Texture & Flavor Secrets
These fudge pops are pure velvet — creamy, chocolatey, and with a slight chew from the cornstarch thickening. The flavor is deep and rich, while the texture is miles above any icy store-bought bar.
Cooking Tips & Tricks
Boost the success of your fudge pops with these quick pointers:
- Use a funnel or pour spout to fill molds neatly.
- Tap molds gently on the counter to remove air bubbles.
- Add a swirl of peanut butter or hazelnut spread for fun flavor.
What to Avoid
Even freezer treats can go wrong. Here’s what to watch for:
- Overheating the chocolate can cause separation.
- Not cooling the mix slightly before pouring may warp plastic molds.
- Skipping the cornstarch can lead to an icy texture.
Nutrition Facts
Servings: 8
Calories per serving: 190
Note: These are approximate values.
Preparation Time
Prep Time: 10 minutes
Cook Time: 7 minutes
Total Time: 6 hours 20 minutes (including freezing)
Make-Ahead and Storage Tips
These pops are born for batch prep. Make a big batch and store in a zip-top freezer bag for up to 2 months. If stacking, separate layers with parchment. They’re great for kids, parties, or just a midnight chocolate fix.
How to Serve Frozen Fudge Pops
Serve straight from the mold or dip the tops in melted chocolate and sprinkle with crushed nuts or coconut. Want to impress? Drizzle with caramel or roll in crushed cookies right after unmolding.
Creative Leftover Transformations
Leftovers? Not likely — but just in case:
- Frozen Fudge Sundae: Chop and serve with ice cream, whipped cream, and sprinkles.
- Milkshake Base: Blend with milk for a rich, frozen drink.
- Popsicle Bites: Slice into chunks and roll in crushed cereal or candy.
Additional Tips
- Let pops sit at room temp for 1–2 minutes before serving for best bite.
- Use silicone molds for easiest release.
- Add espresso powder to the base for mocha fudge pops.
Make It a Showstopper
Presentation matters — especially for party trays. Freeze pops with wooden sticks upright, then wrap individually in wax paper and tie with twine. Or serve on crushed ice with fresh berries for a cooling summer dessert display.
Variations to Try
- Chocolate Banana Pops: Add a mashed banana to the mix.
- Mocha Fudge Pops: Stir in 1 teaspoon espresso powder.
- Peanut Butter Swirl: Add small spoonfuls of peanut butter before freezing.
- Coconut Fudge Pops: Use coconut milk and top with shredded coconut.
- Spicy Fudge Pops: Add a pinch of cayenne and cinnamon for a Mexican chocolate vibe.
FAQ’s
Q1: Can I make these dairy-free?
Yes! Use plant-based milk and coconut cream.
Q2: Can I skip the cornstarch?
You can, but they’ll be more icy and less creamy.
Q3: Do I need popsicle molds?
Not at all — use small cups and wooden sticks as a substitute.
Q4: Can I add protein powder?
Yes! Add 1 scoop to the mix and whisk well.
Q5: How do I keep them from getting icy?
Use full-fat milk and cream, and don’t overcook the base.
Q6: Can I make them sugar-free?
Use your favorite sugar substitute — just adjust to taste.
Q7: How long do they last in the freezer?
Up to 2 months if sealed properly.
Q8: Can kids make these?
Definitely! Just help with heating and pouring.
Q9: What’s the best cocoa to use?
Unsweetened natural cocoa powder or Dutch-processed both work.
Q10: How do I unmold them easily?
Run under warm water for 5–10 seconds and gently wiggle free.
Conclusion
Frozen Fudge Pops are the ultimate chocolate fix for warm days, packed with rich cocoa flavor and smooth texture. Whether you mold them into hearts, bars, or cups, they’re a treat that delivers comfort and cool-down in every bite. Let me tell you, it’s worth every frozen swirl.
PrintFrozen Fudge Pops

These homemade frozen fudge pops are rich, creamy, and packed with deep chocolate flavor. Perfect for summer days or when you need a cool, indulgent treat — no baking required!
Ingredients
- 2 cups whole milk
- 1/2 cup heavy cream
- 1/3 cup unsweetened cocoa powder
- 1/2 cup semi-sweet chocolate chips
- 1/2 cup granulated sugar
- 1 tablespoon cornstarch
- 1 teaspoon vanilla extract
- Pinch of salt
Instructions
- In a saucepan, whisk together milk, cream, cocoa powder, sugar, cornstarch, and salt over medium heat.
- Cook, stirring constantly, until the mixture thickens slightly, about 5–7 minutes.
- Remove from heat and stir in chocolate chips until fully melted. Add vanilla extract and mix well.
- Let the mixture cool slightly, then pour into popsicle molds.
- Insert sticks and freeze for at least 6 hours or overnight until solid.
- To serve, run molds under warm water for a few seconds and gently release the fudge pops.
Notes
- Use full-fat milk and cream for the creamiest texture.
- Tap molds on the counter to remove air bubbles after pouring.
- Store in a sealed container or bag for up to 2 months in the freezer.
- Add mix-ins like peanut butter, banana, or espresso for variations.