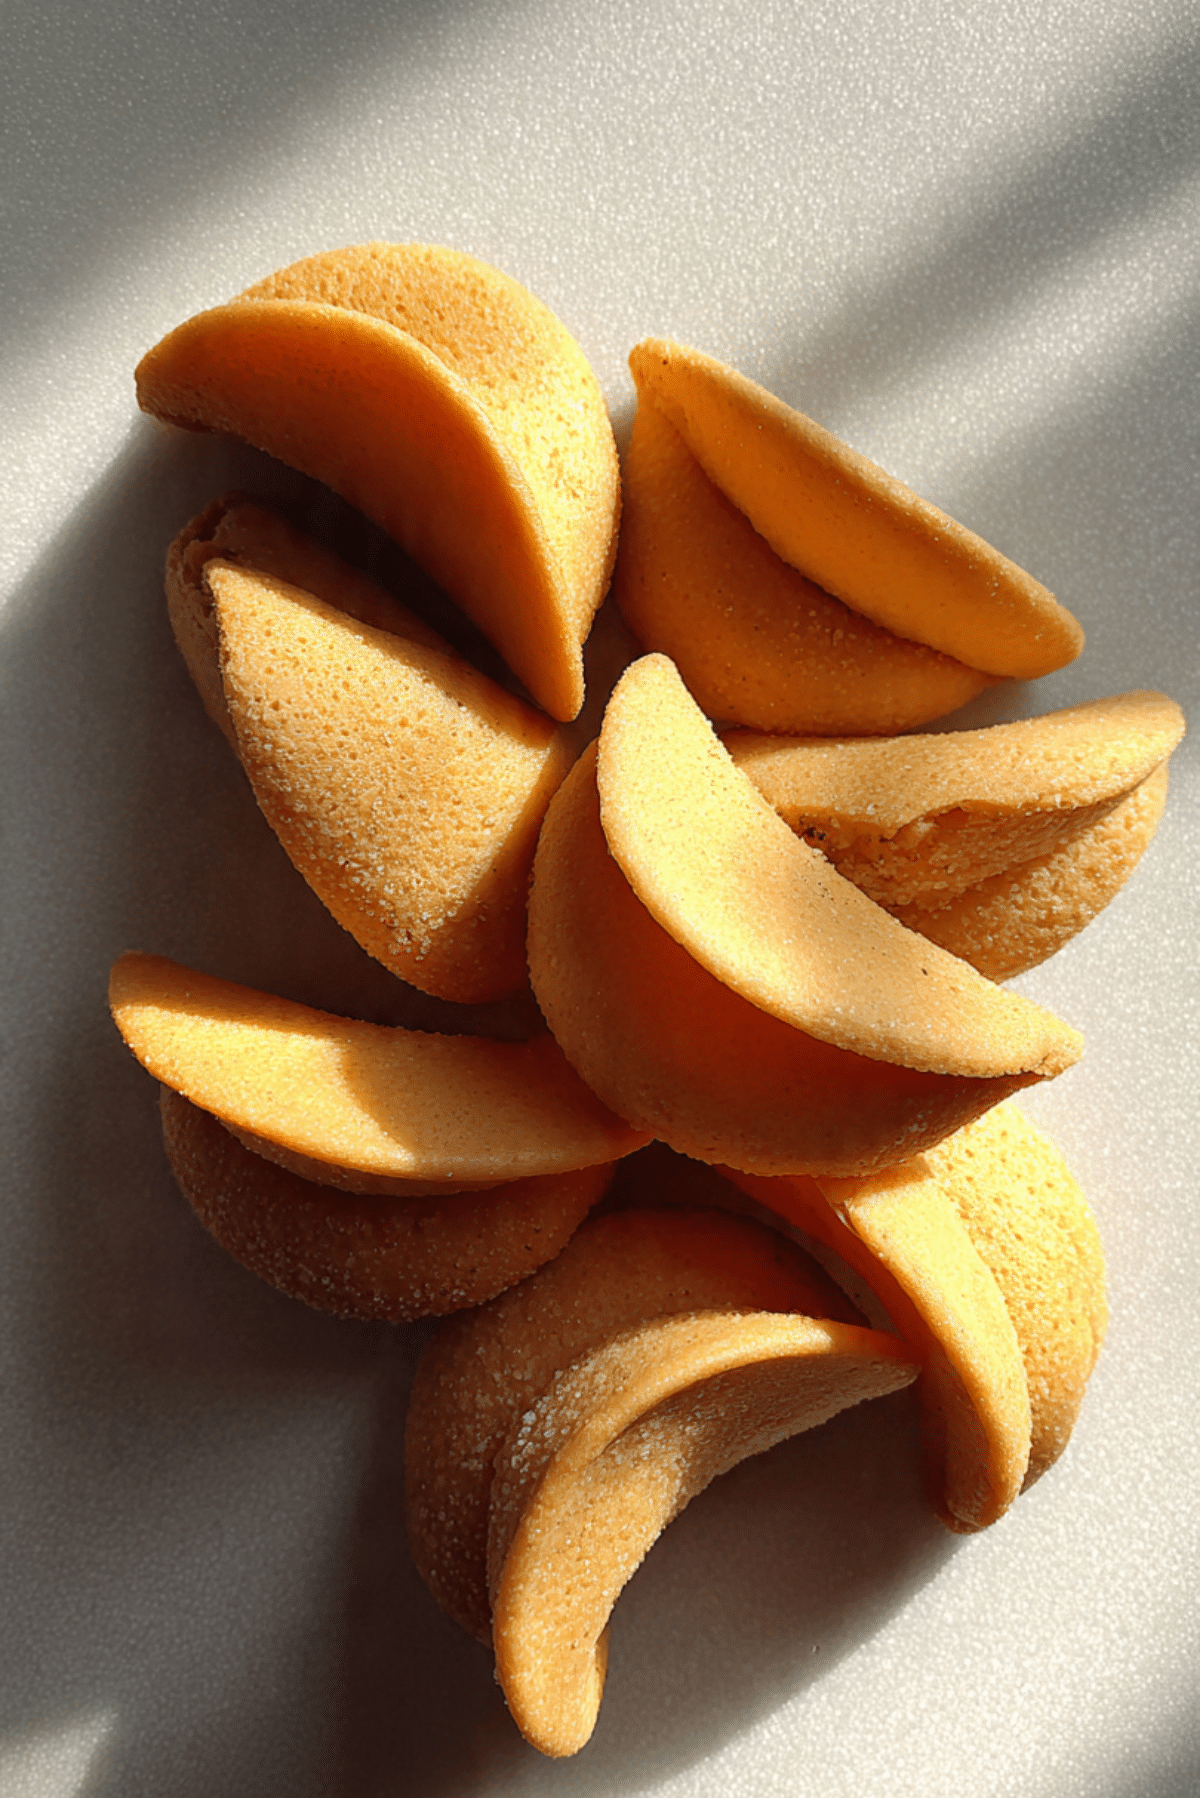
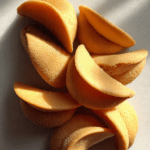
Fortune Cookies
Crisp, lightly sweet, and full of mystery, Fortune Cookies are more than just a dessert — they’re a delightful experience. Whether you’re ending a homemade meal or just want to surprise someone with a personalized message, these thin, golden cookies snap open to reveal a hidden note and a satisfying crunch. They’re fun to make and even more fun to crack open.
Behind the Recipe
Growing up, I was always fascinated by the little slips of paper tucked inside those delicate crescent cookies that came with takeout meals. Sometimes they were hilarious, other times oddly spot-on. It wasn’t just about the fortune — it was the whole ritual. So one day, I thought, why not make them at home? The process is a bit like magic. With a few simple ingredients, you end up with something that feels like a tiny gift with every bite.
Recipe Origin or Trivia
Despite their strong association with Chinese-American cuisine, Fortune Cookies actually originated in California. Several restaurants in Los Angeles and San Francisco claimed credit in the early 20th century. The cookies are inspired by a Japanese cracker called tsujiura senbei, but evolved into their current form with the addition of fortunes inside. Today, they’re a staple of American-Chinese culture and a charming treat known across the world.
Why You’ll Love Fortune Cookies
This is one of those recipes that’s as joyful to make as it is to eat. Here’s why:
Versatile: Great for parties, holidays, or custom messages for any occasion.
Budget-Friendly: Just a few pantry staples make a whole batch.
Quick and Easy: A little practice and you’ll fold them like a pro.
Customizable: Add your own fortunes, flavors, or even dip in chocolate.
Crowd-Pleasing: Everyone loves opening their cookie and reading their fortune.
Make-Ahead Friendly: Bake them a day ahead and store in an airtight container.
Great for Leftovers: They stay crisp for days and make adorable lunchbox treats.
Chef’s Pro Tips for Perfect Results
Want those golden curves and perfect crunch? Keep these in mind:
- Work Quickly: The cookies harden fast once baked, so fold immediately.
- Use Parchment Paper: Prevents sticking and makes it easy to lift them off.
- Shape While Warm: Use the edge of a cup to help fold them cleanly.
- Thin Spreading: Don’t overdo the batter — thin circles bake evenly and crisp up right.
- Custom Fortunes: Pre-cut and keep your fortunes ready before baking begins.
Kitchen Tools You’ll Need
You don’t need much, but these tools help a lot:
Baking Sheet: Flat and sturdy, for even baking.
Parchment Paper or Silicone Mat: Keeps cookies from sticking.
Mixing Bowls: One for dry and one for wet ingredients.
Measuring Spoons: For even batter spreading.
Offset Spatula: Helps shape and lift cookies.
Mug or Cup Edge: Use for that signature fortune cookie bend.
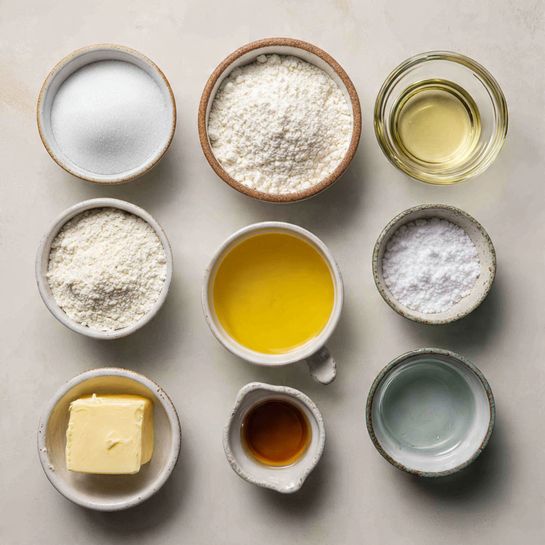
Ingredients in Fortune Cookies
These simple ingredients come together for the perfect crisp bite:
- Egg Whites: 2 large. Give the cookies structure and light texture.
- Granulated Sugar: 1/2 cup. Adds sweetness and helps with browning.
- Vanilla Extract: 1/2 teaspoon. Gives that familiar aromatic flavor.
- Almond Extract: 1/4 teaspoon. Adds a lovely nutty depth.
- All-Purpose Flour: 1/2 cup. Provides the base structure.
- Cornstarch: 1 tablespoon. Ensures a crisp, delicate texture.
- Salt: 1/8 teaspoon. Enhances the flavor balance.
- Water: 2 tablespoons. Helps thin the batter to the right consistency.
- Butter (Melted): 2 tablespoons. Adds richness and promotes golden color.
Ingredient Substitutions
Need to tweak things? Here are a few helpful swaps:
Egg Whites: Use powdered egg white substitute for a dairy-free option.
Almond Extract: Replace with more vanilla if you prefer.
Butter: Use a neutral oil like canola or coconut oil.
Ingredient Spotlight
Egg Whites: These are essential for the cookie’s structure and flexibility before they harden. Beaten just enough, they hold everything together without making the cookie cakey.
Almond Extract: This small addition gives the cookies that classic, nostalgic taste you expect from fortune cookies.
Instructions for Making Fortune Cookies
Let’s get baking! Here are the steps you’re going to follow:
- Preheat Your Equipment:
Preheat your oven to 350°F (175°C) and line a baking sheet with parchment paper. - Combine Ingredients:
In a bowl, whisk egg whites and sugar until frothy but not stiff. Add vanilla extract, almond extract, melted butter, and water. Stir in flour, cornstarch, and salt until a smooth batter forms. - Prepare Your Cooking Vessel:
Spoon a tablespoon of batter onto the baking sheet and spread into a thin 3-inch circle. Bake only 2–3 cookies at a time. - Assemble the Dish:
Bake for 7–9 minutes or until edges turn golden brown. Quickly remove one cookie at a time, place your fortune in the center, fold in half, and bend over a cup edge to create the classic shape. - Cook to Perfection:
Let the cookies cool and harden on a wire rack. They will set quickly into that crisp finish. - Finishing Touches:
If desired, dip the edges in melted chocolate or sprinkle with colored sugar for a festive touch. - Serve and Enjoy:
Place them in a decorative bowl or bag them up as sweet party favors.
Texture & Flavor Secrets
The best fortune cookies have that irresistible snap. Crisp on the outside and paper-thin, they deliver a light sweetness with hints of vanilla and almond that keep you reaching for another. Folding them warm ensures a smooth curve and perfect crunch.
Cooking Tips & Tricks
To help your fortune cookies shine:
- Practice with a few test cookies before baking a full batch.
- Only bake 2–3 at a time to ensure you can shape them while still pliable.
- Use a clean, dry surface to shape and cool them quickly.
What to Avoid
Here are a few mistakes to steer clear of:
- Overbaking: This makes them too brittle to fold.
- Slow Shaping: Cookies cool fast, so shape right out of the oven.
- Thick Batter Circles: Too thick and they won’t crisp or fold.
Nutrition Facts
Servings: 20 cookies
Calories per serving: 35
Note: These are approximate values.
Preparation Time
Prep Time: 15 minutes
Cook Time: 15 minutes
Total Time: 30 minutes
Make-Ahead and Storage Tips
Fortune cookies are great for making ahead. Once completely cooled, store them in an airtight container for up to a week. Avoid humidity — it softens the cookies. If making for a party, prepare a day in advance and keep fortunes sealed inside.
How to Serve Fortune Cookies
Serve these after any meal for a sweet, surprise ending. You can personalize the messages inside for birthdays, holidays, or themed events. They also make great edible party favors or thank-you gifts when bagged with a ribbon.
Creative Leftover Transformations
Leftover fortune cookies? Try this:
- Crumbled Topping: Crush them over ice cream or yogurt for added crunch.
- Cookie Bark: Dip in chocolate, sprinkle with nuts, and let them harden.
- Fortune Cookie Sundaes: Use them as a fun alternative to cones or wafers.
Additional Tips
Keep these tips in your back pocket:
- Prepare fortunes in advance to save time.
- Store in a dry place to maintain crispness.
- Use a measuring spoon for evenly sized cookies.
Make It a Showstopper
Dip one edge in dark or white chocolate, then coat in festive sprinkles or crushed nuts. You can even color the batter with natural food coloring for special occasions. Present them in a glass jar or on a platter for extra flair.
Variations to Try
- Chocolate Dipped: For a richer treat.
- Citrus Zest: Add lemon or orange zest to the batter.
- Colorful Batter: Mix in food coloring to match a party theme.
- Matcha Fortune Cookies: Add a teaspoon of matcha powder for a green tea twist.
- Coconut Crunch: Sprinkle shredded coconut into the batter before baking.
FAQ’s
1. Can I make these without almond extract?
Yes, just increase the vanilla for a similar flavor.
2. How do I keep them crisp?
Store in an airtight container away from humidity.
3. Can I shape them later?
No, they must be folded while still warm and pliable.
4. Can I add food coloring?
Absolutely. Gel food coloring works best.
5. Are these gluten-free?
Not by default, but you can use a gluten-free flour blend.
6. Can kids help make them?
Yes, with supervision during the shaping step.
7. How long do they last?
About 5–7 days in a sealed container.
8. Can I bake more than 3 at a time?
Not recommended unless you’re super fast at shaping.
9. Do I need a special tool?
Nope. Just a cup edge and your hands.
10. Can I print custom fortunes?
Yes! Just use thin, non-toxic paper and keep messages short.
Conclusion
Fortune Cookies aren’t just a treat, they’re a tiny moment of surprise and delight. With a crisp snap, a touch of sweetness, and a little note inside, they bring joy to any gathering. Whether you’re sending messages of love, humor, or good luck, this homemade version adds a special personal touch. Once you try making them, you might never go back to store-bought.
PrintFortune Cookies
Crispy, golden homemade fortune cookies filled with custom messages and a hint of vanilla and almond flavor. Perfect for parties, gifts, or a sweet surprise after dinner.
Ingredients
- 2 large egg whites
- 1/2 cup granulated sugar
- 1/2 teaspoon vanilla extract
- 1/4 teaspoon almond extract
- 1/2 cup all-purpose flour
- 1 tablespoon cornstarch
- 1/8 teaspoon salt
- 2 tablespoons water
- 2 tablespoons melted butter
Instructions
- Preheat oven to 350°F (175°C) and line a baking sheet with parchment paper.
- In a bowl, whisk egg whites and sugar until frothy. Add vanilla, almond extract, water, and melted butter. Stir in flour, cornstarch, and salt until smooth.
- Spoon 1 tablespoon of batter onto the baking sheet and spread into a 3-inch circle. Bake only 2–3 cookies at a time.
- Bake for 7–9 minutes until edges are golden. Remove one at a time, place fortune inside, fold in half, and bend over a cup edge to shape.
- Cool on a wire rack until crisp. Repeat with remaining batter.
- Optional: Dip cooled cookies in melted chocolate or decorate with sprinkles.
Notes
- Only bake 2–3 cookies per batch so you can shape them before they harden.
- Prepare your fortunes in advance and keep them close by.
- Store cookies in an airtight container to maintain crispness.