Chocolate Truffles
Smooth, rich, and indulgent — chocolate truffles are one of those timeless treats that never go out of style. Each bite delivers a velvety burst of deep chocolate flavor that melts slowly on your tongue, wrapped in a delicate dusting of cocoa. And the best part? These beauties are made without a hint of alcohol, so they’re perfect for all ages and occasions. Whether you’re making them as a gift, for a celebration, or just a cozy night in, these truffles are pure joy in every bite.
Behind the Recipe
I first fell in love with homemade truffles during a winter holiday baking spree. The kitchen was filled with the smell of melting chocolate, and my hands were covered in cocoa by the time I rolled the last one. What started as a small batch for friends turned into a bit of a tradition — now I make them every season. This version is simple, classic, and totally alcohol-free, which means you can share them with kids, serve them at gatherings, or just keep them all to yourself (no judgment here).
Recipe Origin or Trivia
Chocolate truffles are named after the famous fungi they resemble — the luxurious black truffle. Originating in France in the 1920s, they were first made with a basic ganache rolled in cocoa powder. Over the years, they’ve evolved to include many fancy flavors and coatings, but the classic version remains unbeatable. The best part is, they’re surprisingly easy to make at home and don’t require any special equipment.
Why You’ll Love Chocolate Truffles
There’s a lot to love about these tiny treasures — here’s why they’ll win you over:
Versatile: Change the coatings or add-ins to suit your mood or the season.
Budget-Friendly: Made with just a handful of ingredients, all pantry-friendly.
Quick and Easy: Minimal prep and no baking required.
Customizable: Adjust the flavorings or coatings however you like.
Crowd-Pleasing: Everyone loves chocolate, especially in truffle form.
Make-Ahead Friendly: Perfect for prepping in advance and keeping in the fridge.
Great for Leftovers: Store beautifully and taste even better the next day.
Chef’s Pro Tips for Perfect Results
Want your truffles to turn out silky smooth and beautiful every time? Here’s what works:
- Use high-quality chocolate: The flavor depends entirely on it.
- Chill the ganache well: This makes it easier to roll without melting.
- Dust your hands with cocoa: Prevents sticking when shaping the truffles.
- Keep them small: Bite-sized is the perfect portion — rich and satisfying.
- Use a melon baller or spoon: To portion the mixture evenly.
Kitchen Tools You’ll Need
These truffles don’t require anything fancy, just a few kitchen basics:
Mixing Bowl: For combining your ganache.
Small Saucepan: To heat the cream gently.
Whisk or Spatula: For stirring until smooth.
Tray or Plate: For chilling the truffle balls.
Sifter or Fine Mesh Strainer: To evenly dust cocoa powder over each truffle.
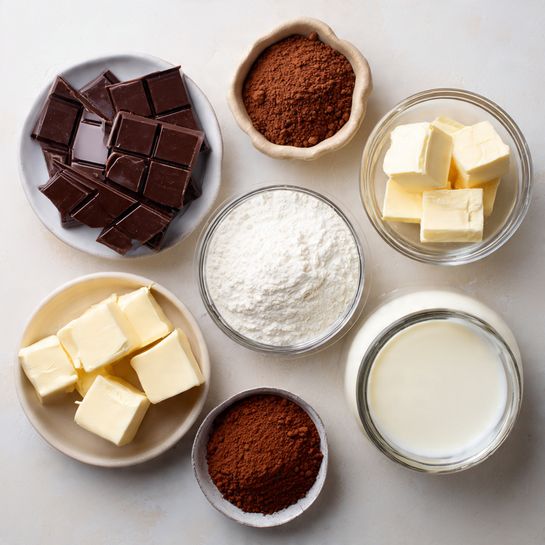
Ingredients in Chocolate Truffles
These simple ingredients come together to make something truly decadent.
- Semi-Sweet Chocolate: 8 ounces (finely chopped) – The rich, melt-in-your-mouth base.
- Heavy Cream: 1/2 cup – Creates the smooth ganache texture.
- Unsalted Butter: 2 tablespoons – Adds a velvety mouthfeel and shine.
- Vanilla Extract: 1 teaspoon – Enhances the chocolate flavor without overpowering.
- Cocoa Powder: 1/4 cup – For rolling the truffles and adding a deep finish.
Ingredient Substitutions
Need to switch it up? These swaps will do the trick:
Semi-Sweet Chocolate: Use dark chocolate or milk chocolate depending on preference.
Heavy Cream: Coconut cream for a dairy-free version.
Butter: Dairy-free butter or a splash of oil for smoothness.
Vanilla Extract: Try almond extract or orange zest for a twist.
Cocoa Powder: Use powdered sugar, crushed nuts, or shredded coconut instead.
Ingredient Spotlight
Semi-Sweet Chocolate: The heart of this recipe. Choose a good-quality bar for best results — the richer the chocolate, the better the truffle.
Heavy Cream: Helps transform chopped chocolate into a silky, creamy ganache. It’s what gives the truffles their signature smooth bite.
Instructions for Making Chocolate Truffles
This process is soothing and a little messy in the best way. Let’s make some magic:
1. Preheat Your Equipment:
No preheating needed — just make sure your fridge is cleared for chilling.
2. Combine Ingredients:
Place the chopped chocolate and butter in a mixing bowl. In a small saucepan, heat the cream just until it begins to simmer, then pour over the chocolate. Let it sit for a minute before stirring gently until smooth. Add the vanilla extract and stir to combine.
3. Prepare Your Cooking Vessel:
Line a tray or plate with parchment paper for easy cleanup.
4. Assemble the Dish:
Pour the ganache into a shallow dish and refrigerate for 1 to 2 hours, or until firm but scoopable.
5. Cook to Perfection:
Using a spoon or melon baller, scoop out small portions of ganache and roll into balls between your palms.
6. Finishing Touches:
Roll each ball in cocoa powder until fully coated. Place back on the tray.
7. Serve and Enjoy:
Serve chilled or at room temperature for that perfect melt-in-your-mouth moment.
Texture & Flavor Secrets
The contrast of a soft, creamy interior with the delicate bitterness of the cocoa coating is what makes these truffles irresistible. Each bite is rich and velvety, slowly melting into smooth chocolate perfection. The cocoa on the outside adds depth and balances the sweetness.
Cooking Tips & Tricks
Here are a few little tips that make a big difference:
- Work quickly with cold hands to prevent melting.
- Refrigerate the ganache overnight if you’re short on time the next day.
- Roll in a variety of toppings for a festive look.
What to Avoid
Truffles are easy, but here’s what to watch for:
- Overheating the cream — it should be hot, not boiling.
- Using chocolate chips — they may not melt as smoothly as chopped chocolate.
- Skipping the chill time — it’s essential for rolling.
Nutrition Facts
Servings: 16 truffles
Calories per serving: 90
Note: These are approximate values.
Preparation Time
Prep Time: 10 minutes
Cook Time: 5 minutes
Chill Time: 2 hours
Total Time: 2 hours 15 minutes
Make-Ahead and Storage Tips
These truffles are perfect for making ahead. Store them in an airtight container in the fridge for up to a week, or freeze them for up to a month. Just let them come to room temperature for 10 minutes before serving. They also make beautiful edible gifts when packed in mini cups or gift boxes.
How to Serve Chocolate Truffles
Place them in mini paper cups for a bakery-style presentation. Serve on a dessert platter with fresh berries or alongside coffee or tea. They’re also lovely as part of a holiday sweets table or wrapped as a homemade gift.
Creative Leftover Transformations
If you somehow have extras, here are fun ways to use them:
- Crumble over ice cream for a decadent topping.
- Melt into hot milk for instant truffle hot chocolate.
- Chop and add to cookie or brownie batter for extra richness.
Additional Tips
- Dust your hands with cocoa to avoid sticking while rolling.
- Chill the tray briefly again after rolling for firmer truffles.
- Experiment with flavorings like cinnamon or espresso powder in the ganache.
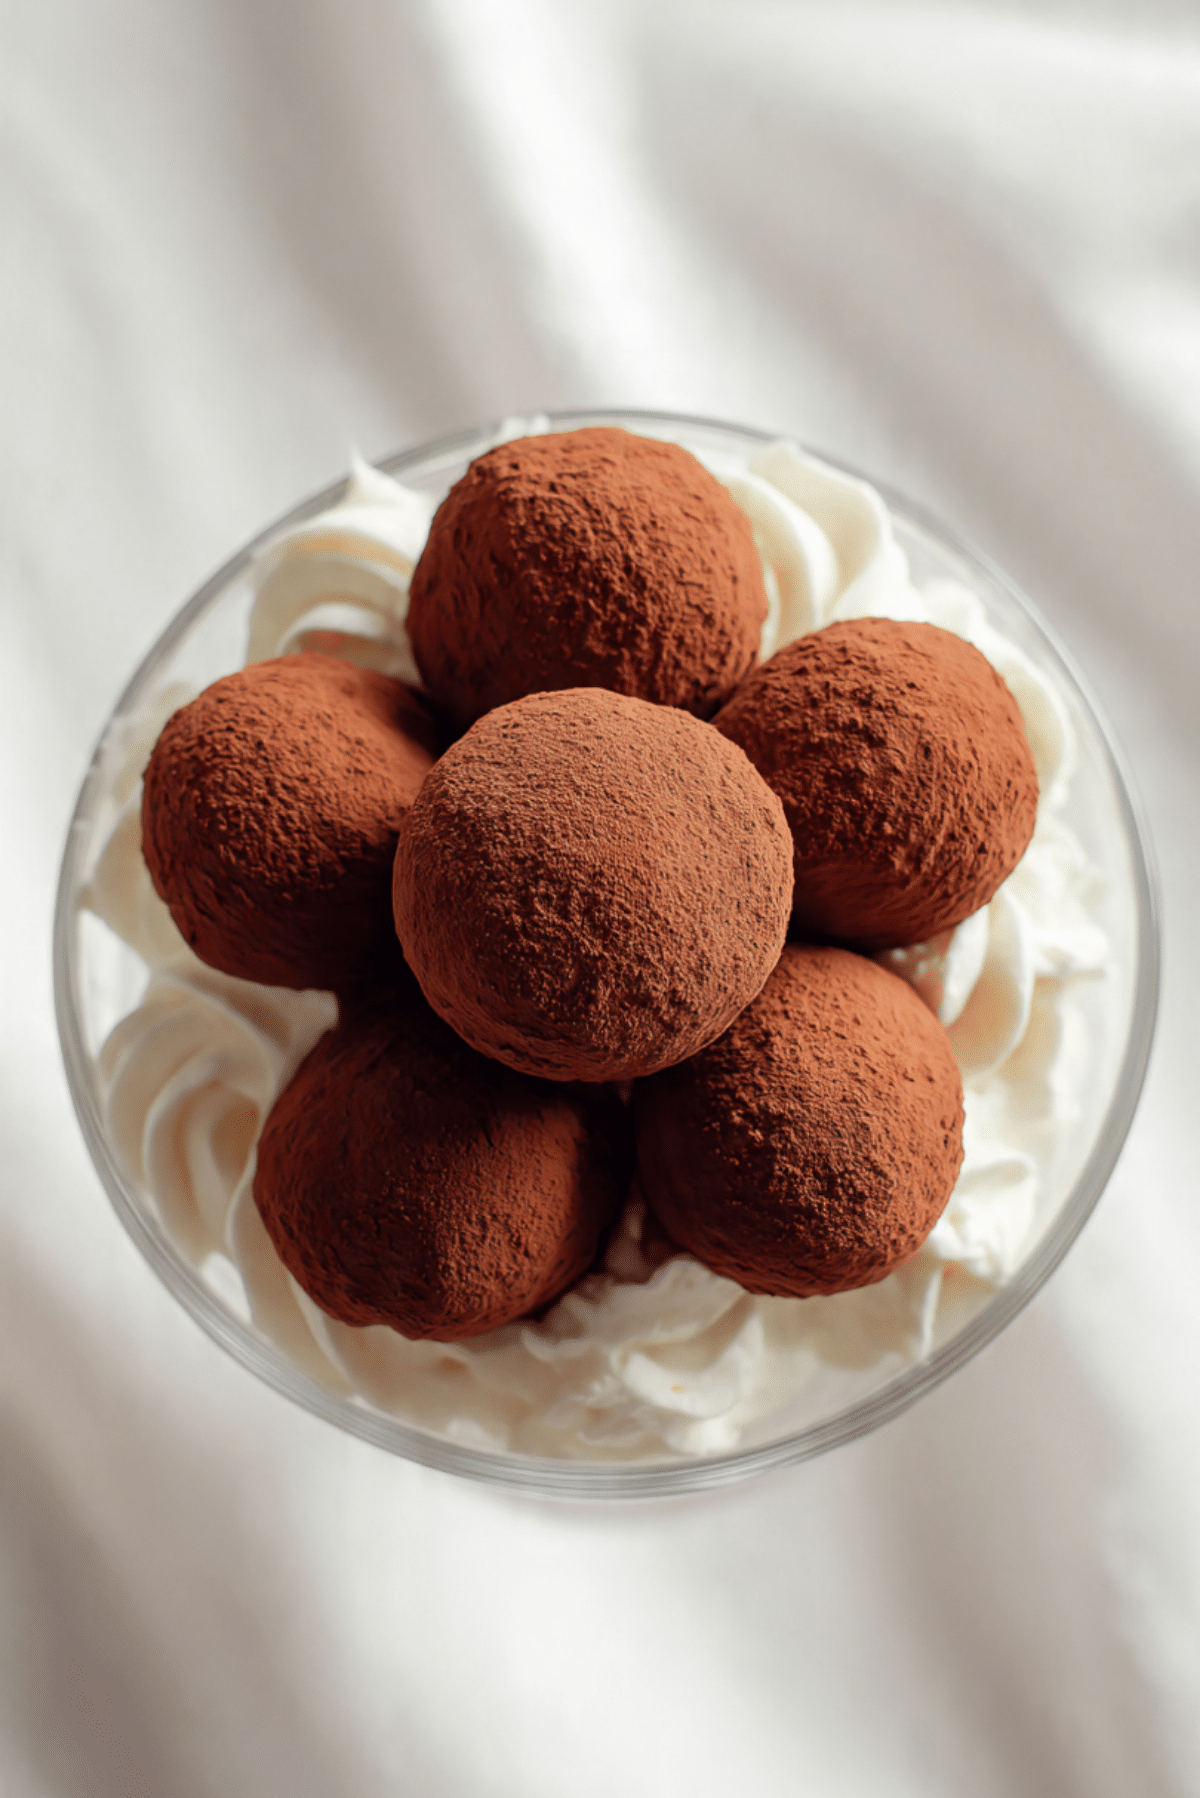
Make It a Showstopper
For a wow-worthy finish, roll some in gold dust, crushed pistachios, or shredded coconut. Serve on a marble board or in a clear dessert cup with a swirl of whipped cream underneath — like the one in the image. It turns a simple treat into an elegant dessert.
Variations to Try
- Coconut Truffles: Roll in shredded coconut instead of cocoa.
- Nutty Crunch: Add finely chopped hazelnuts or almonds inside.
- Spiced Truffles: Add cinnamon or a pinch of chili powder to the ganache.
- White Chocolate Version: Use white chocolate and coat with powdered sugar.
- Stuffed Surprise: Place a hazelnut or piece of dried fruit in the center.
FAQ’s
Q1: Can I make these dairy-free?
Yes, use dairy-free chocolate and substitute coconut cream and vegan butter.
Q2: How long do chocolate truffles last?
They’ll keep for up to a week in the fridge or a month in the freezer.
Q3: Can I freeze them?
Absolutely. Freeze in a single layer, then transfer to a bag or container.
Q4: Why are they called truffles?
Because they resemble the luxury mushroom of the same name.
Q5: Can I flavor them differently?
Yes! Add extracts like peppermint or almond, or even orange zest.
Q6: What if my ganache is too soft?
Chill it longer or stir in a bit more melted chocolate.
Q7: Can I use milk chocolate?
Sure! Just keep in mind it will be a bit sweeter.
Q8: Do I need a candy thermometer?
Not at all — just watch the cream and keep it from boiling.
Q9: What’s the best cocoa to use for coating?
Dutch-processed cocoa gives a deep, smooth flavor and less bitterness.
Q10: Can kids help make these?
Absolutely. Rolling and coating the truffles is perfect for little hands.
Conclusion
Chocolate truffles are the kind of dessert that feels fancy but couldn’t be simpler. They’re rich, smooth, and just the right size to satisfy any sweet craving. Once you make them, trust me — they’ll become a staple in your treat rotation. Whether for gifting, sharing, or savoring alone, they’re worth every bite.
PrintChocolate Truffles
Rich, creamy, and alcohol-free, these classic chocolate truffles are dusted in cocoa powder and melt in your mouth with every bite. Perfect for gifts, celebrations, or a luxurious treat any day.
Ingredients
- 8 ounces semi-sweet chocolate, finely chopped
- 1/2 cup heavy cream
- 2 tablespoons unsalted butter
- 1 teaspoon vanilla extract
- 1/4 cup cocoa powder (for rolling)
Instructions
- Place chopped chocolate and butter in a heatproof bowl.
- Heat cream in a saucepan until just simmering, then pour over the chocolate.
- Let sit for 1 minute, then stir gently until smooth. Stir in vanilla extract.
- Pour mixture into a shallow dish and refrigerate for 1–2 hours until firm.
- Scoop out small portions and roll into balls between your palms.
- Roll each ball in cocoa powder until fully coated.
- Chill again until ready to serve, or serve immediately at room temperature.
Notes
- Use high-quality chocolate for the best results.
- Keep hands cool and lightly dusted with cocoa when rolling.
- Try different coatings like crushed nuts, powdered sugar, or coconut.