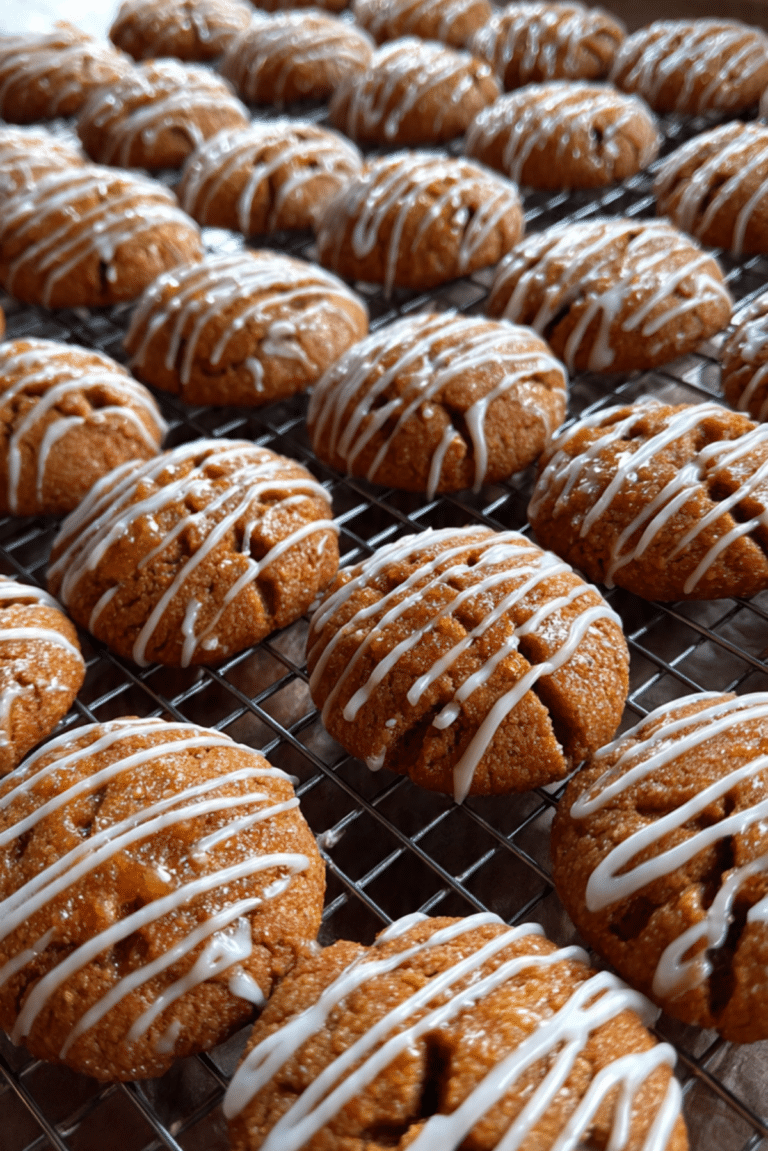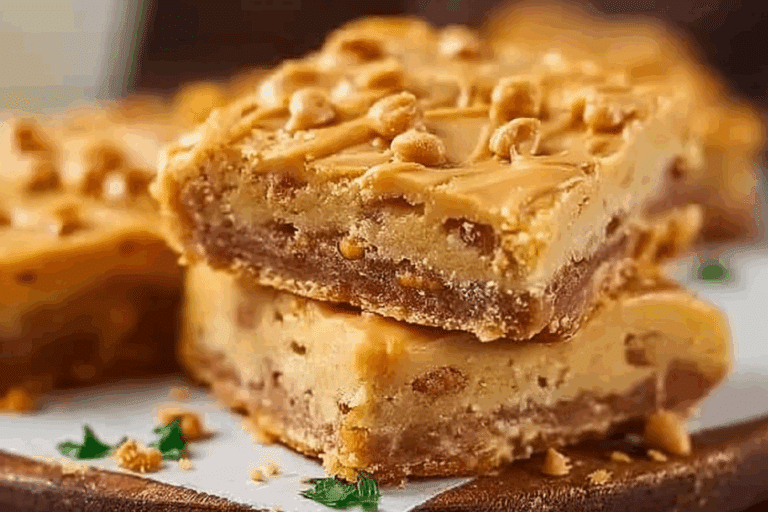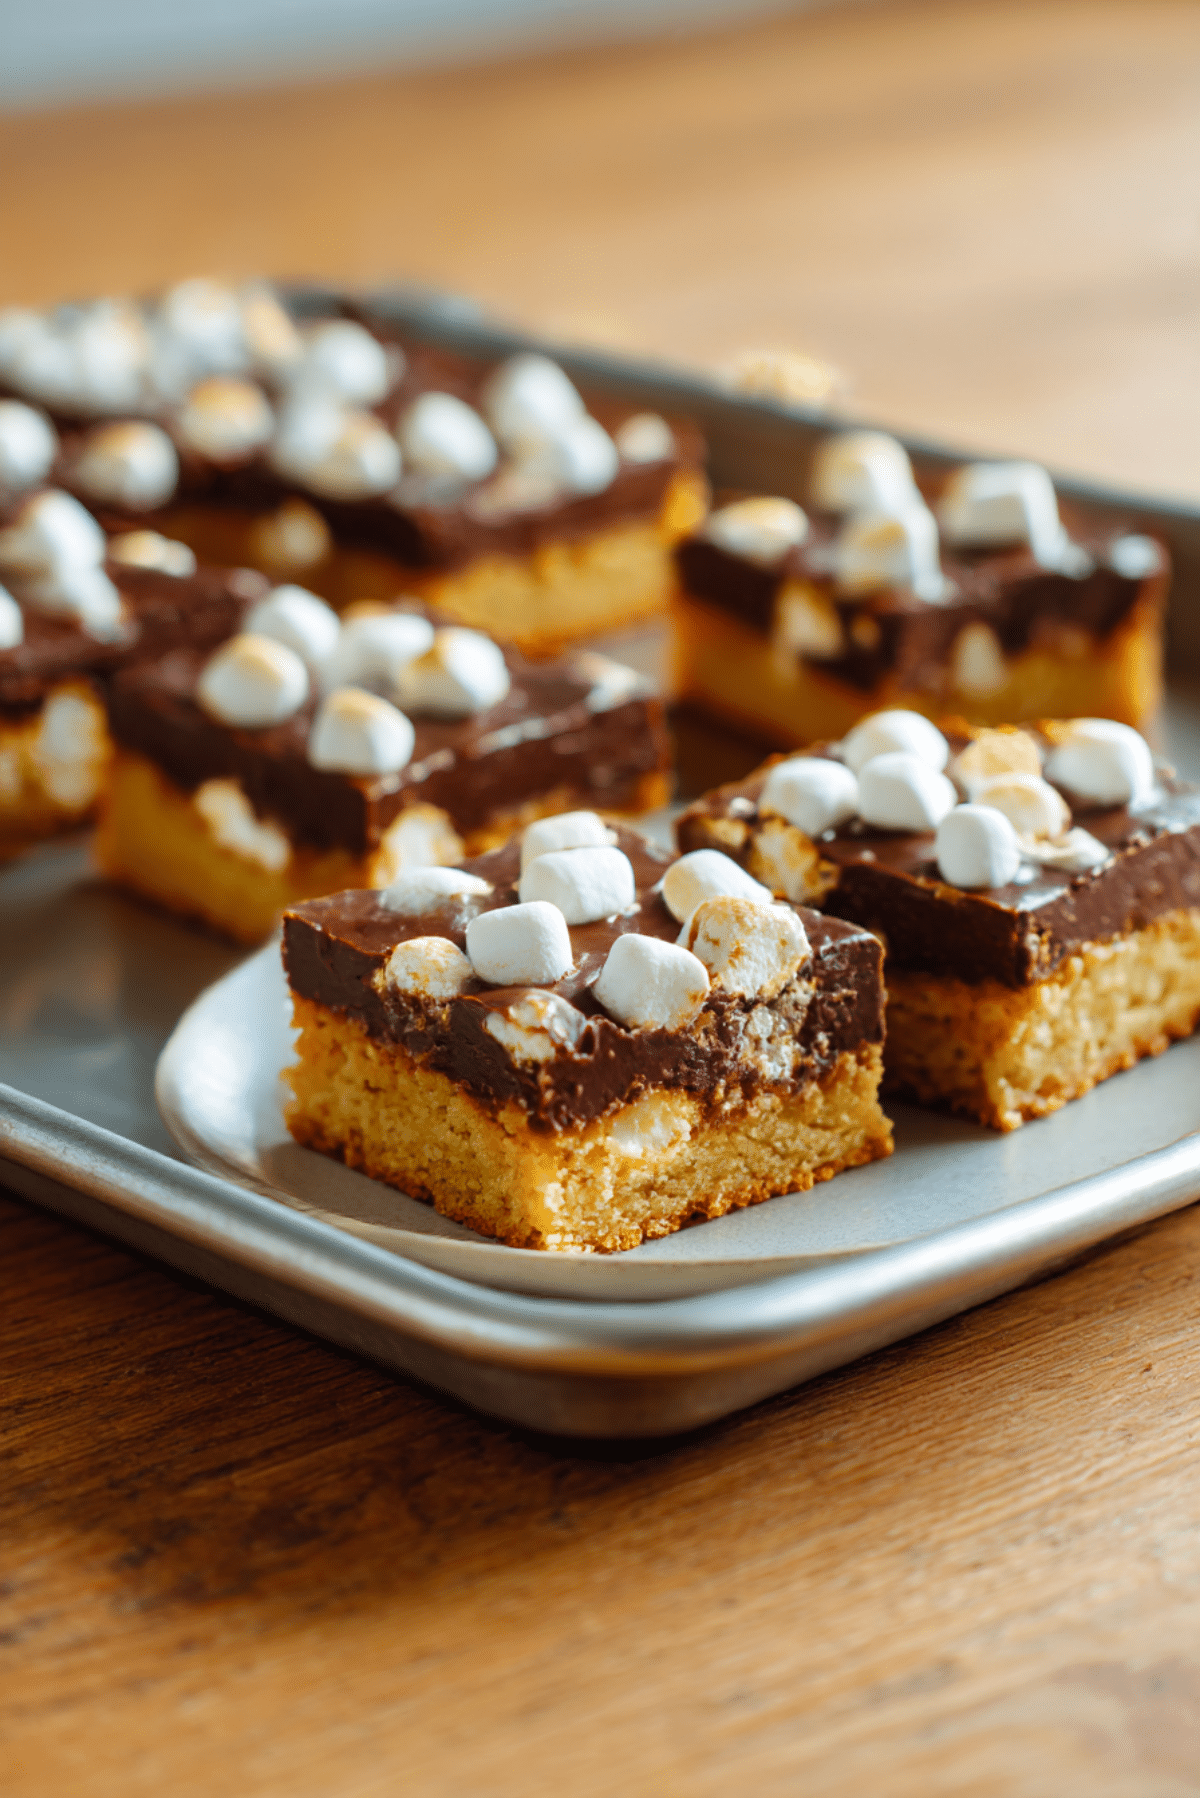
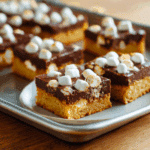
Chocolate Maple Bars
There’s something irresistible about the combination of gooey chocolate, toasty marshmallows, and rich maple syrup all wrapped up in a soft, buttery bar. These Chocolate Maple Bars are the kind of treat that makes you close your eyes with the first bite and go “mmm.” Whether you’re baking for a cozy weekend at home, packing up treats for a picnic, or just need that sweet hit midweek, this recipe hits all the right notes.
Behind the Recipe
I still remember the first time I tasted something like this at a church bake sale when I was ten. It had that nostalgic marshmallow top, a soft cookie base, and a layer of chocolate that stuck to your fingers. I went home and begged my mom to recreate it, and over the years we tinkered with the ingredients until this version came to life. It’s not just a dessert, it’s a slice of memory.
Recipe Origin or Trivia
Chocolate and maple are a match made in flavor heaven. Maple syrup, a classic North American ingredient harvested from maple trees, adds a unique richness and depth that plain sugar can’t match. Pair that with chocolate, which has been charming taste buds since Mesoamerican civilizations, and you’ve got a combination that’s both classic and decadent. This recipe takes inspiration from traditional American bar desserts and gives it a sweet twist with the maple and marshmallow duo.
Why You’ll Love Chocolate Maple Bars
This recipe isn’t just delicious, it’s also incredibly adaptable and satisfying. Let’s break down why it deserves a spot in your baking rotation:
Versatile: These bars work for lunchboxes, dessert trays, bake sales, or just because.
Budget-Friendly: Uses pantry staples and stretches to feed a crowd.
Quick and Easy: Minimal steps and no fancy equipment needed.
Customizable: Swap marshmallows for nuts, or drizzle extra chocolate on top.
Crowd-Pleasing: That gooey top and rich chocolate layer win hearts instantly.
Make-Ahead Friendly: Make them a day early, and they’re even better the next day.
Great for Leftovers: Store beautifully and taste just as good later.
Chef’s Pro Tips for Perfect Results
You’re going to love how easy these are to whip up, but here’s how to make them shine:
- Use room temperature butter and eggs for smoother mixing.
- Don’t overbake. The bars continue to set as they cool, so pull them out when the center still looks a bit soft.
- Cool completely before cutting to get clean slices.
- Line your baking pan with parchment paper for easy removal.
- Use real maple syrup, not pancake syrup, for the richest flavor.
Kitchen Tools You’ll Need
You won’t need much, just a few reliable tools:
Mixing Bowls: One for wet and one for dry ingredients.
Electric Mixer: Helps cream butter and sugars to the perfect texture.
9×13 Baking Pan: Just the right size for evenly thick bars.
Rubber Spatula: Ideal for folding in those melty chocolate chips.
Parchment Paper: Makes removing and slicing the bars a breeze.
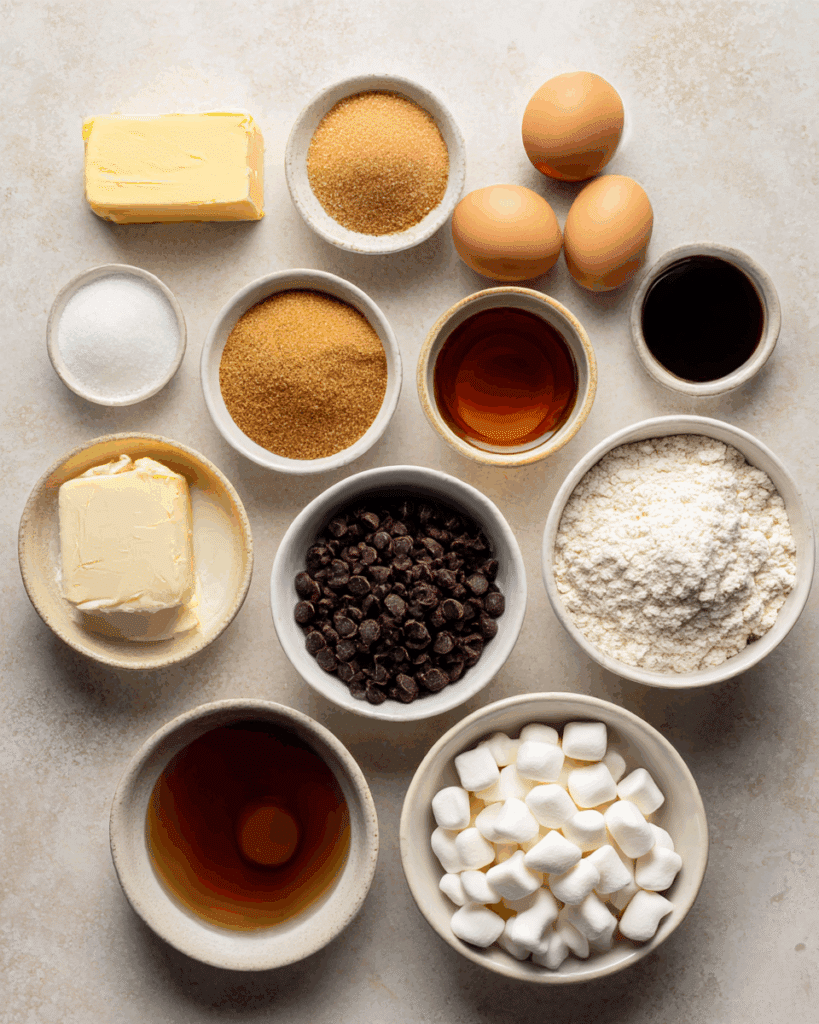
Ingredients in Chocolate Maple Bars
The ingredients in these bars work together in beautiful harmony, each one bringing something special to the table.
- Unsalted Butter: 1 cup (2 sticks) – Adds richness and helps create a tender base.
- Granulated Sugar: 1/2 cup – Balances the deeper flavor of the maple.
- Brown Sugar: 1 cup – Gives a caramel undertone that enhances the maple syrup.
- Eggs: 2 large – Bind the mixture and give structure.
- All-Purpose Flour: 2 cups – The sturdy foundation of the bars.
- Maple Syrup: 1/2 cup – The star flavor, rich and sweet.
- Vanilla Extract: 1 teaspoon – Brings warmth and rounds out the sweetness.
- Mini Marshmallows: 1 cup – Toasty and gooey top layer.
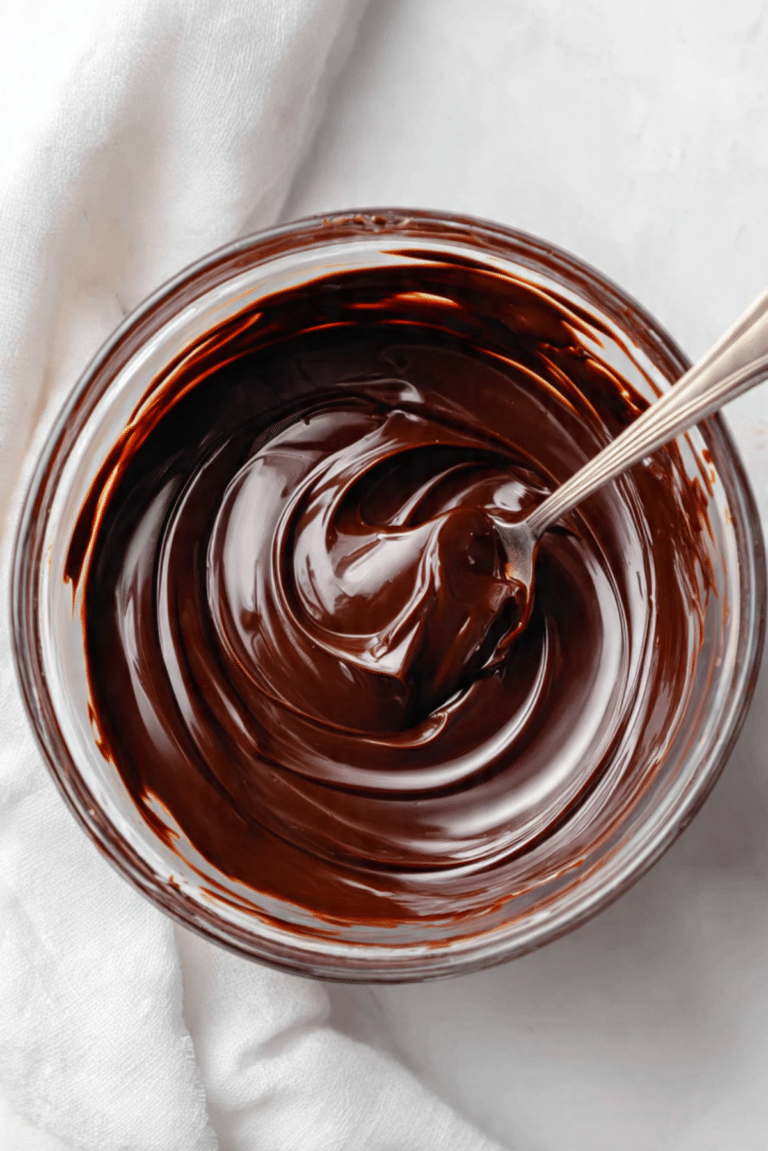
- Semi-Sweet Chocolate Chips: 1 cup – Melty, rich contrast to the sweet bars.
Ingredient Substitutions
Need to make a few swaps? No problem.
Butter: Coconut oil or vegan butter.
Brown Sugar: Use more granulated sugar with a teaspoon of molasses.
Eggs: Use flax eggs or a commercial egg replacer.
All-Purpose Flour: Swap with gluten-free all-purpose flour blend.
Chocolate Chips: Chopped dark chocolate or milk chocolate.
Ingredient Spotlight
Maple Syrup: A natural sweetener tapped from maple trees, it’s not just sweet, but also adds a deep, earthy richness that elevates desserts.
Mini Marshmallows: Not just for cocoa, these toast beautifully under heat and bring a fun, chewy texture.
Instructions for Making Chocolate Maple Bars
This part is where the magic happens. Get your apron on and let’s dive into the process.
- Preheat Your Equipment:
Preheat your oven to 350°F (175°C). Line a 9×13 inch baking pan with parchment paper. - Combine Ingredients:
In a large bowl, cream together the butter, granulated sugar, and brown sugar until light and fluffy. Add eggs one at a time, mixing well. Stir in maple syrup and vanilla extract. - Prepare Your Cooking Vessel:
In a separate bowl, whisk together the flour and a pinch of salt. Gradually add dry ingredients to the wet mixture, stirring until just combined. - Assemble the Dish:
Pour the batter into the prepared pan and smooth the top. Sprinkle chocolate chips evenly over the batter. - Cook to Perfection:
Bake for 25 to 30 minutes, or until the edges are golden and a toothpick inserted in the center comes out with moist crumbs. - Finishing Touches:
Remove from the oven and quickly scatter mini marshmallows on top. Return to oven for 2 to 3 minutes, just until marshmallows puff up and start to brown. - Serve and Enjoy:
Let cool completely in the pan before slicing into bars. Enjoy with a glass of cold milk or warm tea.
Texture & Flavor Secrets
The contrast is everything here. The base is tender and buttery, the chocolate layer melts into it creating pockets of richness, and the marshmallows on top give a chewy, toasty finish. It’s sweet, but not overwhelming, with that signature maple note weaving through every bite.
Cooking Tips & Tricks
Make these bars even better with a few smart moves:
- Use parchment paper that overhangs the pan for easy lifting and slicing.
- Toast the marshmallows under the broiler for 30 seconds for extra color.
- Store bars at room temp for the best texture.
What to Avoid
These mistakes are easy to make, but even easier to avoid:
- Overmixing the batter, which can make bars tough.
- Using pancake syrup instead of real maple syrup.
- Overbaking, which can dry out the base and ruin the gooey texture.
Nutrition Facts
Servings: 16
Calories per serving: 310
Note: These are approximate values.
Preparation Time
Prep Time: 15 minutes
Cook Time: 30 minutes
Total Time: 45 minutes
Make-Ahead and Storage Tips
These bars are a dream when it comes to planning ahead. You can bake them the night before and they’ll taste even better the next day as the flavors settle. Store them in an airtight container at room temperature for up to 4 days, or freeze for up to 2 months. To reheat, just pop a bar in the microwave for 10 seconds to bring back the gooey magic.
How to Serve Chocolate Maple Bars
You can serve these bars just as they are, or get a little creative. Warm them up and serve with a scoop of vanilla ice cream for an indulgent dessert. They also pair beautifully with a cup of strong coffee or chai tea.
Creative Leftover Transformations
If you have extras, try crumbling a bar into:
- A yogurt parfait.
- The base of a mini trifle.
- Ice cream topping.
- A milkshake mix-in.
Additional Tips
Want that just-baked aroma every time? Warm your bars for 10 seconds before serving. For extra flair, sprinkle a tiny pinch of sea salt on the melted chocolate before adding marshmallows.
Make It a Showstopper
Presentation matters. Cut bars cleanly with a warm knife and arrange on a vintage tray lined with parchment. Add a dusting of powdered sugar if you want a touch of elegance. Serve with fresh berries or mint leaves on the side.
Variations to Try
Get creative and try some spins on this classic:
- Nutty Crunch: Add chopped walnuts or pecans to the batter.
- Peanut Butter Swirl: Drop spoonfuls of peanut butter and swirl before baking.
- S’mores Style: Use graham cracker crumbs in the base and top with extra chocolate.
- Salted Caramel Drizzle: Drizzle caramel sauce over the marshmallows.
- Espresso Kick: Add a teaspoon of instant coffee to the batter for a mocha vibe.
FAQ’s
Q1: Can I make these without marshmallows?
A1: Yes, you can skip them or replace with extra chocolate chips or nuts.
Q2: Can I use maple-flavored syrup instead of real maple?
A2: It’s best to use real maple syrup for that deep, rich flavor.
Q3: How do I cut the bars cleanly?
A3: Let them cool completely and use a sharp knife cleaned between cuts.
Q4: Can I double the recipe?
A4: Absolutely. Use a larger pan or two 9×13 pans for a crowd.
Q5: Are these freezer-friendly?
A5: Yes. Wrap tightly and freeze for up to 2 months.
Q6: Can I use dark chocolate instead of semi-sweet?
A6: Yes, if you like a deeper chocolate flavor.
Q7: How long do they stay fresh?
A7: Up to 4 days at room temperature in a sealed container.
Q8: Can I use margarine instead of butter?
A8: Butter gives the best flavor, but margarine can work in a pinch.
Q9: How do I toast the marshmallows nicely?
A9: Broil for 30 seconds to 1 minute, watching closely so they don’t burn.
Q10: Are these bars gluten-free?
A10: Use a gluten-free flour blend to make them gluten-free.
Conclusion
Chocolate Maple Bars are the kind of sweet treat that brings joy in every square. They’re easy, deeply satisfying, and a little nostalgic all at once. Whether you share them or keep the tray to yourself, trust me, they’re worth every bite.
PrintChocolate Maple Bars
Chocolate Maple Bars combine gooey marshmallows, rich chocolate, and a buttery maple-infused base for the perfect nostalgic dessert.
Ingredients
- 1 cup unsalted butter
- 1/2 cup granulated sugar
- 1 cup brown sugar
- 2 large eggs
- 2 cups all-purpose flour
- 1/2 cup maple syrup
- 1 teaspoon vanilla extract
- 1 cup mini marshmallows
- 1 cup semi-sweet chocolate chips
Instructions
- Preheat your oven to 350°F (175°C). Line a 9×13 inch baking pan with parchment paper.
- In a large bowl, cream together the butter, granulated sugar, and brown sugar until light and fluffy. Add eggs one at a time, mixing well. Stir in maple syrup and vanilla extract.
- In a separate bowl, whisk together the flour and a pinch of salt. Gradually add dry ingredients to the wet mixture, stirring until just combined.
- Pour the batter into the prepared pan and smooth the top. Sprinkle chocolate chips evenly over the batter.
- Bake for 25 to 30 minutes, or until the edges are golden and a toothpick inserted in the center comes out with moist crumbs.
- Remove from the oven and quickly scatter mini marshmallows on top. Return to oven for 2 to 3 minutes, just until marshmallows puff up and start to brown.
- Let cool completely in the pan before slicing into bars. Enjoy with a glass of cold milk or warm tea.
Notes
- Use real maple syrup, not artificial pancake syrup, for best flavor.
- Cool completely before cutting for clean slices.
- Store in an airtight container for up to 4 days or freeze for longer storage.