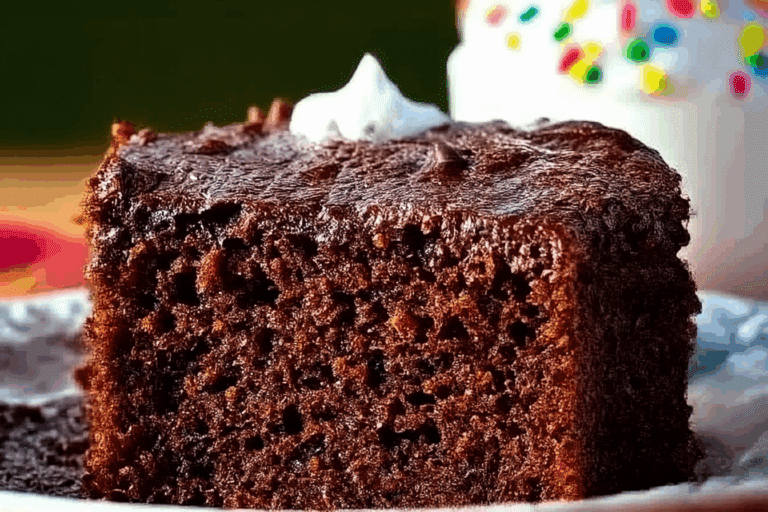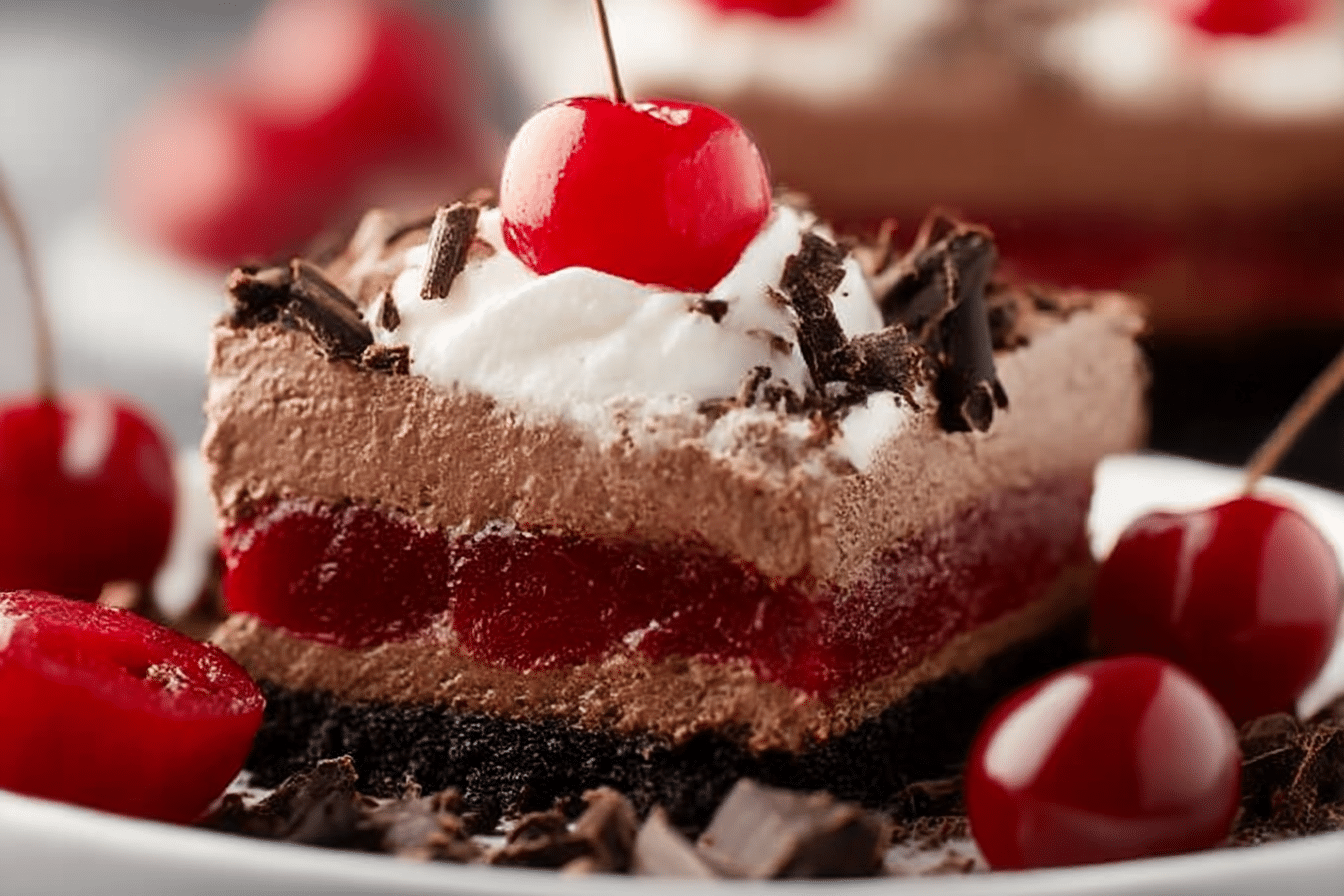
Chocolate Cherry Lush
If you’ve ever craved a dessert that whispers indulgence with every bite, Chocolate Cherry Lush is your dream come true. Imagine layers of velvety chocolate pudding, fluffy cream cheese, and juicy cherries, all resting on a buttery cookie crust that practically melts on your tongue. The contrast of rich chocolate, tangy cherries, and creamy textures makes every forkful a little celebration. Trust me, this one’s a total game-changer.
Behind the Recipe
This recipe has roots in cherished family gatherings, where no celebration felt complete without a chilled “lush” dessert gracing the table. My aunt would proudly present her layered masterpiece, its top crowned with dollops of whipped cream and bright cherries. As a kid, I was mesmerized by how effortlessly it disappeared slice by slice, laughter and clinking forks echoing in the background. This updated version pays tribute to those joyful moments—with a chocolaty twist that’s just as magical.
Recipe Origin or Trivia
Lush desserts, also known as dessert lasagnas or layered no-bakes, became a household favorite in mid-20th century America. Originally born from church potlucks and community cookbooks, they were celebrated for being both affordable and unfussy. The Chocolate Cherry Lush brings in a nod to Black Forest cake, a classic German confection, while keeping the ease and charm of a retro American no-bake dessert.
Why You’ll Love Chocolate Cherry Lush
This dessert has something for everyone—from chocoholics to fruit lovers.
Versatile: Whether it’s a potluck, birthday, or weekday treat, it fits right in.
Budget-Friendly: Uses pantry staples and affordable ingredients.
Quick and Easy: Minimal baking, mostly layering and chilling.
Customizable: Switch up the pudding flavor, crust type, or topping.
Crowd-Pleasing: It disappears faster than you can slice it.
Make-Ahead Friendly: Tastes even better after a chill in the fridge.
Great for Leftovers: Stores beautifully and tastes divine the next day.
Chocolate Cherry Lush
A decadent no-bake dessert layered with a buttery graham cracker crust, creamy chocolate pudding, smooth cream cheese, and tart cherry pie filling—perfect for any occasion.
- Prep Time: 25 minutes
- Cook Time: 0 minutes
- Total Time: 4 hours 25 minutes
- Yield: 12 servings
- Category: Dessert
- Method: No-bake
- Cuisine: American
- Diet: Vegetarian
Ingredients
- Graham cracker crumbs: 2 cups
- Unsalted butter: 1/2 cup, melted
- Cream cheese: 8 oz, softened
- Powdered sugar: 1 cup
- Whipped topping: 16 oz
- Instant chocolate pudding mix: 2 packages (3.9 oz each)
- Cold milk: 3 cups
- Cherry pie filling: 1 can (21 oz)
- Mini chocolate chips or curls: 1/4 cup
Instructions
- Preheat Your Equipment: No preheating needed—just make space in your fridge.
- Combine Ingredients: Mix graham cracker crumbs and melted butter until combined.
- Prepare Your Cooking Vessel: Press the mixture into a 9×13-inch dish and chill for 15 minutes.
- Assemble the Dish: Beat cream cheese and powdered sugar, fold in 1 cup whipped topping, and spread over crust. Prepare pudding with milk and spread on top. Add remaining whipped topping and spoon cherry pie filling on top.
- Cook to Perfection: Refrigerate for at least 4 hours.
- Finishing Touches: Garnish with mini chocolate chips or curls.
- Serve and Enjoy: Slice and serve chilled.
Notes
- Chill each layer before adding the next for clean slices.
- Use stabilized whipped cream if not using store-bought topping.
- Try different crusts or fillings for fun variations.
Nutrition
- Serving Size: 1 slice
- Calories: 360
- Sugar: 27g
- Sodium: 310mg
- Fat: 20g
- Saturated Fat: 11g
- Unsaturated Fat: 7g
- Trans Fat: 0g
- Carbohydrates: 39g
- Fiber: 2g
- Protein: 5g
- Cholesterol: 30mg
Chef’s Pro Tips for Perfect Results
Mastering this dessert is all about layering love into each step.
- Use full-fat cream cheese for the smoothest texture.
- Chill each layer briefly before adding the next to prevent sliding.
- Sweeten the cream cheese layer just enough to balance the tart cherries.
- Fold whipped topping gently into the layers to maintain fluffiness.
- Garnish with chocolate curls or extra cherries just before serving.
Kitchen Tools You’ll Need
You won’t need fancy gadgets—just a few basics.
9×13-inch baking dish: Ideal for layered desserts.
Mixing bowls: You’ll use a few for different layers.
Hand mixer or stand mixer: Makes the cream cheese layer silky smooth.
Rubber spatula: Perfect for even spreading.
Measuring cups and spoons: Precision matters.
Plastic wrap or lid: To cover while chilling.
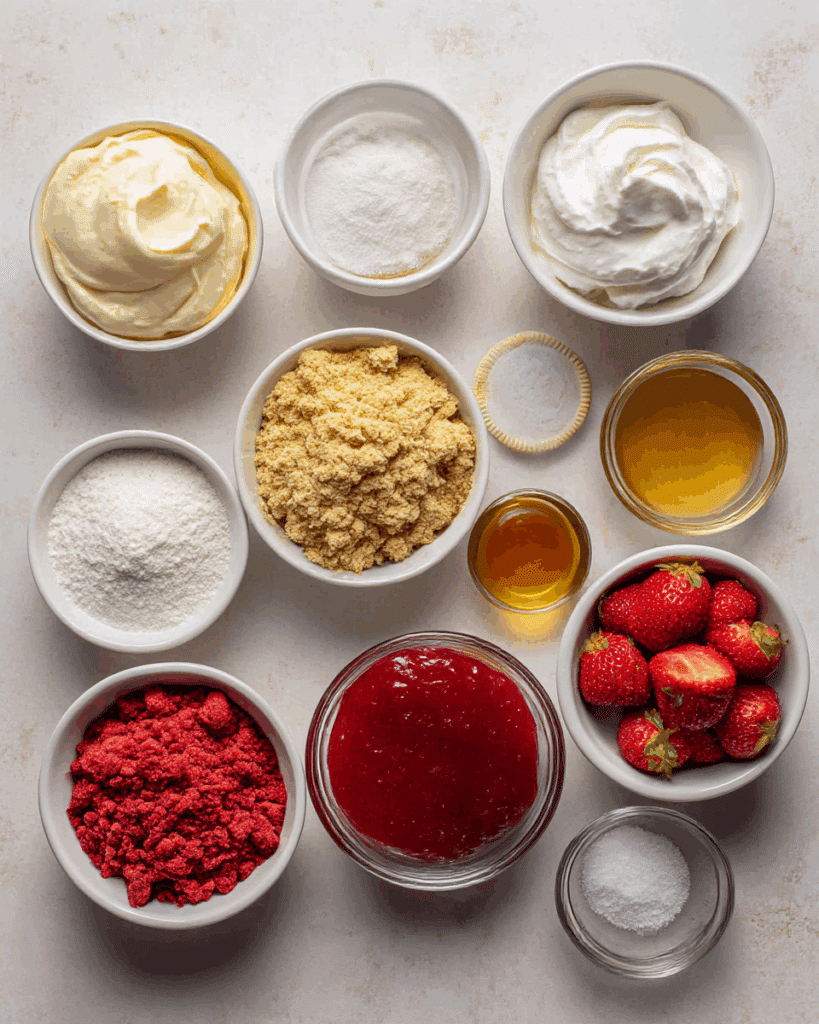
Ingredients in Chocolate Cherry Lush
Each ingredient plays a unique role in building a flavor profile that’s equal parts comforting and decadent.
Graham cracker crumbs: 2 cups (the base, bringing buttery crunch)
Unsalted butter: 1/2 cup, melted (binds the crust)
Cream cheese: 8 oz, softened (adds richness and tang)
Powdered sugar: 1 cup (sweetens the cream cheese layer)
Whipped topping: 16 oz (folds into layers for creamy lift)
Instant chocolate pudding mix: 2 packages (3.9 oz each) (adds that deep chocolate base)
Cold milk: 3 cups (activates the pudding)
Cherry pie filling: 1 can (21 oz) (fruity bursts of flavor in every bite)
Mini chocolate chips or curls: 1/4 cup (for garnish and texture)
Ingredient Substitutions
Don’t worry if you’re out of something—here’s how to pivot.
Graham cracker crumbs: Crushed chocolate cookies
Whipped topping: Stabilized whipped cream
Powdered sugar: Honey or maple syrup (adjust for consistency)
Cherry pie filling: Fresh pitted cherries with a sugar glaze
Chocolate pudding mix: White chocolate or vanilla pudding
Ingredient Spotlight
Cream Cheese: Adds luxurious tang and balances the sweetness.
Cherry Pie Filling: Bursts of juicy, tart cherry bring brightness and depth.
Instructions for Making Chocolate Cherry Lush
Creating this dessert is as enjoyable as eating it. Just follow these steps and enjoy the layering magic.
1. Preheat Your Equipment:
No preheating needed—it’s a no-bake dessert! Just make space in your fridge.
2. Combine Ingredients:
In a bowl, mix graham cracker crumbs and melted butter until it resembles wet sand.
3. Prepare Your Cooking Vessel:
Press the crust mixture evenly into the bottom of a 9×13-inch dish. Chill for 15 minutes.
4. Assemble the Dish:
In a mixing bowl, beat cream cheese and powdered sugar until smooth. Fold in 1 cup whipped topping and spread over the chilled crust.
In another bowl, whisk together pudding mix and cold milk until thickened. Spread it over the cream cheese layer.
Top with the remaining whipped topping and spoon cherry pie filling across the top.
5. Cook to Perfection:
Place the entire dish in the refrigerator for at least 4 hours or until set.
6. Finishing Touches:
Garnish with mini chocolate chips or curls right before serving.
7. Serve and Enjoy:
Cut into neat squares and serve chilled with a smile.
Texture & Flavor Secrets
What sets this dessert apart is the contrast in textures: the buttery crunch of the crust, the airy cream cheese, the silkiness of chocolate pudding, and the juicy cherry topping. Flavor-wise, it’s a dance between rich cocoa, tangy cream, and tart fruit—all harmonized into a single bite.
Cooking Tips & Tricks
A few handy insights for stress-free success:
- Chill each layer before adding the next to ensure firm slices.
- Use an offset spatula for smooth spreading.
- Add a splash of almond extract to the cherry layer for extra depth.
What to Avoid
Even easy desserts have their don’ts. Here’s what to steer clear of:
- Don’t rush layering: Soft layers need time to firm.
- Avoid overmixing whipped topping: It can deflate and lose volume.
- Don’t serve too soon: Chill time is crucial for flavor melding.
Nutrition Facts
Servings: 12
Calories per serving: 360
Note: These are approximate values.
Preparation Time
Prep Time: 25 minutes
Cook Time: 0 minutes
Total Time: 4 hours 25 minutes (includes chilling)
Make-Ahead and Storage Tips
Chocolate Cherry Lush is a make-ahead marvel. Prepare it the night before, and you’ll wake up to a perfectly set treat. Store covered in the refrigerator for up to 4 days. For longer storage, freeze individual slices for up to a month and thaw overnight in the fridge.
How to Serve Chocolate Cherry Lush
This dessert looks lovely straight from the dish, but for added flair, serve it with a dollop of whipped cream, a cherry on top, and a sprinkle of shaved chocolate. Pair with espresso or a tart cherry juice for a perfect finish.
Creative Leftover Transformations
If by some miracle you have leftovers, here’s how to remix them:
- Spoon into parfait glasses with crushed cookies.
- Blend into a milkshake with ice cream.
- Layer with brownies for a new hybrid dessert.
Additional Tips
A few more gems to make this dish sparkle:
- Chill your mixing bowls and utensils for faster whipped topping results.
- Use clear glass dishes for a visual “wow” effect.
- Line your pan with parchment if you want to lift and slice cleanly.
Make It a Showstopper
For presentation that stuns:
- Garnish with chocolate-dipped cherries.
- Pipe whipped topping around the edges.
- Use edible gold flakes for a luxurious finish.
Variations to Try
Switch things up and keep it fresh:
- Mocha Lush: Add espresso powder to the pudding.
- Tropical Cherry: Use coconut crust and mango slices.
- Nutty Delight: Sprinkle chopped pecans between layers.
- Black Forest Remix: Add layers of chocolate cake instead of graham crust.
- Gluten-Free: Use gluten-free graham crackers.
FAQ’s
Q1: Can I make this dessert a day ahead?
A1: Absolutely—it actually tastes better after a night in the fridge.
Q2: Can I use homemade whipped cream instead of store-bought?
A2: Yes, just stabilize it with gelatin or cornstarch to maintain structure.
Q3: What’s the best way to slice it cleanly?
A3: Use a warm, clean knife and wipe between cuts.
Q4: Can I use fresh cherries?
A4: Yes, cook them down slightly with sugar for a pie-filling texture.
Q5: How long does it last in the fridge?
A5: Up to 4 days when covered properly.
Q6: Can I freeze Chocolate Cherry Lush?
A6: Yes, freeze individual slices and thaw overnight before serving.
Q7: Is there a low-sugar version?
A7: Use sugar-free pudding, light whipped topping, and reduced-sugar cherry filling.
Q8: Can I use a different crust?
A8: Definitely—try Oreo or shortbread crumbs.
Q9: What if I don’t like cherries?
A9: Swap for raspberries, strawberries, or even blueberry filling.
Q10: How do I transport it without ruining the layers?
A10: Chill it well and cover tightly—use a cold pack if traveling far.
Conclusion
Chocolate Cherry Lush is more than just dessert—it’s a love letter to comfort, indulgence, and nostalgia. Whether you’re making it for a celebration or just because, each bite is a velvety, fruity, chocolaty reminder that joy can be spooned straight from the dish. Trust me, you’re going to love this.