Brown Butter Rice Krispie Treats
If you are looking for the ultimate nostalgic snack that has been elevated to gourmet status, you have found it. These Brown Butter Rice Krispie Treats are a massive upgrade from the childhood original, offering a sophisticated flavor profile that is both comforting and addictive. By simply taking a few extra minutes to brown the butter, we transform a basic sweet into a nutty, toasted masterpiece that will have everyone asking for your secret. Trust me, you’re going to love this, and let me tell you, it’s worth every bite.
The Magic of Toasted Marshmallows and Nutty Butter
There is something truly transformative about the smell of butter browning on a stove. It fills the kitchen with an aroma that smells like toasted hazelnuts and caramel, which provides the perfect backbone for the sweet marshmallows. This recipe takes those classic crispy squares and gives them a depth of flavor that is usually reserved for high end bakeries. It is the kind of treat that feels special enough for a party but is easy enough to whip up on a rainy Tuesday afternoon.
Why This Elevated Classic Is a Total Game-Changer
When it comes to easy desserts, this version of the cereal bar stands in a league of its own. It manages to balance simplicity with a complex taste that surprises anyone who thinks they know what a rice krispie treat should taste like.
Versatile: These bars are perfect for school bake sales, elegant dessert platters, or just a late night snack in your pajamas.
Budget-Friendly: You only need a handful of pantry staples to create a large batch that can feed a whole group without breaking the bank.
Quick and Easy: From start to finish, you can have these setting in a pan in under twenty minutes, making it the perfect last minute dessert.
Customizable: You can easily add a sprinkle of sea salt on top or fold in some chocolate chips if you want to take the decadence even further.
Crowd-Pleasing: I have never met a person, young or old, who can turn down a thick, gooey square of crispy rice cereal.
Make-Ahead Friendly: These actually hold up beautifully for a few days, so you can prep them on a Sunday and enjoy them all week long.
Great for Leftovers: Even if they sit out for a bit, they remain soft and chewy rather than becoming hard like some store bought versions.
Pro Tips for the Perfect Gooey Pull
Getting that perfect, stretchy marshmallow texture requires a gentle hand and a bit of patience. The biggest mistake people make is using high heat, which can make the sugar in the marshmallows seize and turn the bars rock hard once they cool. Keep your flame low and slow, and always use fresh marshmallows for the best results.
Essential Kitchen Tools for Success
Large Heavy Bottomed Pot: This is crucial for browning the butter evenly without burning it and having enough room to fold in the cereal.
9×9 Inch Square Pan: A standard baking pan ensures your treats are nice and thick, which is exactly what we want for that iconic look.
Parchment Paper: This makes it incredibly easy to lift the entire block out of the pan for clean slicing later.
Silicone Spatula: A heat resistant spatula is your best friend when dealing with sticky marshmallow mixtures.
Ingredients You Will Need For These Treats
The beauty of this recipe lies in the harmony of just five simple components working together to create something spectacular.
- Unsalted Butter: 1/2 cup (113g). This is the star of the show, providing the rich, nutty base after it is browned carefully.
- Mini Marshmallows: 10 ounces (283g). Mini ones melt faster and more evenly than the jumbo variety, ensuring a smooth texture.
- Vanilla Extract: 1 teaspoon. A splash of high quality vanilla enhances the toasted notes of the butter and the sweetness of the sugar.
- Sea Salt: 1/4 teaspoon. A tiny pinch of salt is essential to balance the sugar and make the flavors really pop.
- Crispy Rice Cereal: 6 cups. This provides the iconic crunch and light texture that defines this classic snack.
Flexible Ingredient Substitutions
Mini Marshmallows: You can use large marshmallows if that is all you have, but be sure to cut them into smaller pieces so they melt at a consistent rate.
Crispy Rice Cereal: Cocoa flavored rice cereal works wonderfully if you want a chocolatey twist on this browned butter version.
Vanilla Extract: Almond extract can be used for a more floral, nutty aroma, though it is much stronger so use only a half teaspoon.
Spotlight on the Stars
Unsalted Butter: Using unsalted butter allows you to control the exact amount of salt in the recipe, which is vital when you are browning it to a deep amber color.
Mini Marshmallows: For the ultimate texture, try to find the freshest bag possible, as older marshmallows tend to be drier and won’t melt into that signature gooey consistency.

Let’s Get Cooking
Ready to make the best treats of your life? Follow these simple steps and you will be rewarded with a pan of pure joy.
- Preheat Your Equipment: Begin by lining your square baking pan with parchment paper, leaving a bit of an overhang on the sides so you can easily pull the treats out later.
- Prepare Your Cooking Vessel: Place your large pot over medium heat and add the butter, whisking constantly as it melts and begins to foam.
- Cook to Perfection: Watch the butter closely as it turns from yellow to a golden brown color with little dark specks at the bottom, then immediately turn the heat to low.
- Combine Ingredients: Add the marshmallows to the browned butter and stir gently until they are almost entirely melted and smooth, then remove from the heat.
- Assemble the Dish: Stir in the vanilla extract and sea salt, then quickly fold in the crispy rice cereal until every piece is coated in the golden mixture.
- Finishing Touches: Transfer the mixture into your prepared pan and press down very lightly with a greased spatula, being careful not to pack it too tightly.
- Serve and Enjoy: Allow the treats to cool at room temperature for at least thirty minutes before lifting them out by the parchment and slicing into squares.
Texture and Flavor Development
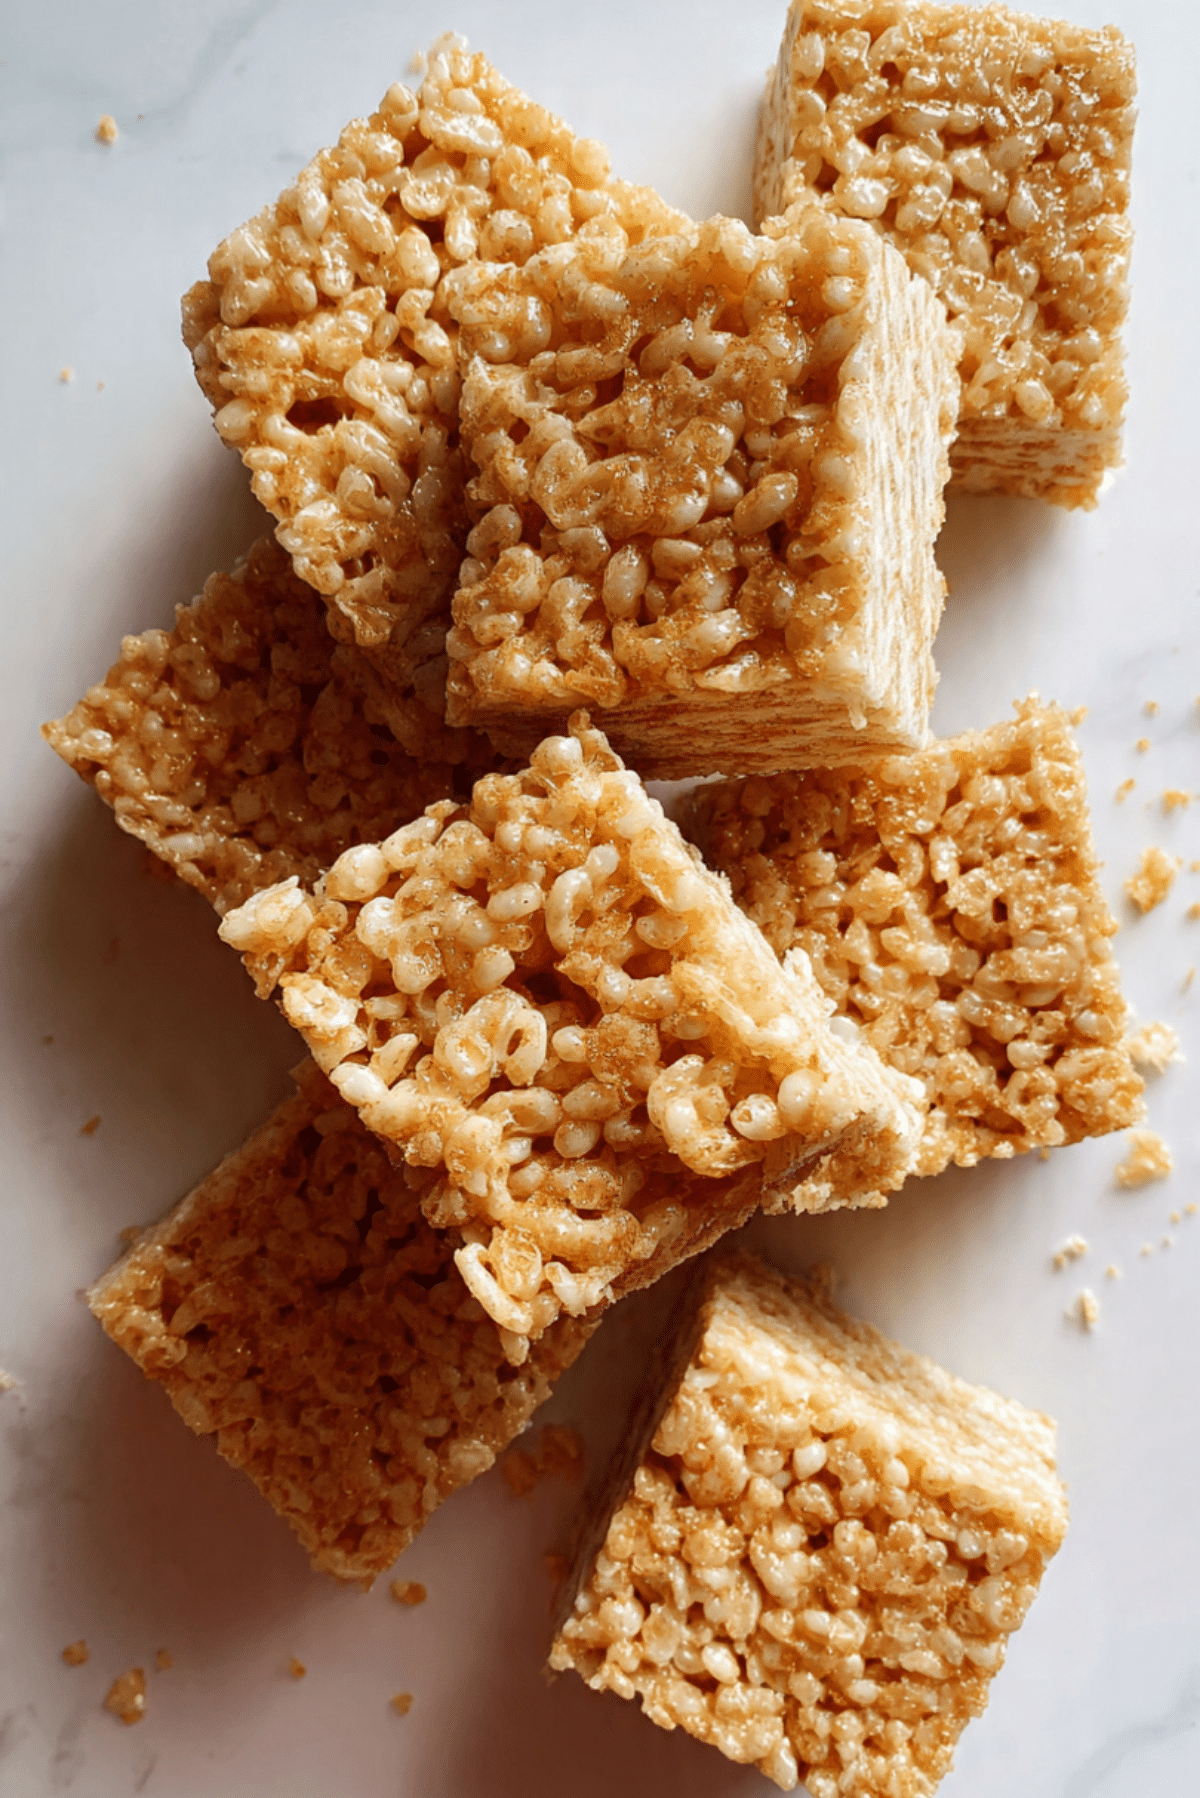
The contrast here is what makes the recipe so special. You have the airy, brittle crunch of the cereal meeting the soft, elastic pull of the melted marshmallows. As you chew, the salty, nutty notes from the toasted butter cut through the sweetness, creating a complex flavor profile that lingers on the palate.
Helpful Cooking Tips and Tricks
- Grease your spatula with a little bit of butter or non stick spray to prevent the marshmallows from sticking to everything.
- Do not refrigerate the treats to cool them down, as this can make them dry and hard; room temperature is always best.
- Add an extra cup of unmelted mini marshmallows right when you add the cereal for little pockets of gooey goodness throughout the bars.
What to Avoid
- Don’t Rush the Butter: If you turn the heat too high, the butter will burn instead of browning, resulting in a bitter taste.
- Don’t Press Too Hard: Packing the mixture into the pan too firmly will result in a dense, tough bar rather than a light and chewy one.
- Avoid Old Cereal: Check the expiration date on your cereal box because stale rice krispies will ruin the entire texture.
Nutrition Facts
Servings: 12 squares
Calories per serving: 185
Note: These are approximate values.
Preparation Time
Prep Time: 5 minutes
Cook Time: 10 minutes
Total Time: 15 minutes
Make-Ahead and Storage Tips
You can easily make these a day in advance as they stay fresh for quite a while. Store them in an airtight container at room temperature for up to three days. If you need to stack them, place a piece of wax paper between the layers to prevent them from becoming one giant sticky block. They also freeze surprisingly well if wrapped tightly in plastic wrap.
How to Serve
These are best served at room temperature on a simple wooden board or a white ceramic plate. If you want to get fancy, you can drizzle a bit of melted dark chocolate over the top or serve them alongside a cold glass of milk for the ultimate comfort experience.
Creative Leftover Transformations
If you happen to have a few squares left that are starting to get a bit firm, you can crumble them over vanilla bean ice cream for an incredible sundae topping. You could also dip the edges in melted white chocolate and sprinkles to give them a second life as a festive dessert.
Additional Tips
For a really professional look, use a long serrated knife to cut the bars and wipe the blade clean between every slice. This ensures that the edges are perfectly sharp and the cereal isn’t crushed during the process.
Make It a Showstopper
To make these look like they came from a high end bakery, sprinkle a generous pinch of flaky Maldon sea salt over the top while they are still slightly warm. The large salt crystals look beautiful against the golden cereal and provide a wonderful textural crunch.
Variations to Try
- Salted Caramel: Drizzle homemade caramel sauce over the top before the bars set.
- Peanut Butter: Stir in a half cup of creamy peanut butter into the marshmallow mixture for a protein boost.
- Birthday Cake: Add a handful of colorful sprinkles and a half teaspoon of cake batter extract.
- Chocolate Drizzle: Use a mix of milk and dark chocolate to create a beautiful striped pattern on top.
- Nutty Crunch: Fold in some toasted chopped pecans or walnuts for extra texture.
FAQ’s
- Why are my rice krispie treats hard?
This usually happens if the marshmallows were melted over too high a heat or if the mixture was pressed too firmly into the pan. - Can I use salted butter?
Yes, you can, but omit the extra sea salt listed in the recipe so they don’t become overly salty. - How do I know when the butter is browned?
The butter will stop sizzling, start to foam, and you will see little brown bits at the bottom along with a nutty aroma. - Can I make these vegan?
Yes, you can use vegan butter sticks and vegan marshmallows, though the browning process for vegan butter may differ. - Do I have to use mini marshmallows?
No, but they are much easier to melt quickly and evenly. - Can I add mix-ins like chocolate chips?
Wait until the mixture has cooled slightly before adding chocolate chips so they don’t melt completely. - How long do they take to set?
About thirty minutes at room temperature is usually enough for them to hold their shape. - Can I use a different cereal?
Absolutely, this method works with almost any puffed grain cereal. - Why did my butter burn?
The window between browned and burned is very small, so you must whisk constantly and remove it from heat immediately. - Can I double the recipe?
Yes, just make sure you use a very large pot and a 9×13 inch baking pan.
Conclusion
These Brown Butter Rice Krispie Treats are a testament to how one small change can make a massive difference in a classic recipe. By taking the time to toast the butter, you create a treat that is sophisticated, delicious, and deeply satisfying. Whether you are making them for a party or a quiet night in, this recipe is sure to become a staple in your kitchen. This one’s a total game-changer, and I can’t wait for you to try it.
PrintBrown Butter Rice Krispie Treats

An elevated classic snack featuring nutty, toasted browned butter and gooey marshmallows for a sophisticated flavor profile.
Ingredients
- 1/2 cup Unsalted Butter
- 10 ounces Mini Marshmallows
- 1 teaspoon Vanilla Extract
- 1/4 teaspoon Sea Salt
- 6 cups Crispy Rice Cereal
Instructions
- Line a 9×9 inch pan with parchment paper.
- Melt butter in a large pot over medium heat, whisking until it turns golden brown with a nutty aroma.
- Reduce heat to low, add marshmallows, and stir until almost completely melted.
- Remove from heat and stir in vanilla extract and sea salt.
- Gently fold in the crispy rice cereal until evenly coated.
- Press the mixture lightly into the prepared pan.
- Let cool at room temperature for 30 minutes before slicing.
Notes
- Use fresh marshmallows for the best gooey texture.
- Do not press the mixture too hard into the pan to keep them light and chewy.
- Wipe your knife between slices for clean edges.